A Guide To phpMyAdmin Installation On Any Operating System

By Md. Ariful Basher
February 3, 2024
Last Modified: February 22, 2024


A website has a lot of things, like tons of code files, images, text, video, and so on. It can be a lot, even for small business websites. MySQL makes it handy to manage web data, but codeline is not for everyone. But phpMyAdmin installation could be the solution.
phpMyAdmin is the interface version of MySQL. And phpMyAdmin has almost all the functionality of MySQL.
What is phpMyAdmin?
phpMyAdmin is an open-source tool written in PHP that is made to handle the administration of a MySQL or MariaDB database server over the web.
Why do you need phpMyAdmin?
If you are hosting any website or an application on the server, phpMyAdmin can come in handy to handle the database in many ways.
- Easy database management. It provides a user-friendly user interface to manage databases efficiently for anyone.
- Create and remove. You can easily create a new database for installing your systems and remove it if needed with the click of a button.
- Export and import. You can directly import data into your database and also export the database for backup.
- Edit data. Altering any data in the table is also handy in the phpMyAdmin interface. A lot of user-friendly options are available for altering the data.
- Multiple servers. Just like MySQL, you can manage multiple server data in one phpMyAdmin dashboard.
- User permission. From the dashboard, you can create and edit the user’s access level.
How to install phpMyAdmin
It is a cross-platform system, which means you can use it on any operating system. To install, either you can download and install it just like any other software, or you can use command lines. We have discussed both ways here.
Let’s dive into the phpMyAdmin installation process.
How to setup phpMyAdmin on Windows
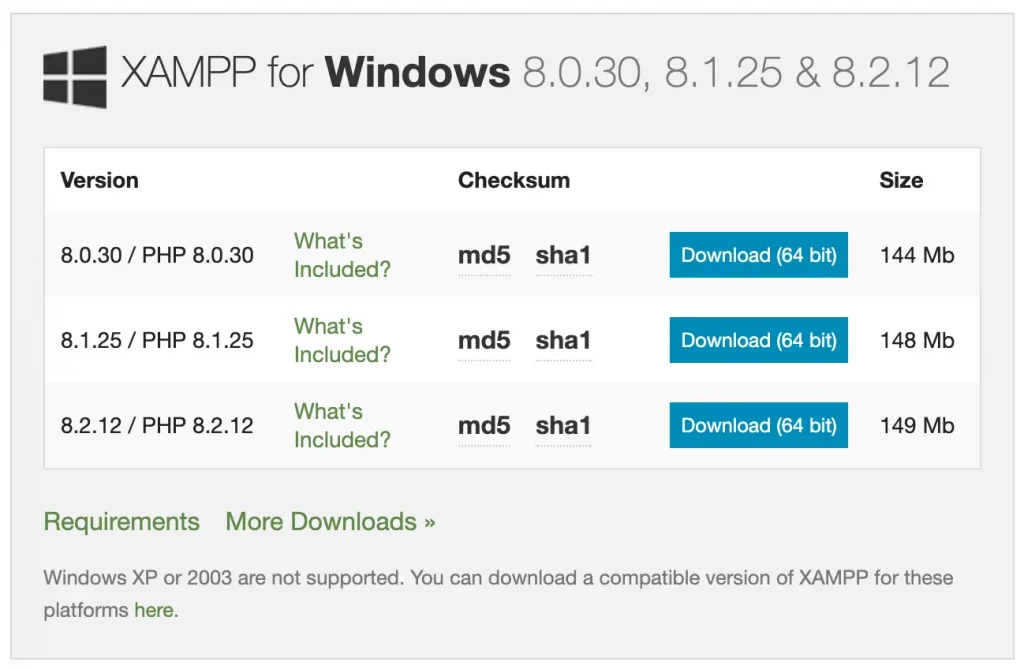
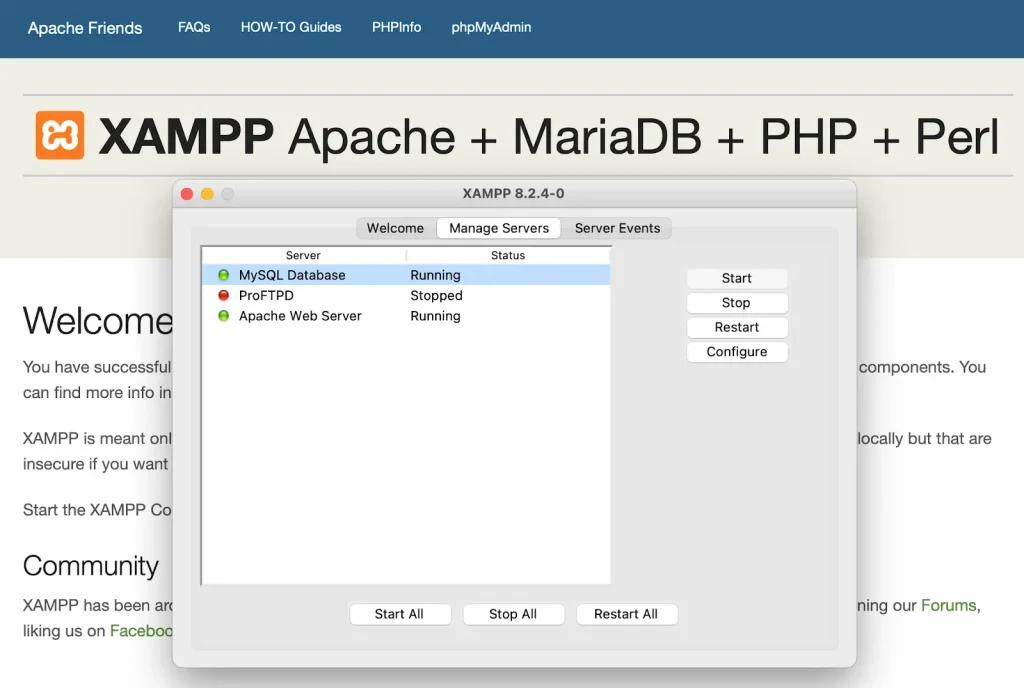
To begin with, we will go to the XAMPP download page and download the latest version of XAMPP for Windows. It will download an EXE file for Windows. Double-click on the downloaded file to start the installation.
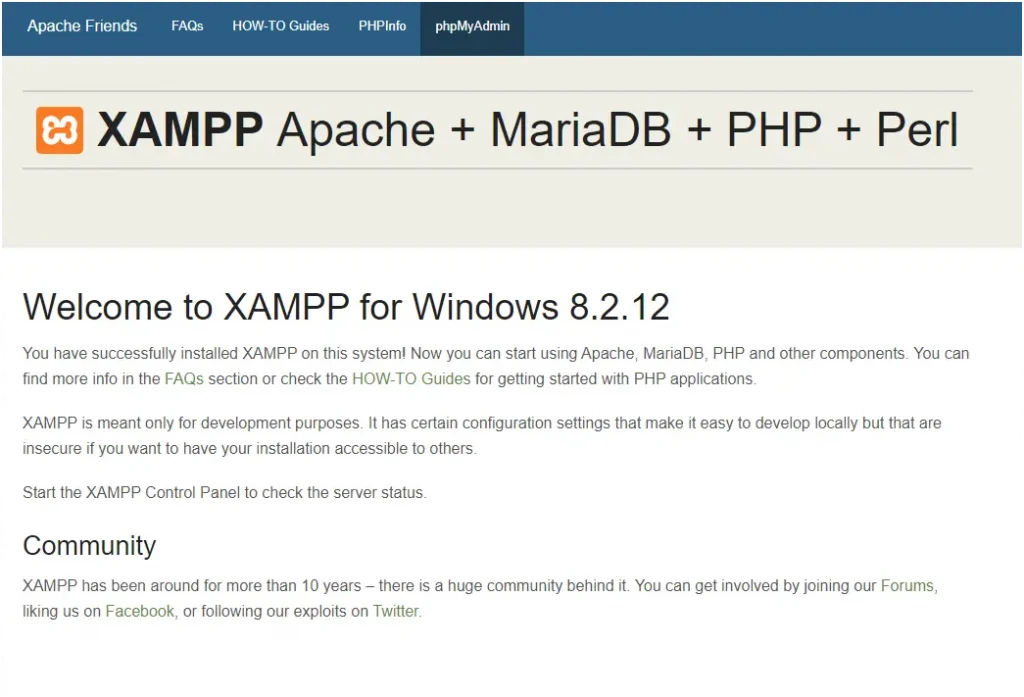
The installation might take a few minutes or so, but the process is very straight-forward. After the installation is complete, you have to run the application.
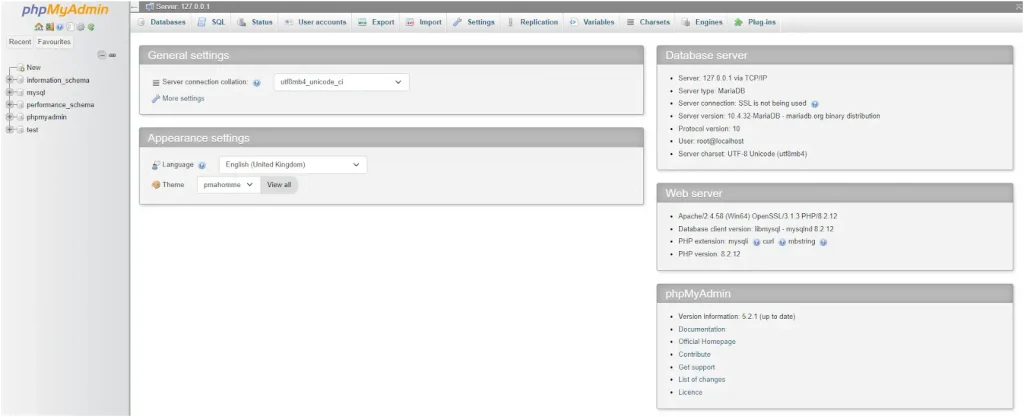
On the interface, you will see a few modules. To run phpMyAdmin, you have to run two modules from here: Apache and MySQL. Then click on the ‘Admin’ button and click on phpMyAdmin. And that’s it; you will see the phpMyAdmin dashboard.

How to install phpMyAdmin on Mac
You can install XAMPP in the same way that we installed it on Windows. You will find the link on the same download page. Just download the latest version for Mac and install it on your device. The installation process is so far the same.

After that, you have to start two modules on the application: Apache and MySQL. The localhost webpage will open in your browser and you can go to the phpMyAdmin dashboard right from the page.
There is another way to install phpMyAdmin on your Mac. You can use the Homebrew package manager and Mac terminal to install it if you are comfortable with command prompts.
First, you need to go to the Homebrew web page and copy the installation command from there.
/bin/bash -c “$(curl -fsSL https://raw.githubusercontent.com/Homebrew/install/HEAD/install.sh)”
Now copy and paste the below command line to install phpMyAdmin
brew install phpmyadmin
You will find a guideline for the installation process on the Homebrew Formulae page for phpMyAdmin.
How to install phpMyAdmin on Linux
We are going to use the most popular Linux distro, Ubuntu. You can download the XAMPP the same as in the OS and install phpMyAdmin easily. And the process is almost the same.
You also install it using the Linux terminal in Ubuntu. To do so, we are going to start by updating the system.
sudo apt update
After that, we will install the MySQL server on the system.
sudo apt install mysql-server
Then we will use the below command to install Apache.
sudo apt-get install apache2
Now I also need PHP installed in our system.
sudo apt install php
Finally, we will install phpMyAdmin using the below command.
sudo apt install phpmyadmin
During the installation process, it will ask for a server. As we installed Apache2, we will select that. Then it will complete the installation and ask you to set up a password. And with this, phpMyAdmin is installed.
Now we have to enable the mbstring extension using the below command. This is the multibyte encoding for PHP.
sudo phpenmod mbstring
After that, we will restart the Apache service.
sudo systemctl restart apache2
Now you can access the phpMyAdmin web interface. If you can not find the address, you can type this command in the terminal. Then copy the address of ‘inet’, and paste it in the browser.
ifconfig
Now you will see the phpMyAdmin dashboard and will be able to modify your database on the Ubuntu localhost.
Essential configuration code lines for phpMyAdmin
Now that you are all set to use phpMyAdmin, here are a few things you can configure to match the work process. To configure, you need to find the file called config.inc.php in the directory and start the tweaking.
Authentication Type:
$cfg[‘Servers’][$i][‘auth_type’] = ‘cookie’;
It means users have to use a username and password to login to the dashboard.
Server Connection Settings:
$cfg[‘Servers’][$i][‘host’] = ‘localhost’;
$cfg[‘Servers’][$i][‘port’] = ‘3306’;
You can modify the host and port to access it through your browser.
Username and Password:
$cfg[‘Servers’][$i][‘user’] = ‘root’;
$cfg[‘Servers’][$i][‘password’] = ”;
You can set your own username and password.
Session Settings:
$cfg[‘SessionSavePath’] = ‘/tmp’;
$cfg[‘SessionGCMaxLifetime’] = 86400;
You can define a session path and the maximum lifetime of the session.
HTTPS Setup:
$cfg[‘ForceSSL’] = true;
You can force the SSL protocol for security.
Final thoughts
We said at the beginning of the blog that phpMyAdmin gives a simple user interface to manage your database. But let’s be real here: it can be a bit confusing and overwhelming for a first-timer. But once you get used to it, you will find this very handy compared to MySQL.
We hope this blog helped you with the phpMyAdmin installation successfully. Now you can start a new project or set up a staging site to review code or support specialists can test out any issues locally or on the server.
Start off with a powerful ticketing system that delivers smooth collaboration right out of the box.
Related Articles
Consumer Behavior: Types, Factors, and the Buying Decision Process
Consumer behavior is how and why people choose,…Klarna News: AI Just Got Demoted, Here’s What We Learned
In 2024, Klarna’s CEO told the world his…


Leave a Reply