Install Now. Answer First Ticket Within an Hour
Affordable annual plan, yet efficient support solution for Online Shops, E-learning Platforms, and Support Agencies
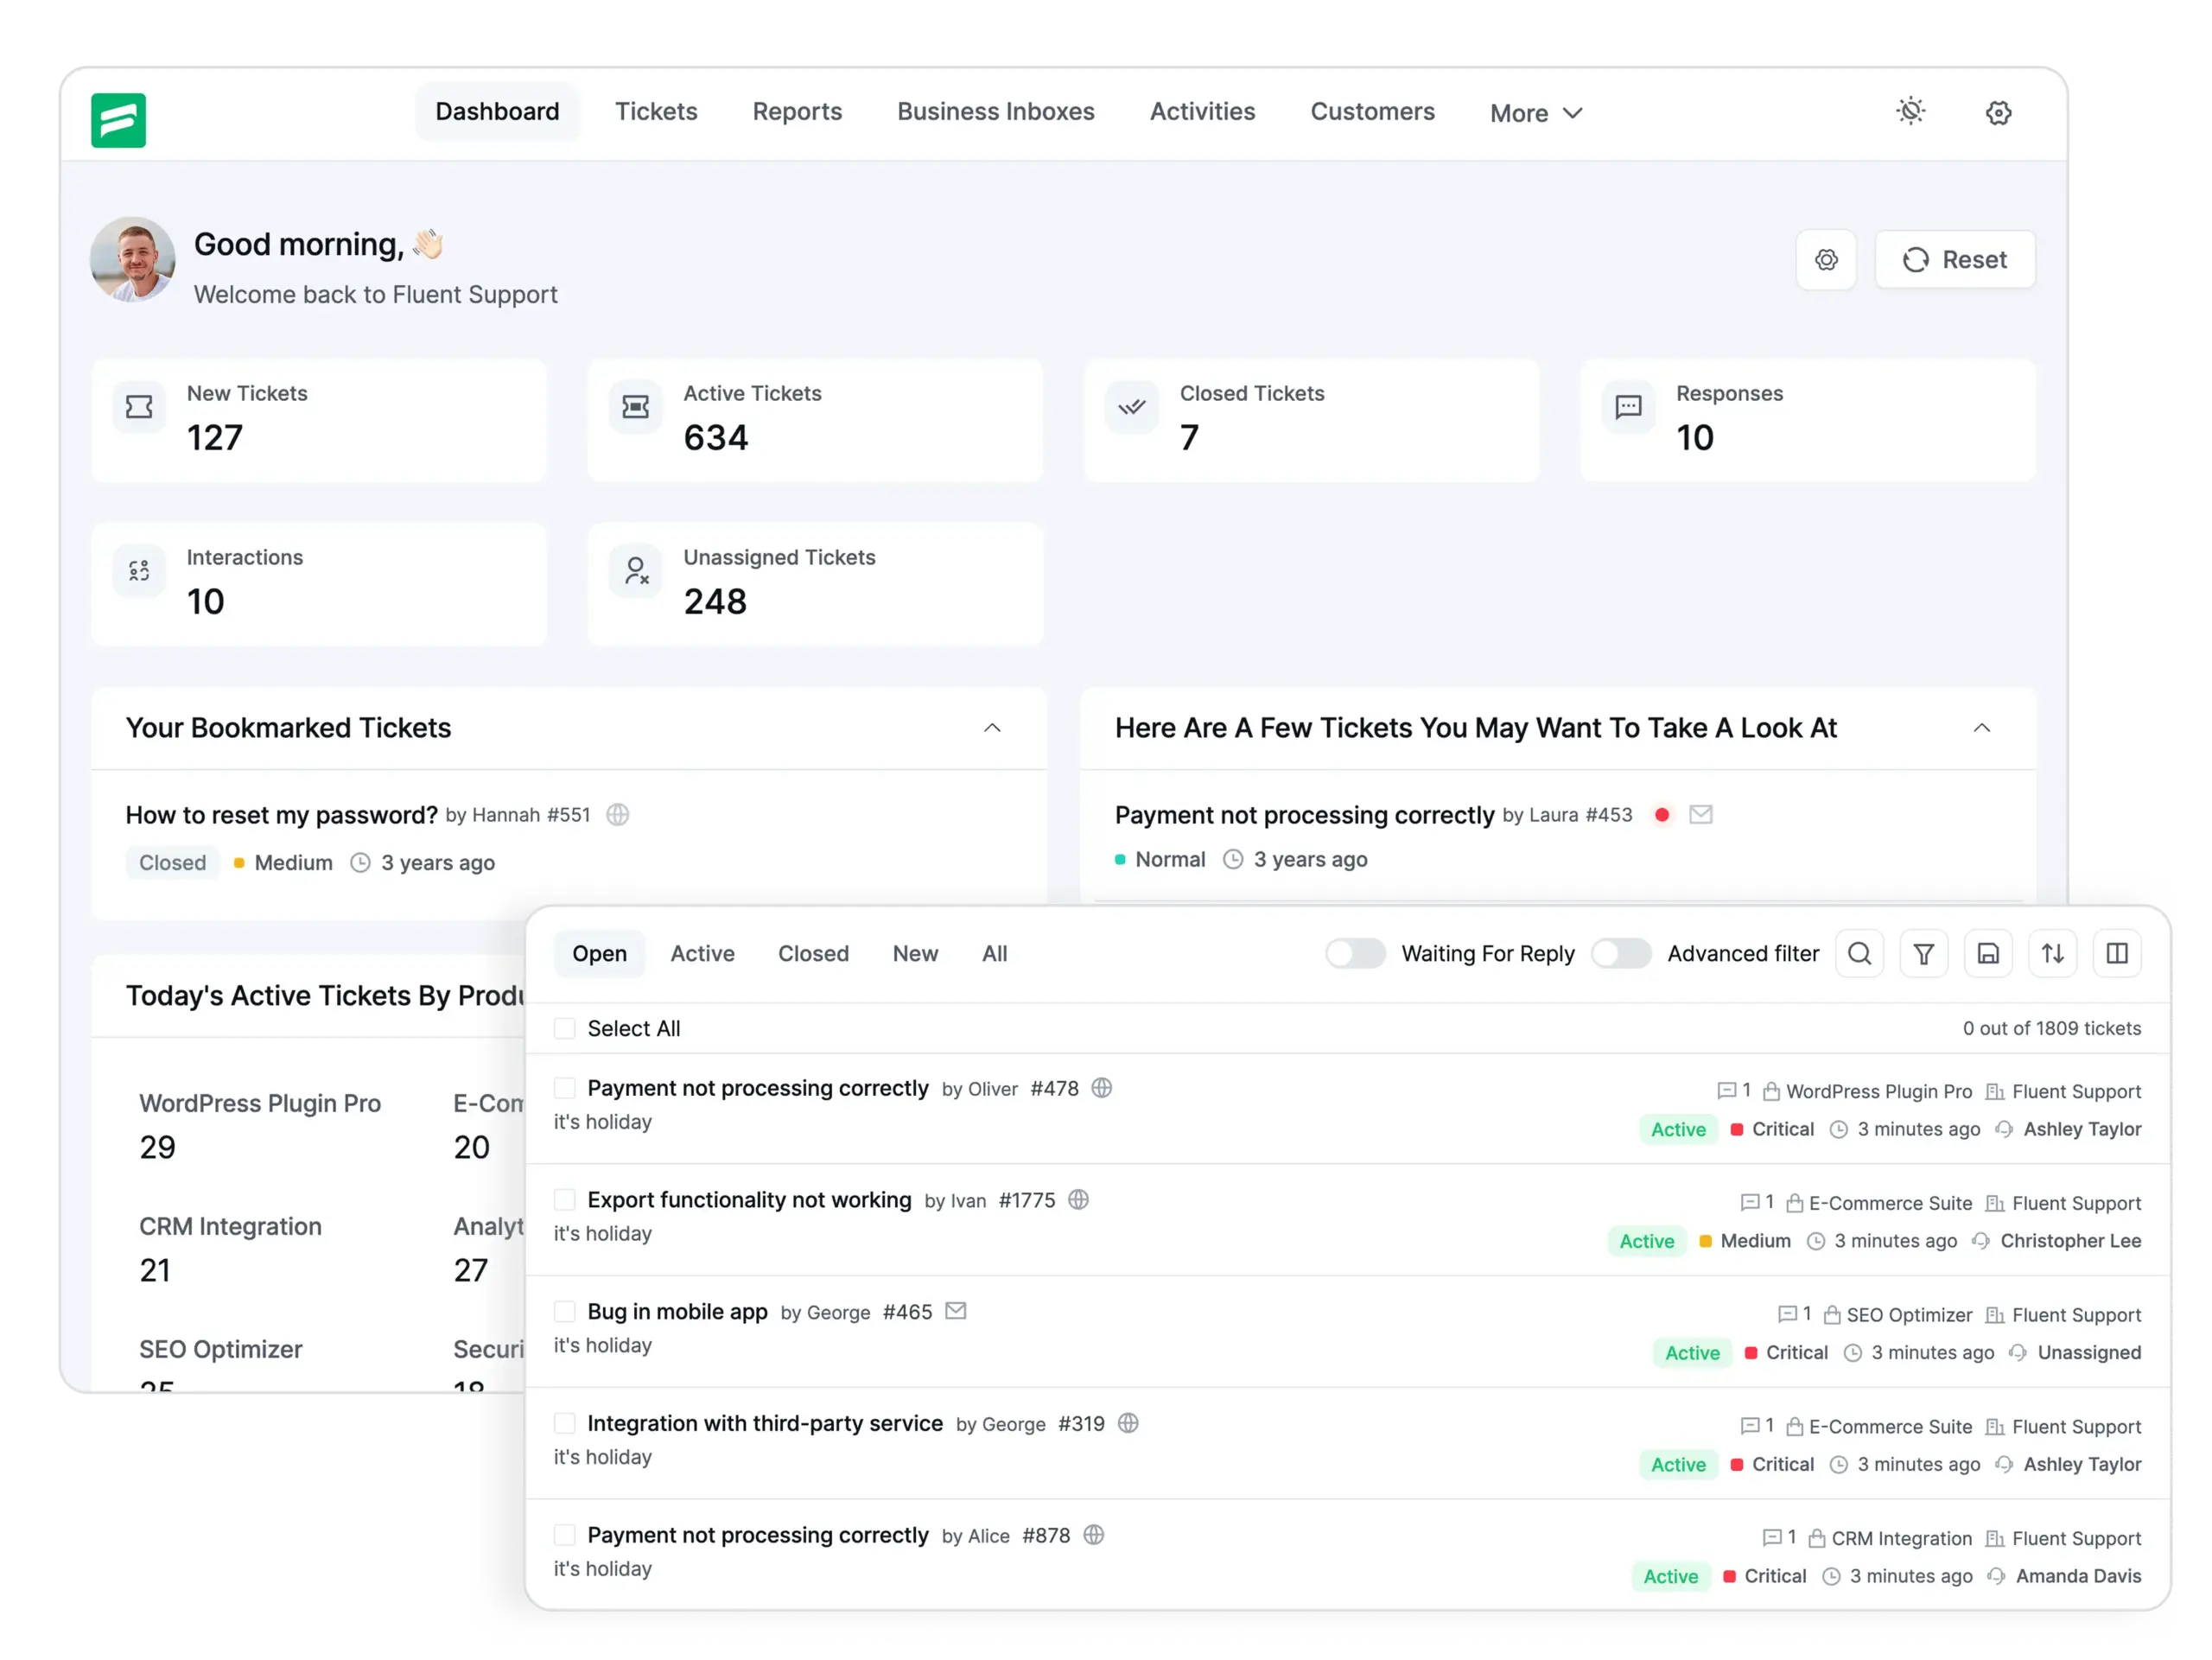
Fluent Support runs inside WordPress. No external platform, no monthly per-agent fee. This page takes you from a fresh install to a fully running support desk, step by step.
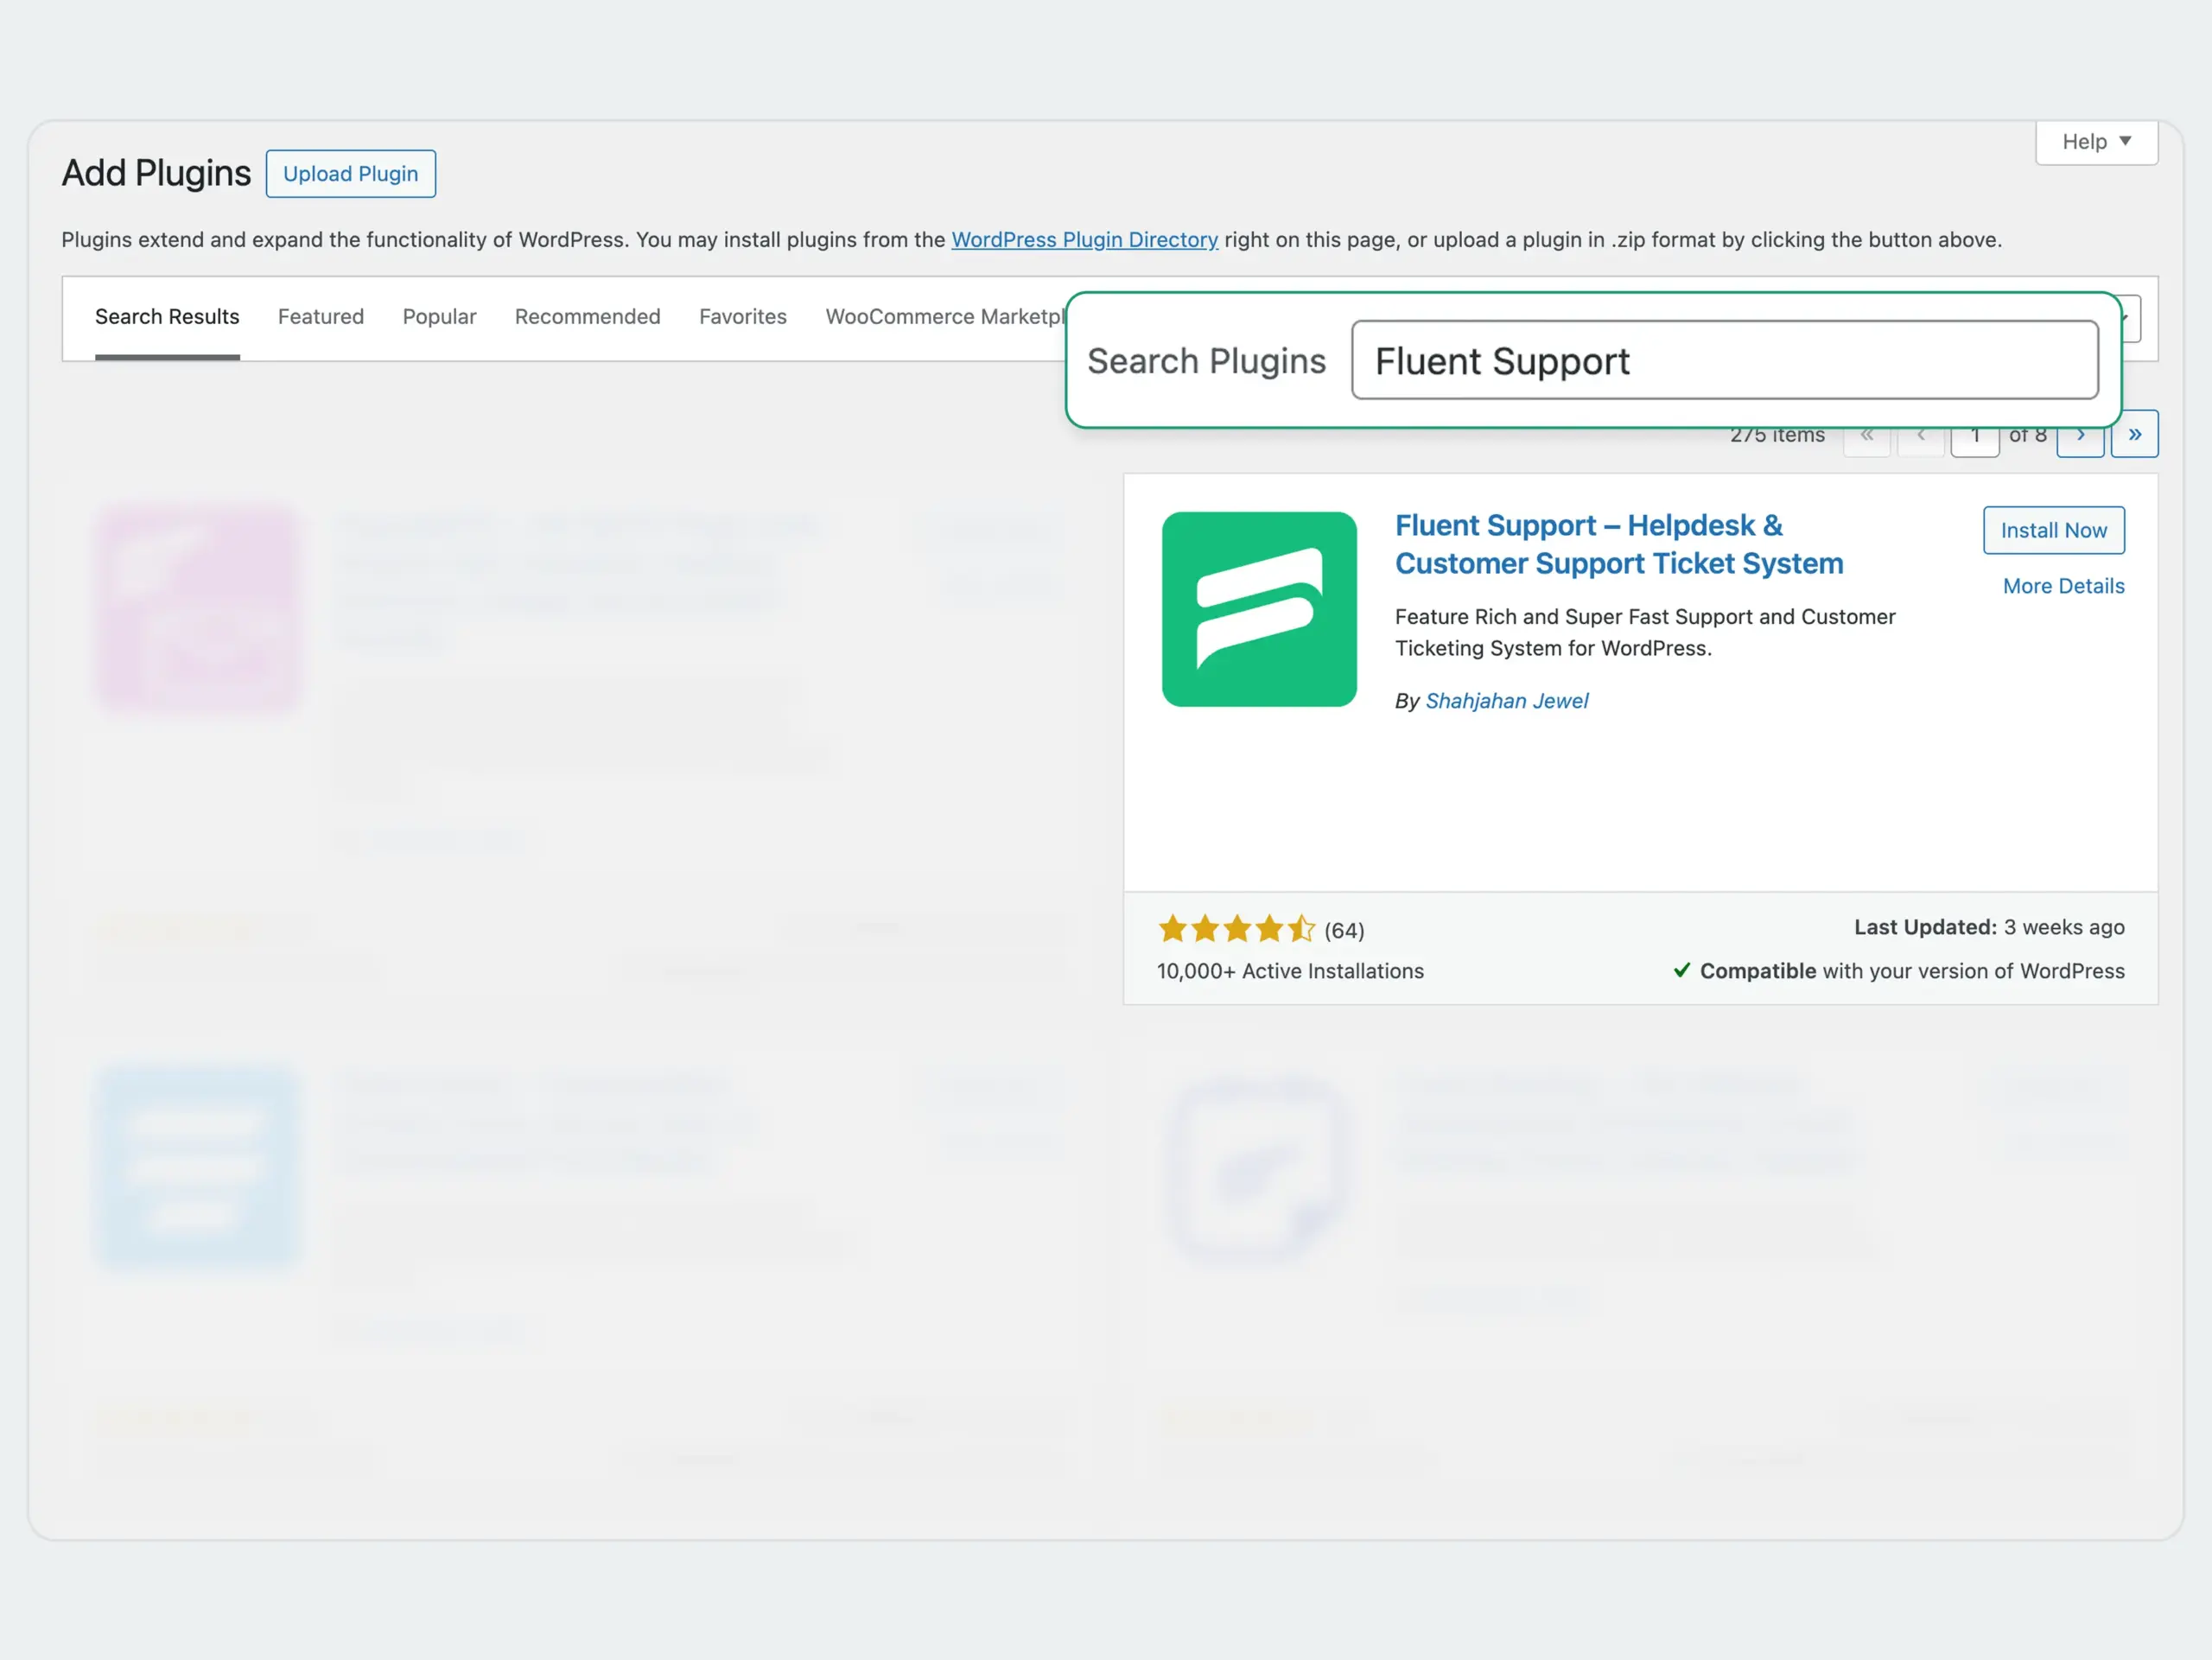
Free plugin, from WordPress.org
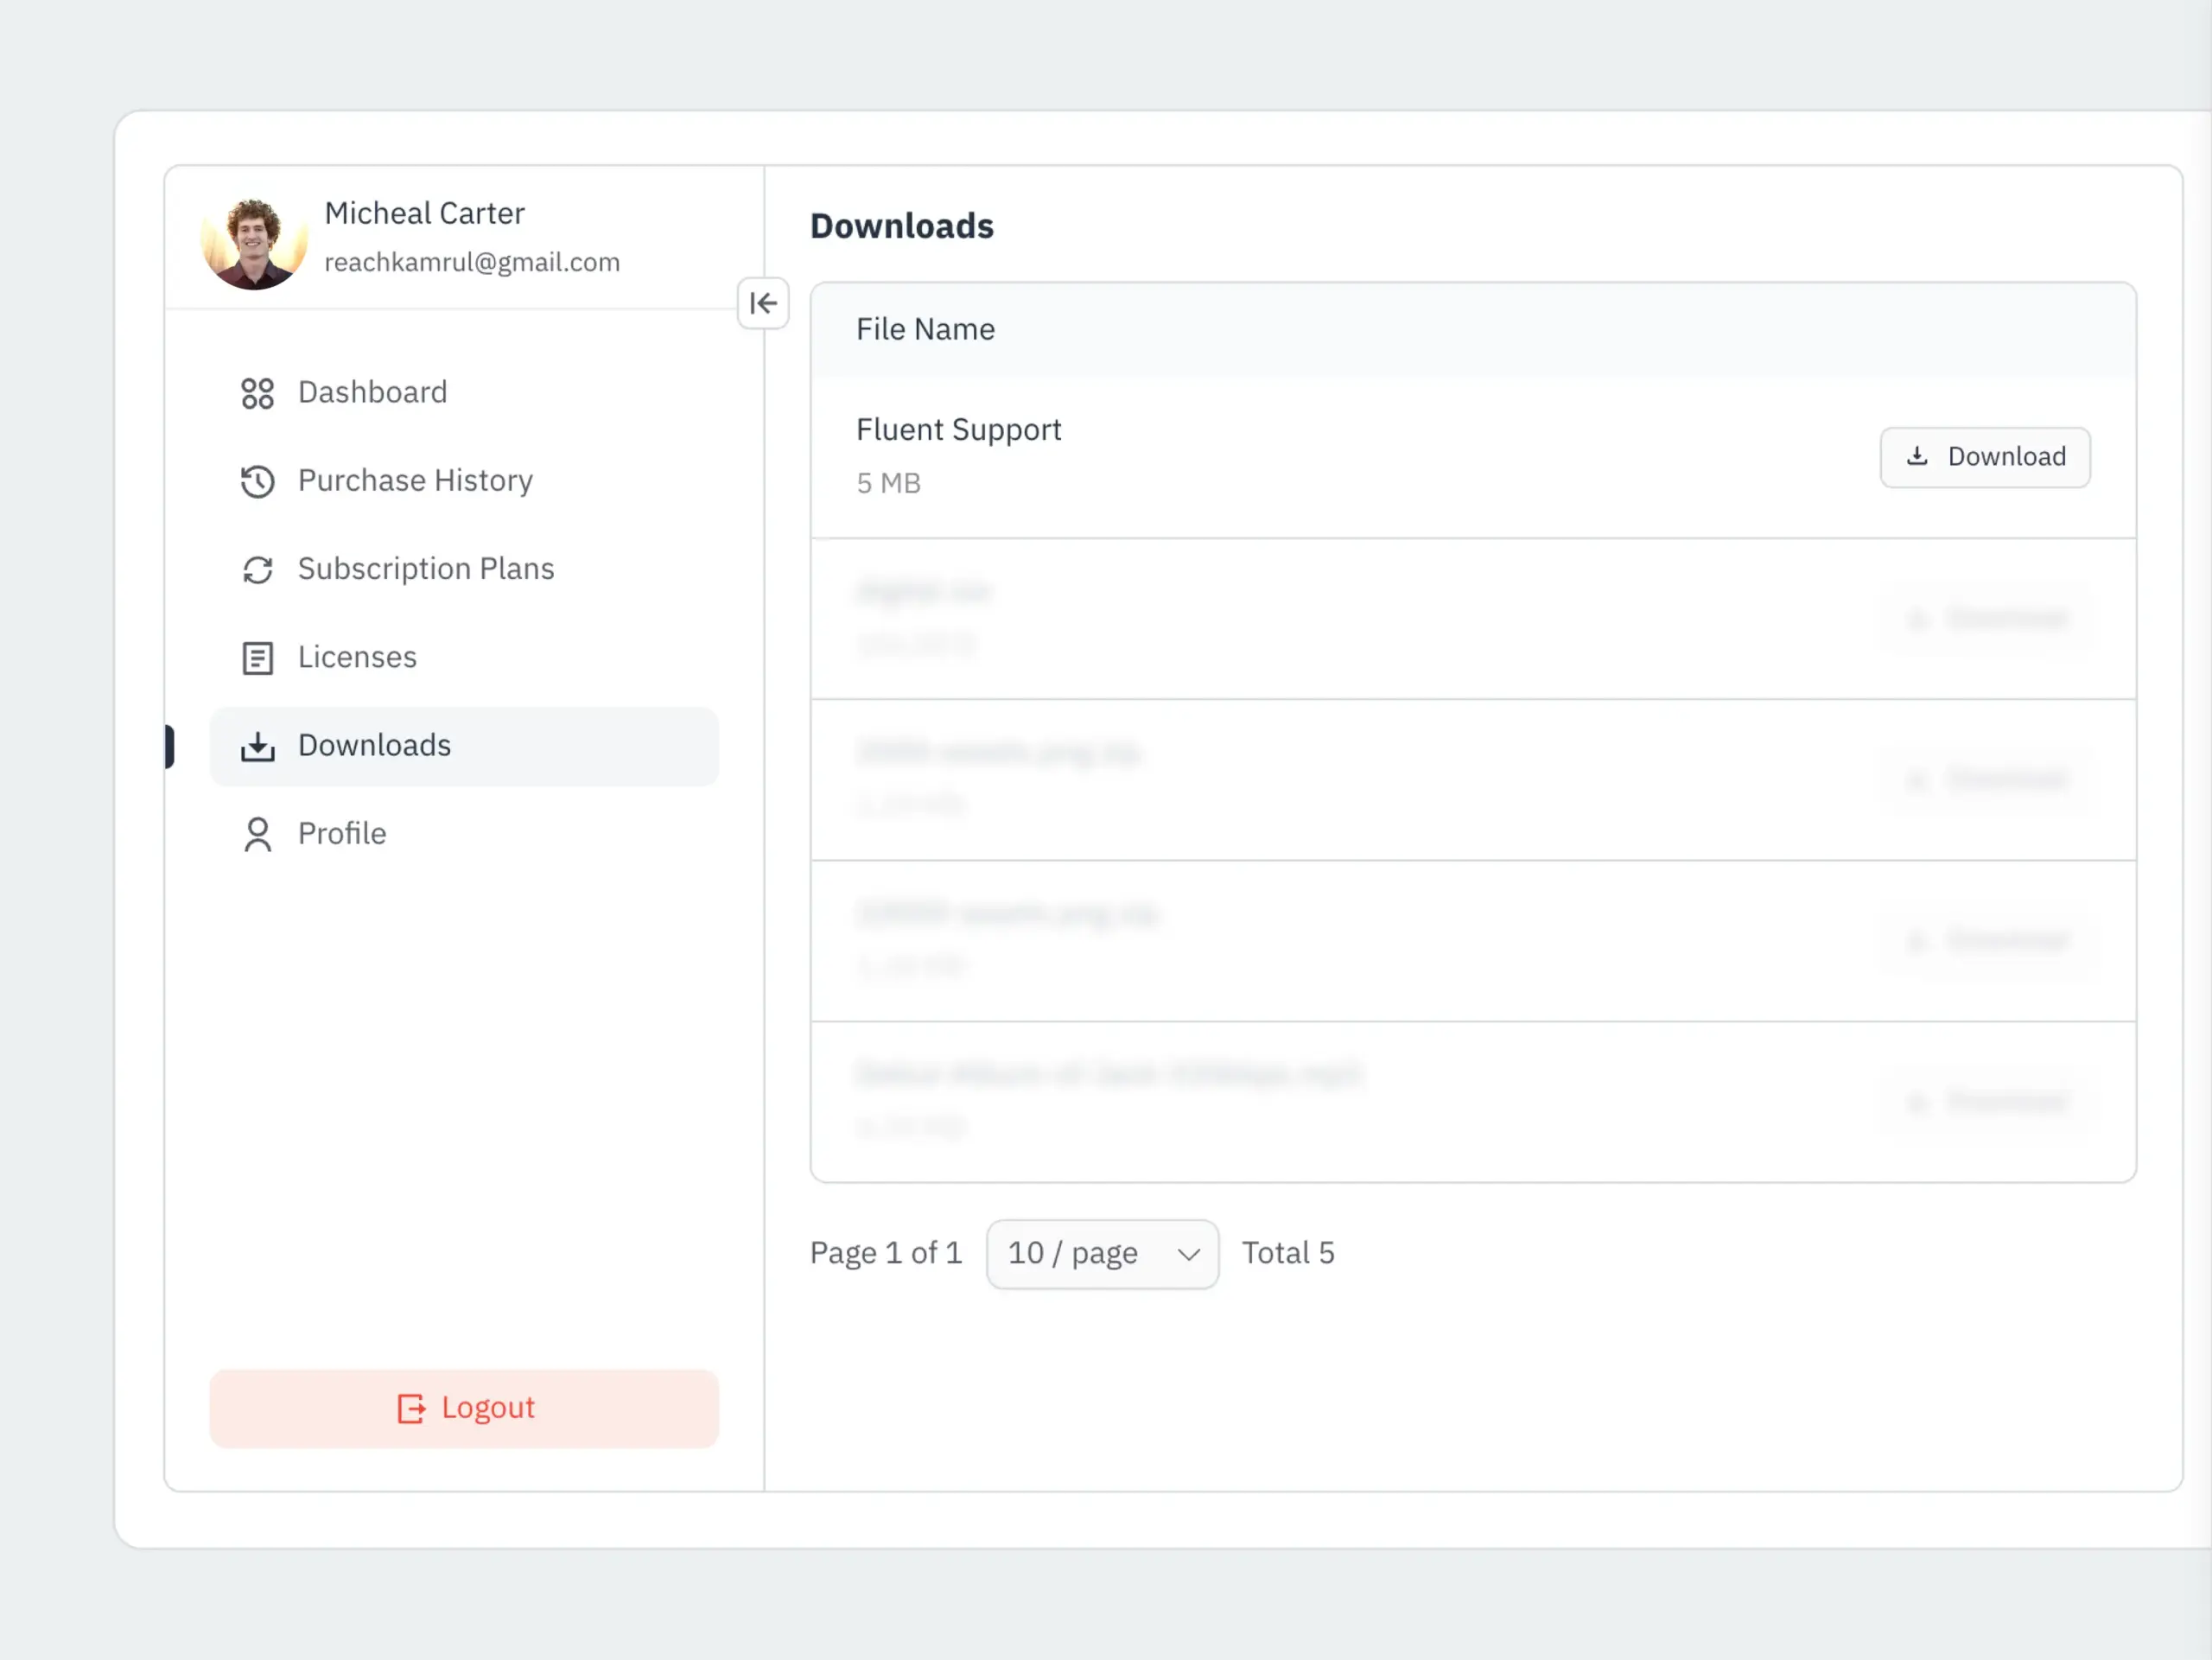
Pro add-on, if you have a license
Download the .zip from your Fluent Support account, then
Once activated, enter your license key under
The Pro add-on requires the free plugin to be installed and active first. Install in that order.
Minimum requirements: WordPress 5.6+, PHP 7.3+, MySQL 5.7+
Fluent Support launches an onboarding wizard the first time you activate it. It takes two screens.
The first screen asks for your Business Name, Business Email, and a Support Portal Page, the page where customers will submit and track their tickets.
Select an existing page from the dropdown, or check Create a page automatically with the shortcode and Fluent Support creates the page for you.
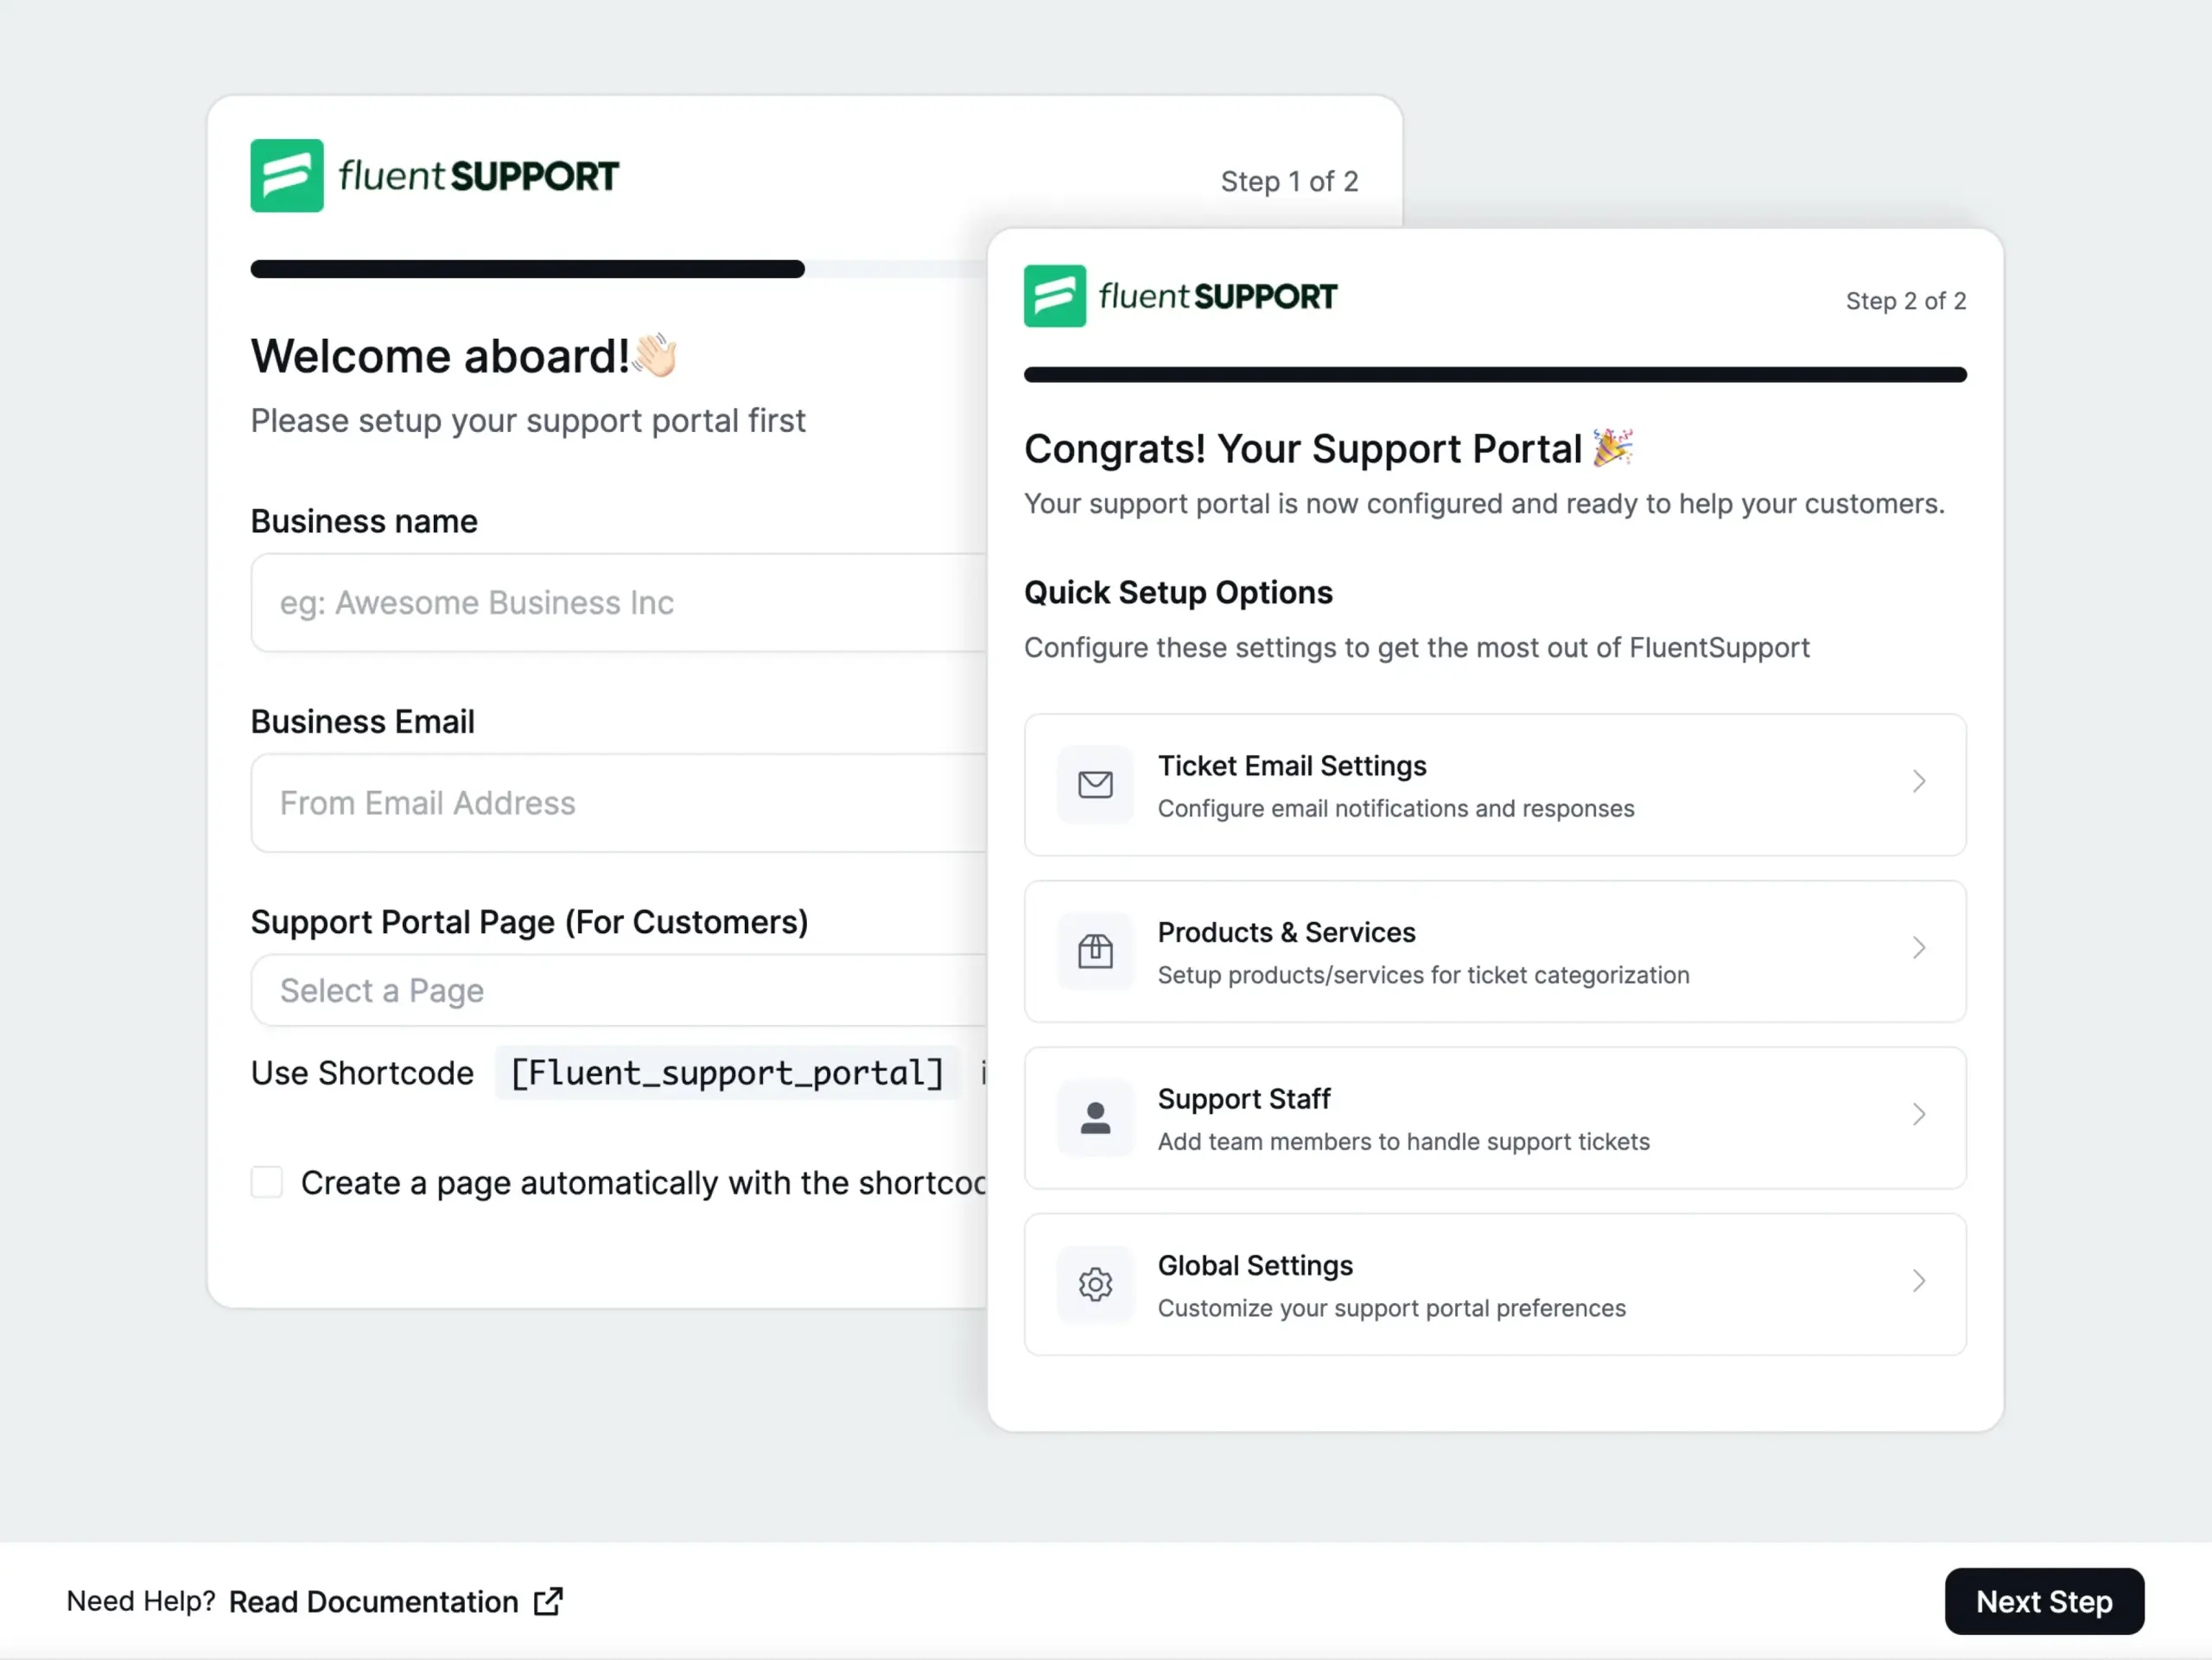
Once you finish, Fluent Support creates your first Business Inbox automatically, a web-based support channel linked to the portal page you just selected. Your customers can submit a ticket there. Click Dashboard to enter Fluent Support.
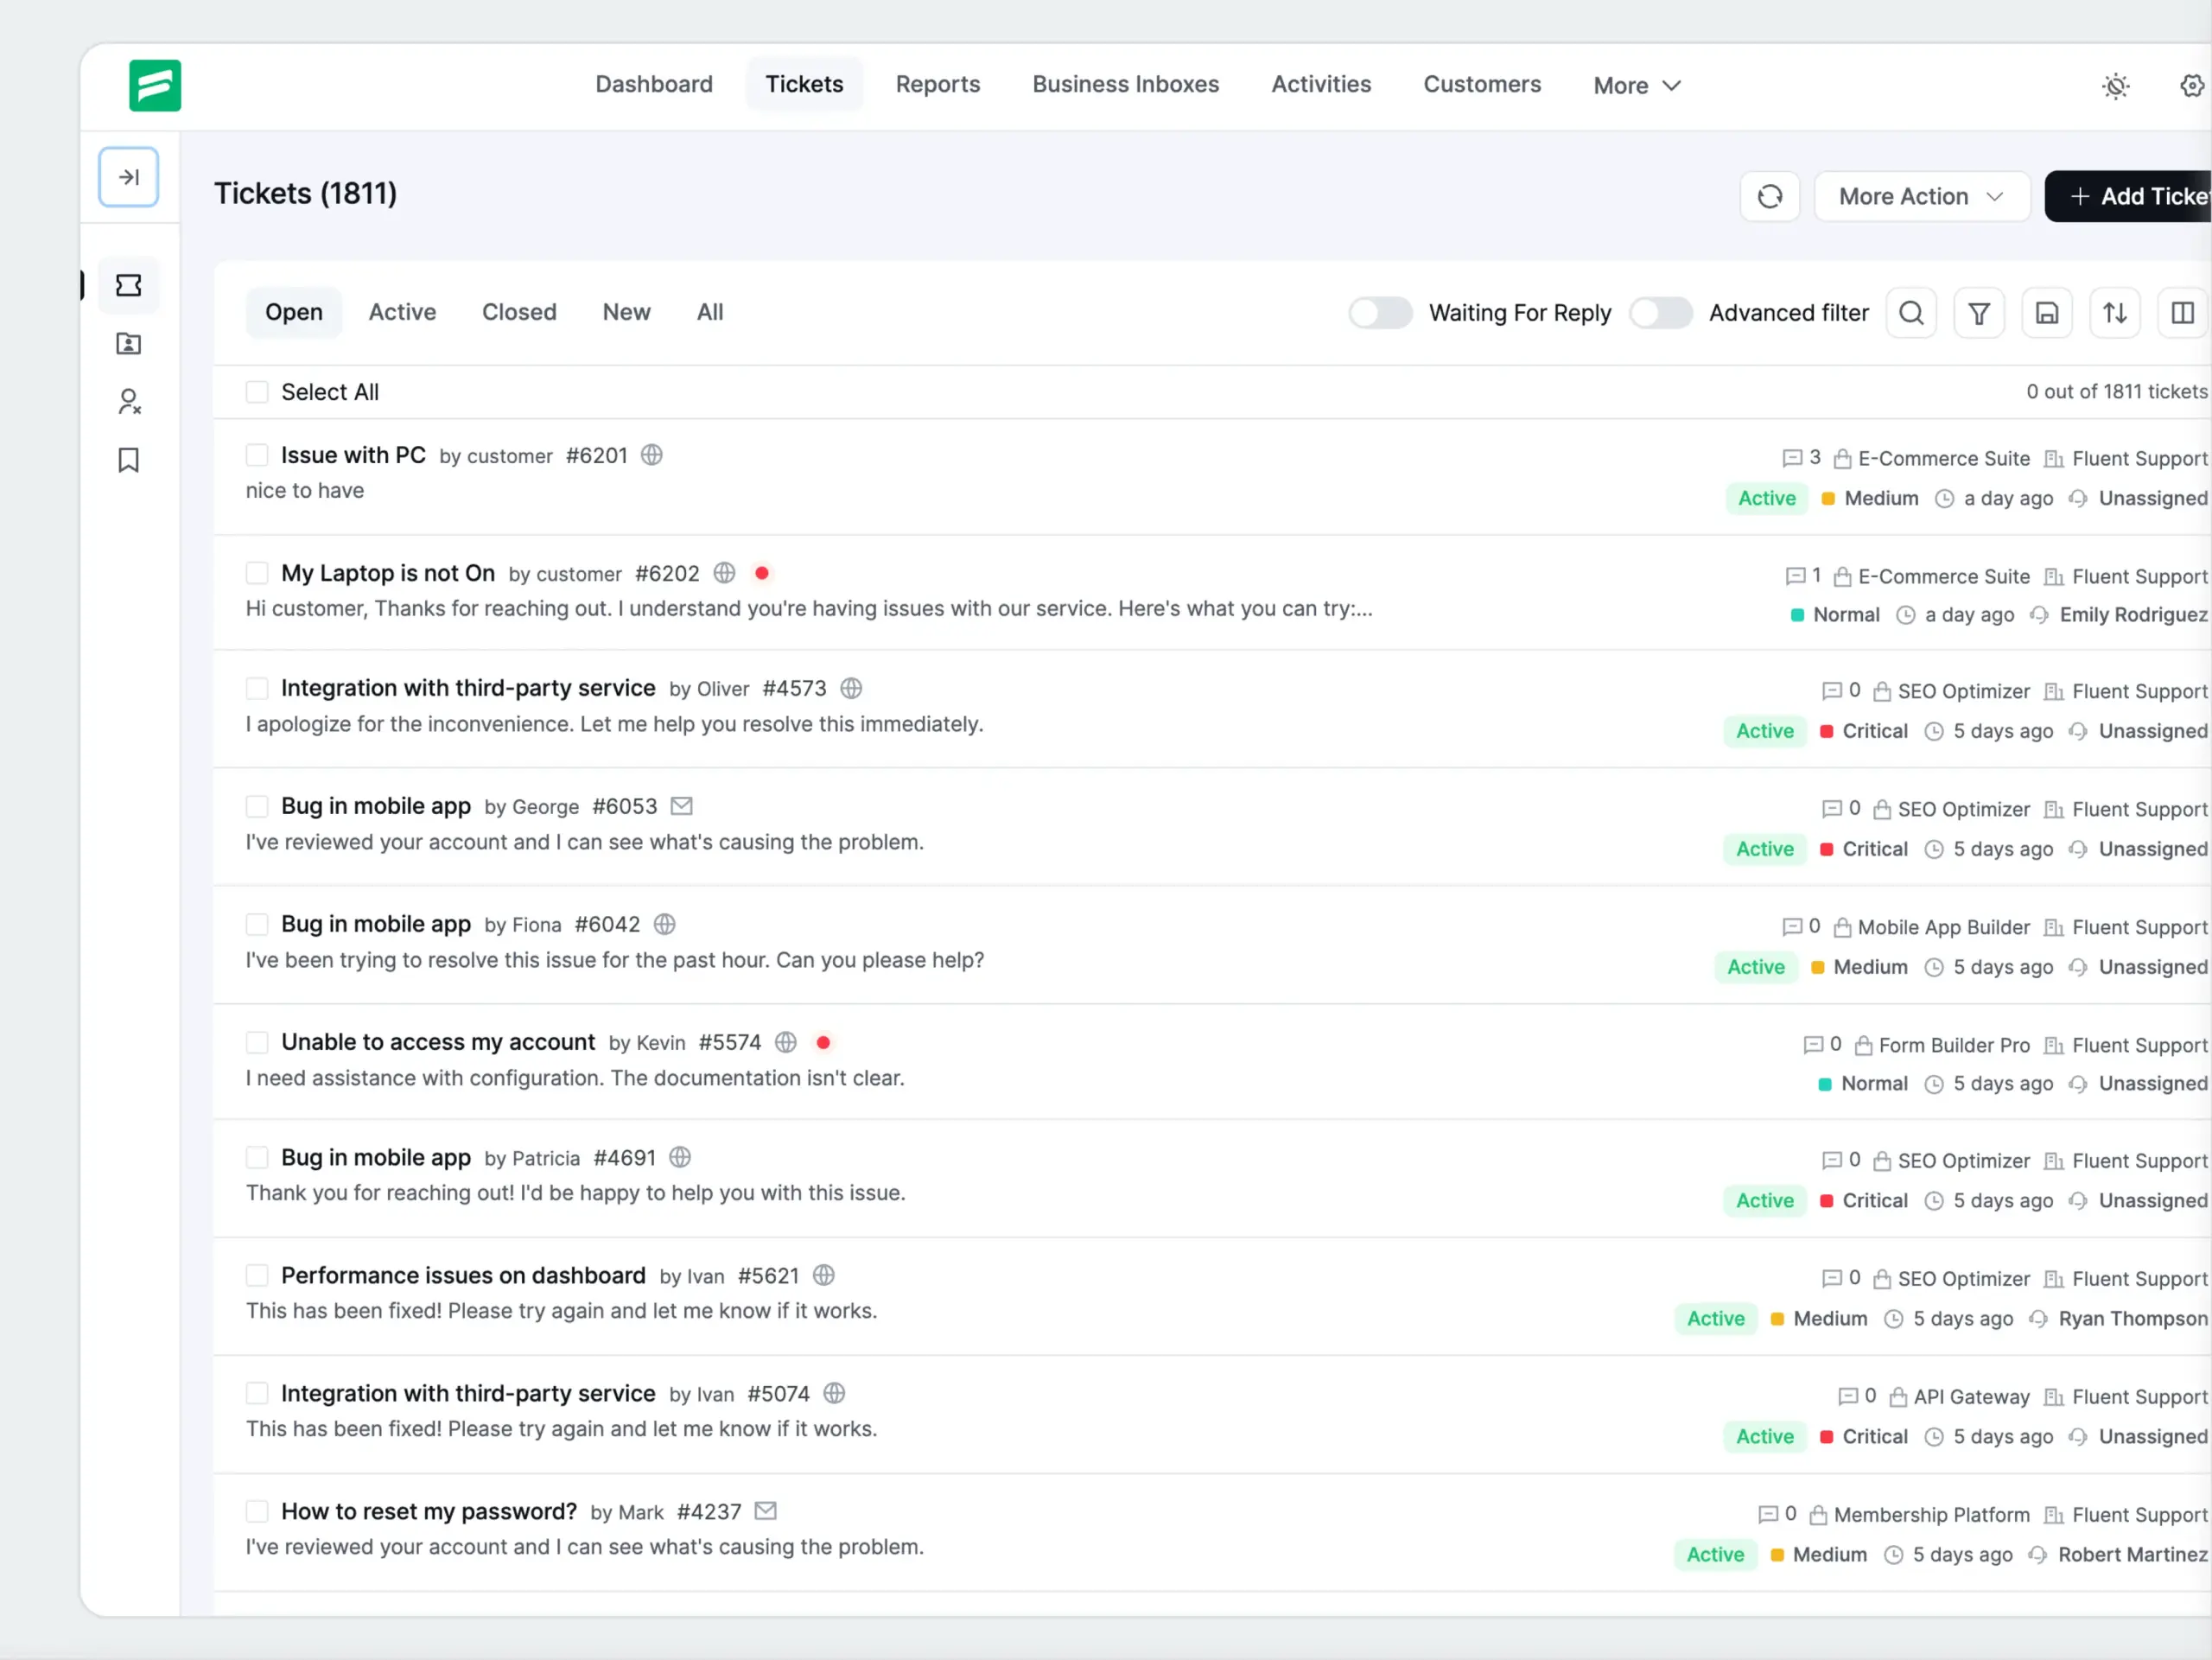
Every support desk needs three things before it can take its first ticket: a configured inbox, email connected (if you want it), and at least one agent assigned.
Step 3, Configure Your Inbox, Email, and Agents
Configure your Business Inbox
Go to
Your first inbox was created by the wizard. Click its name to open the settings. Set the Inbox Title, confirm the Business Email, and choose your inbox type.
Need a separate inbox for a different brand, department, or product line? Click Add New Business Inbox and configure it the same way.
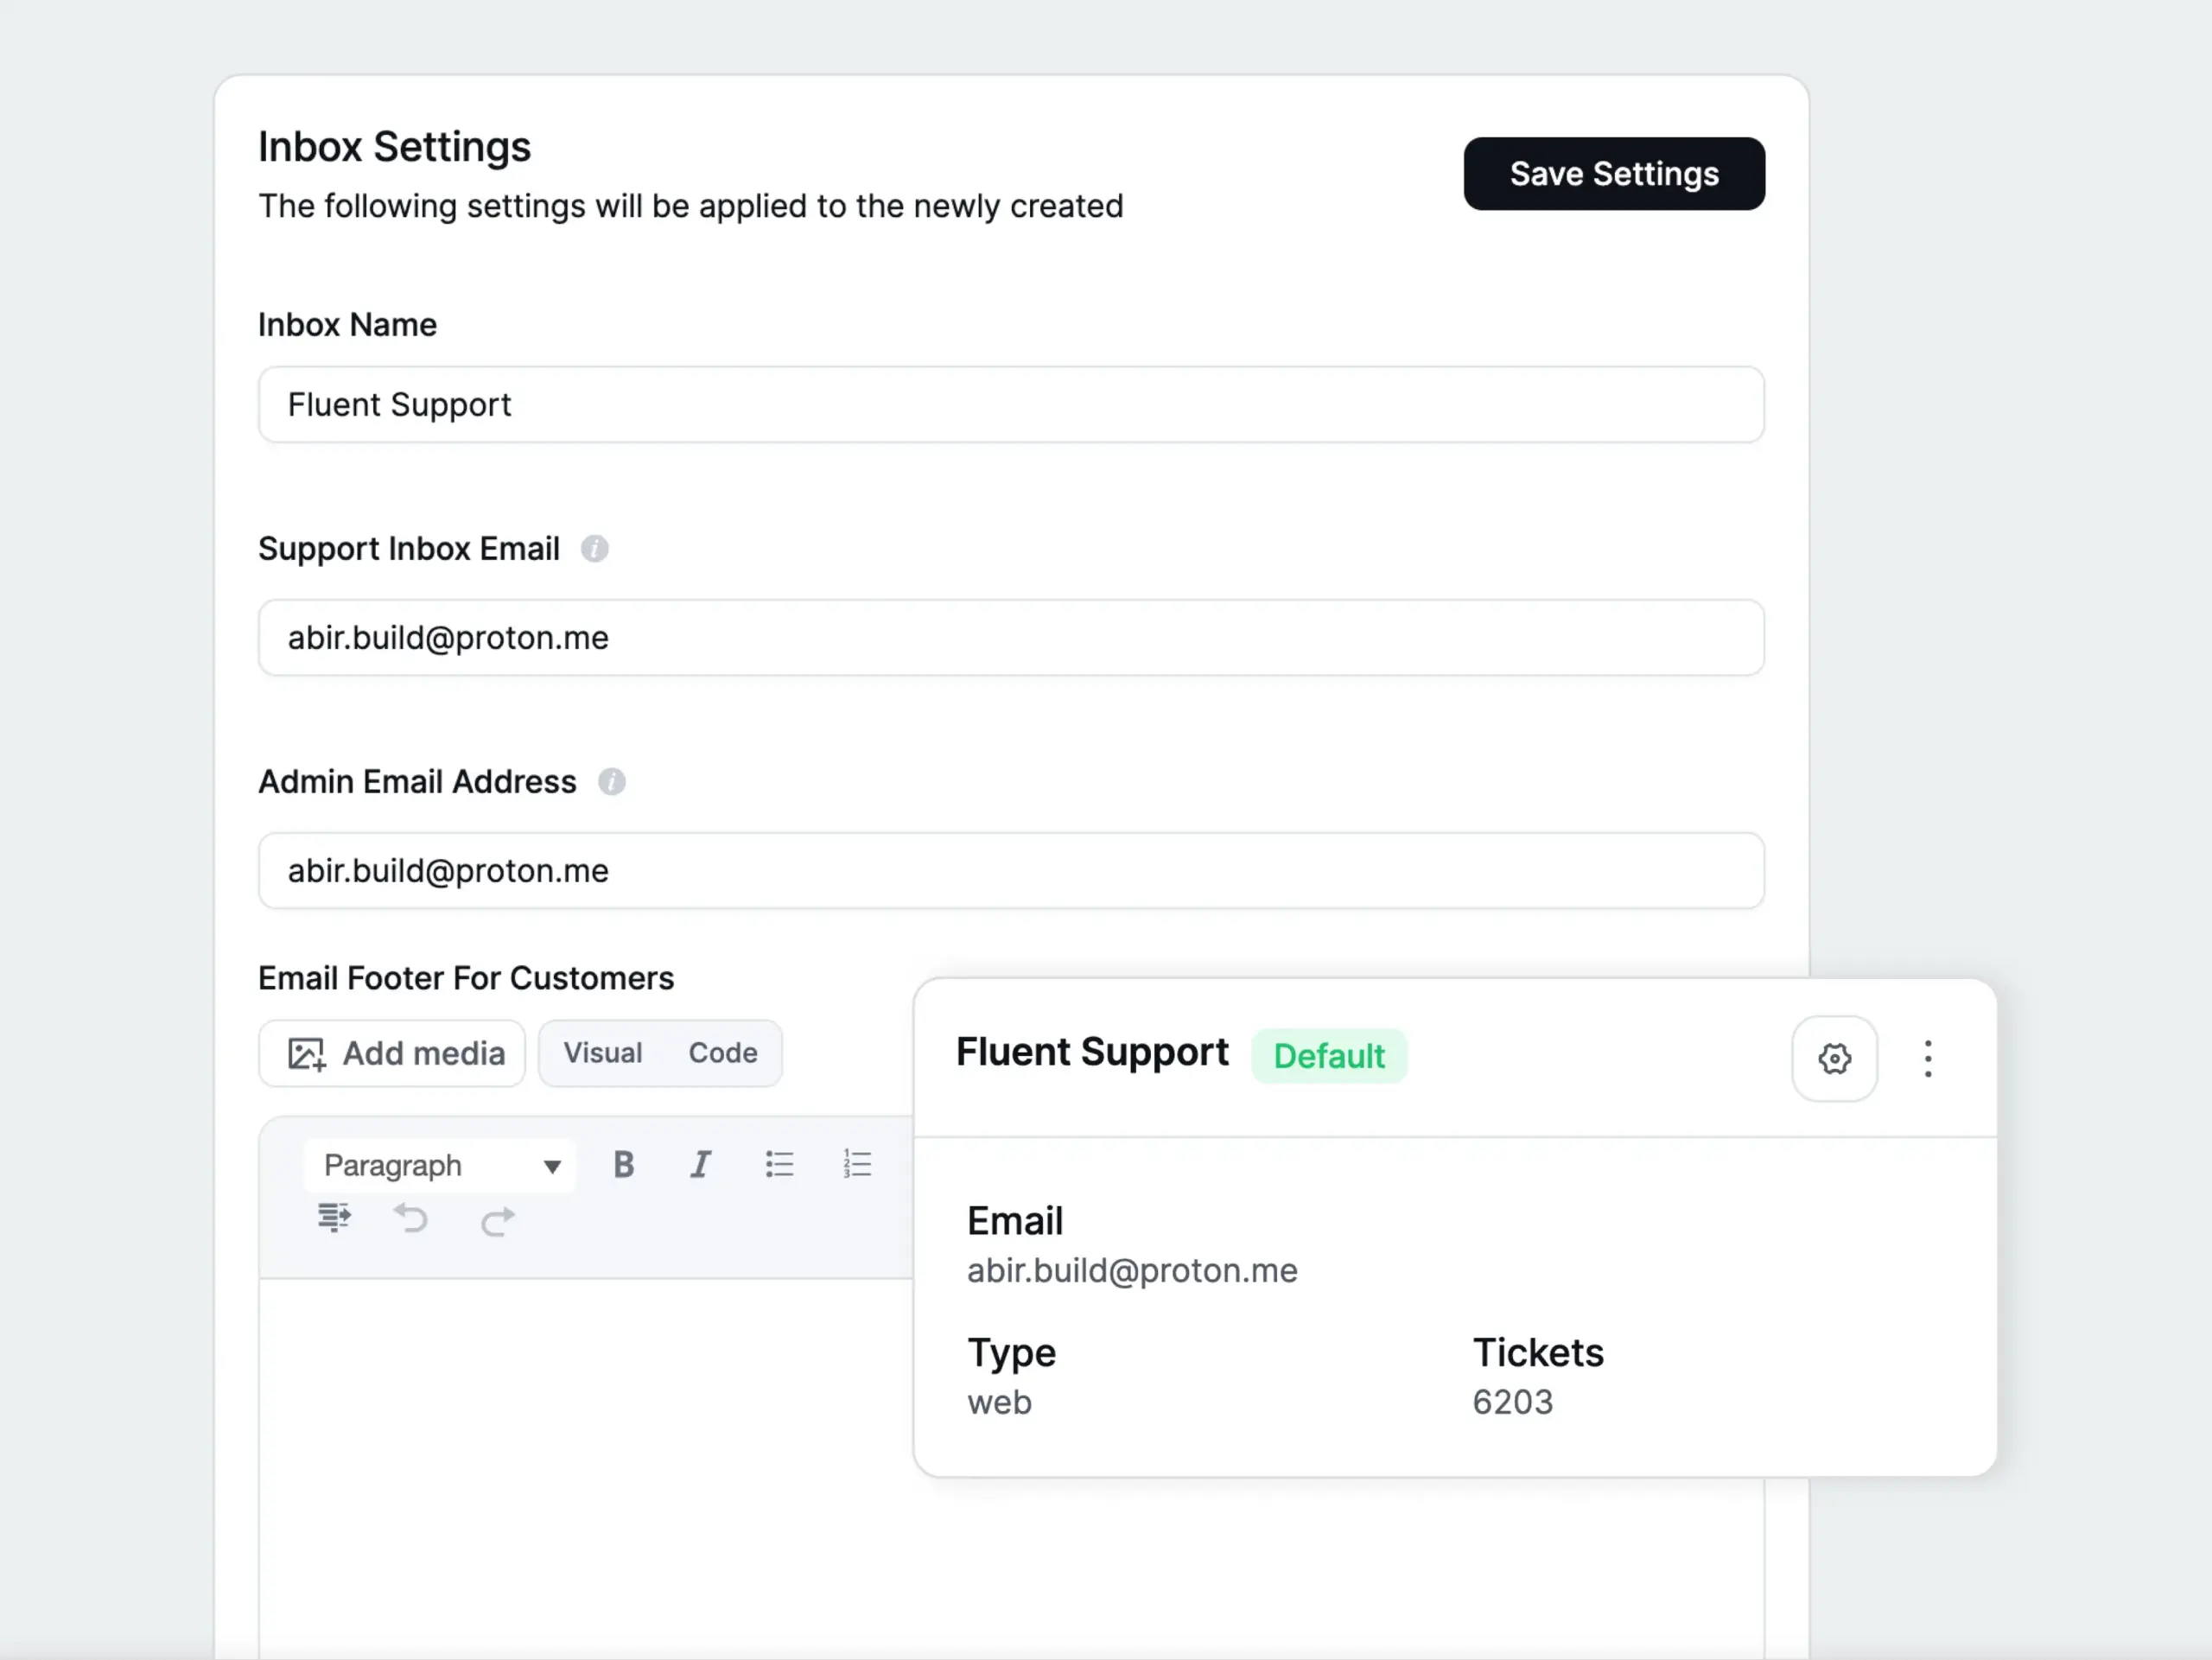
Web Only, tickets come in through the portal form on your website.
Web & Email, tickets come in through the portal form and via email piping (it’s a Pro feature).
Set up email piping (Pro)
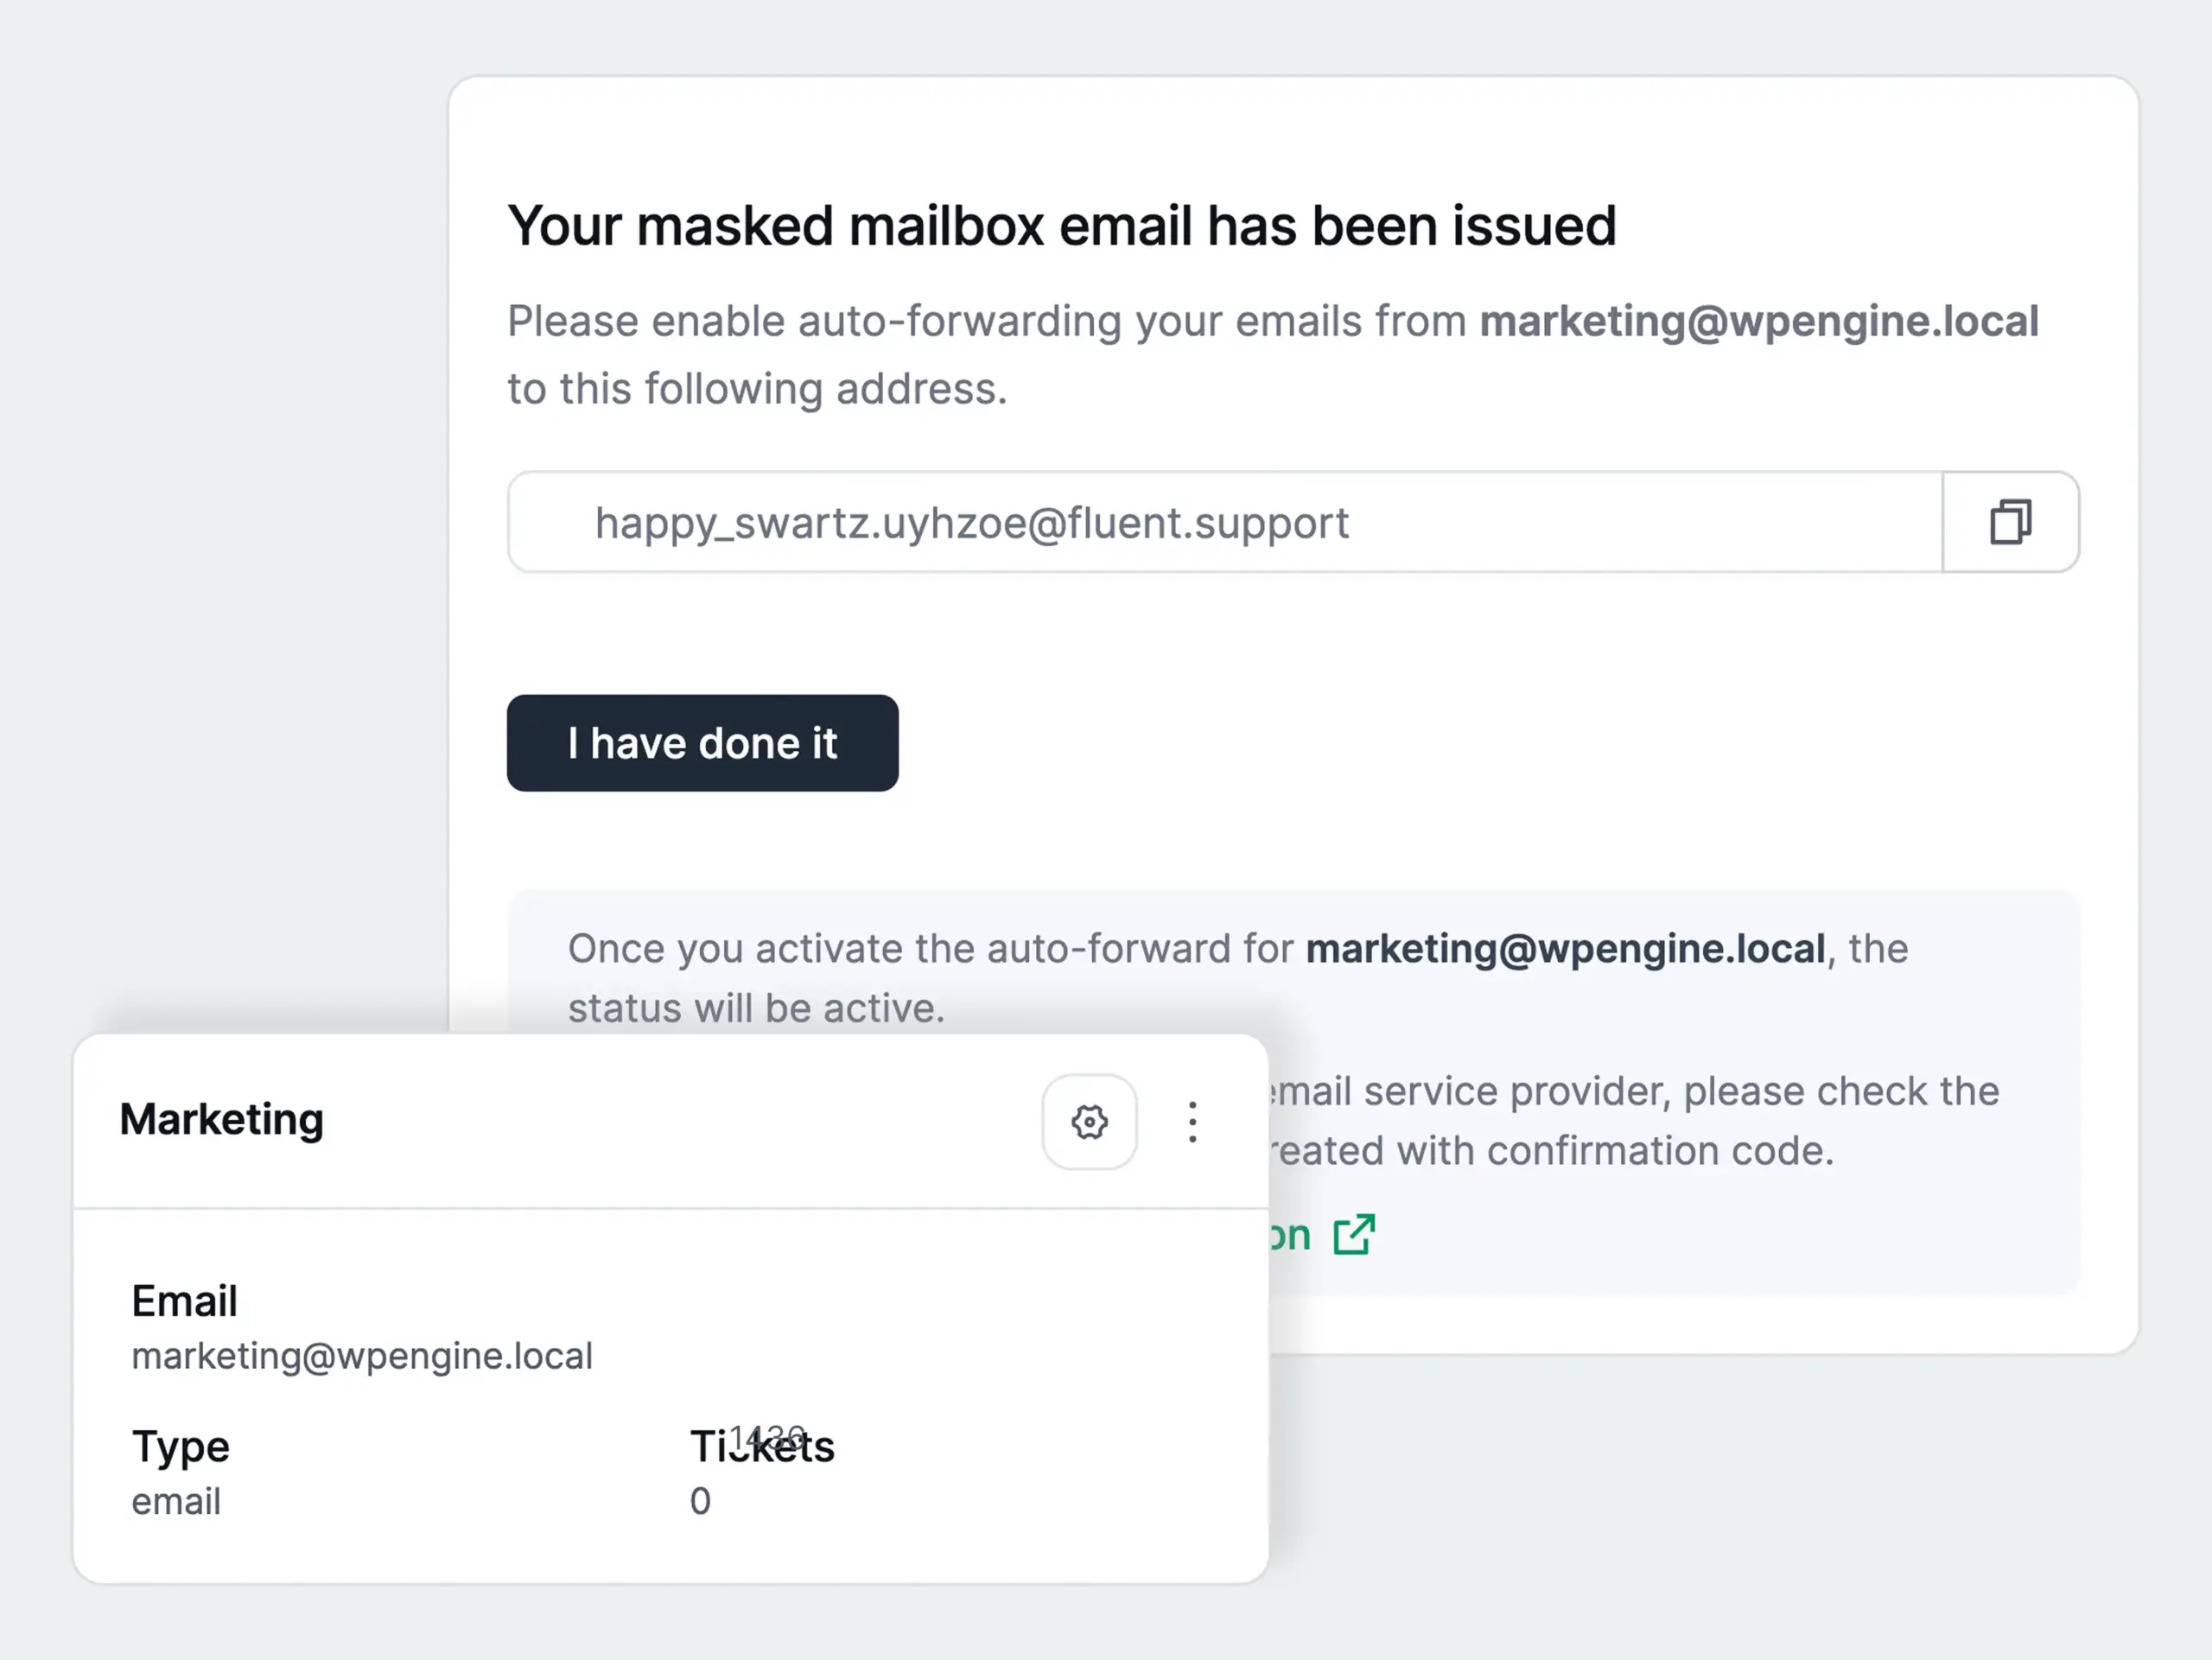
Email piping converts incoming emails directly into tickets. Go to
Accept the terms and click Get Piping Email Details. Fluent Support gives you a masked mailbox address. Now just follow the instructions.
After verification, every email sent to your support address will create a new ticket.
Add support agents
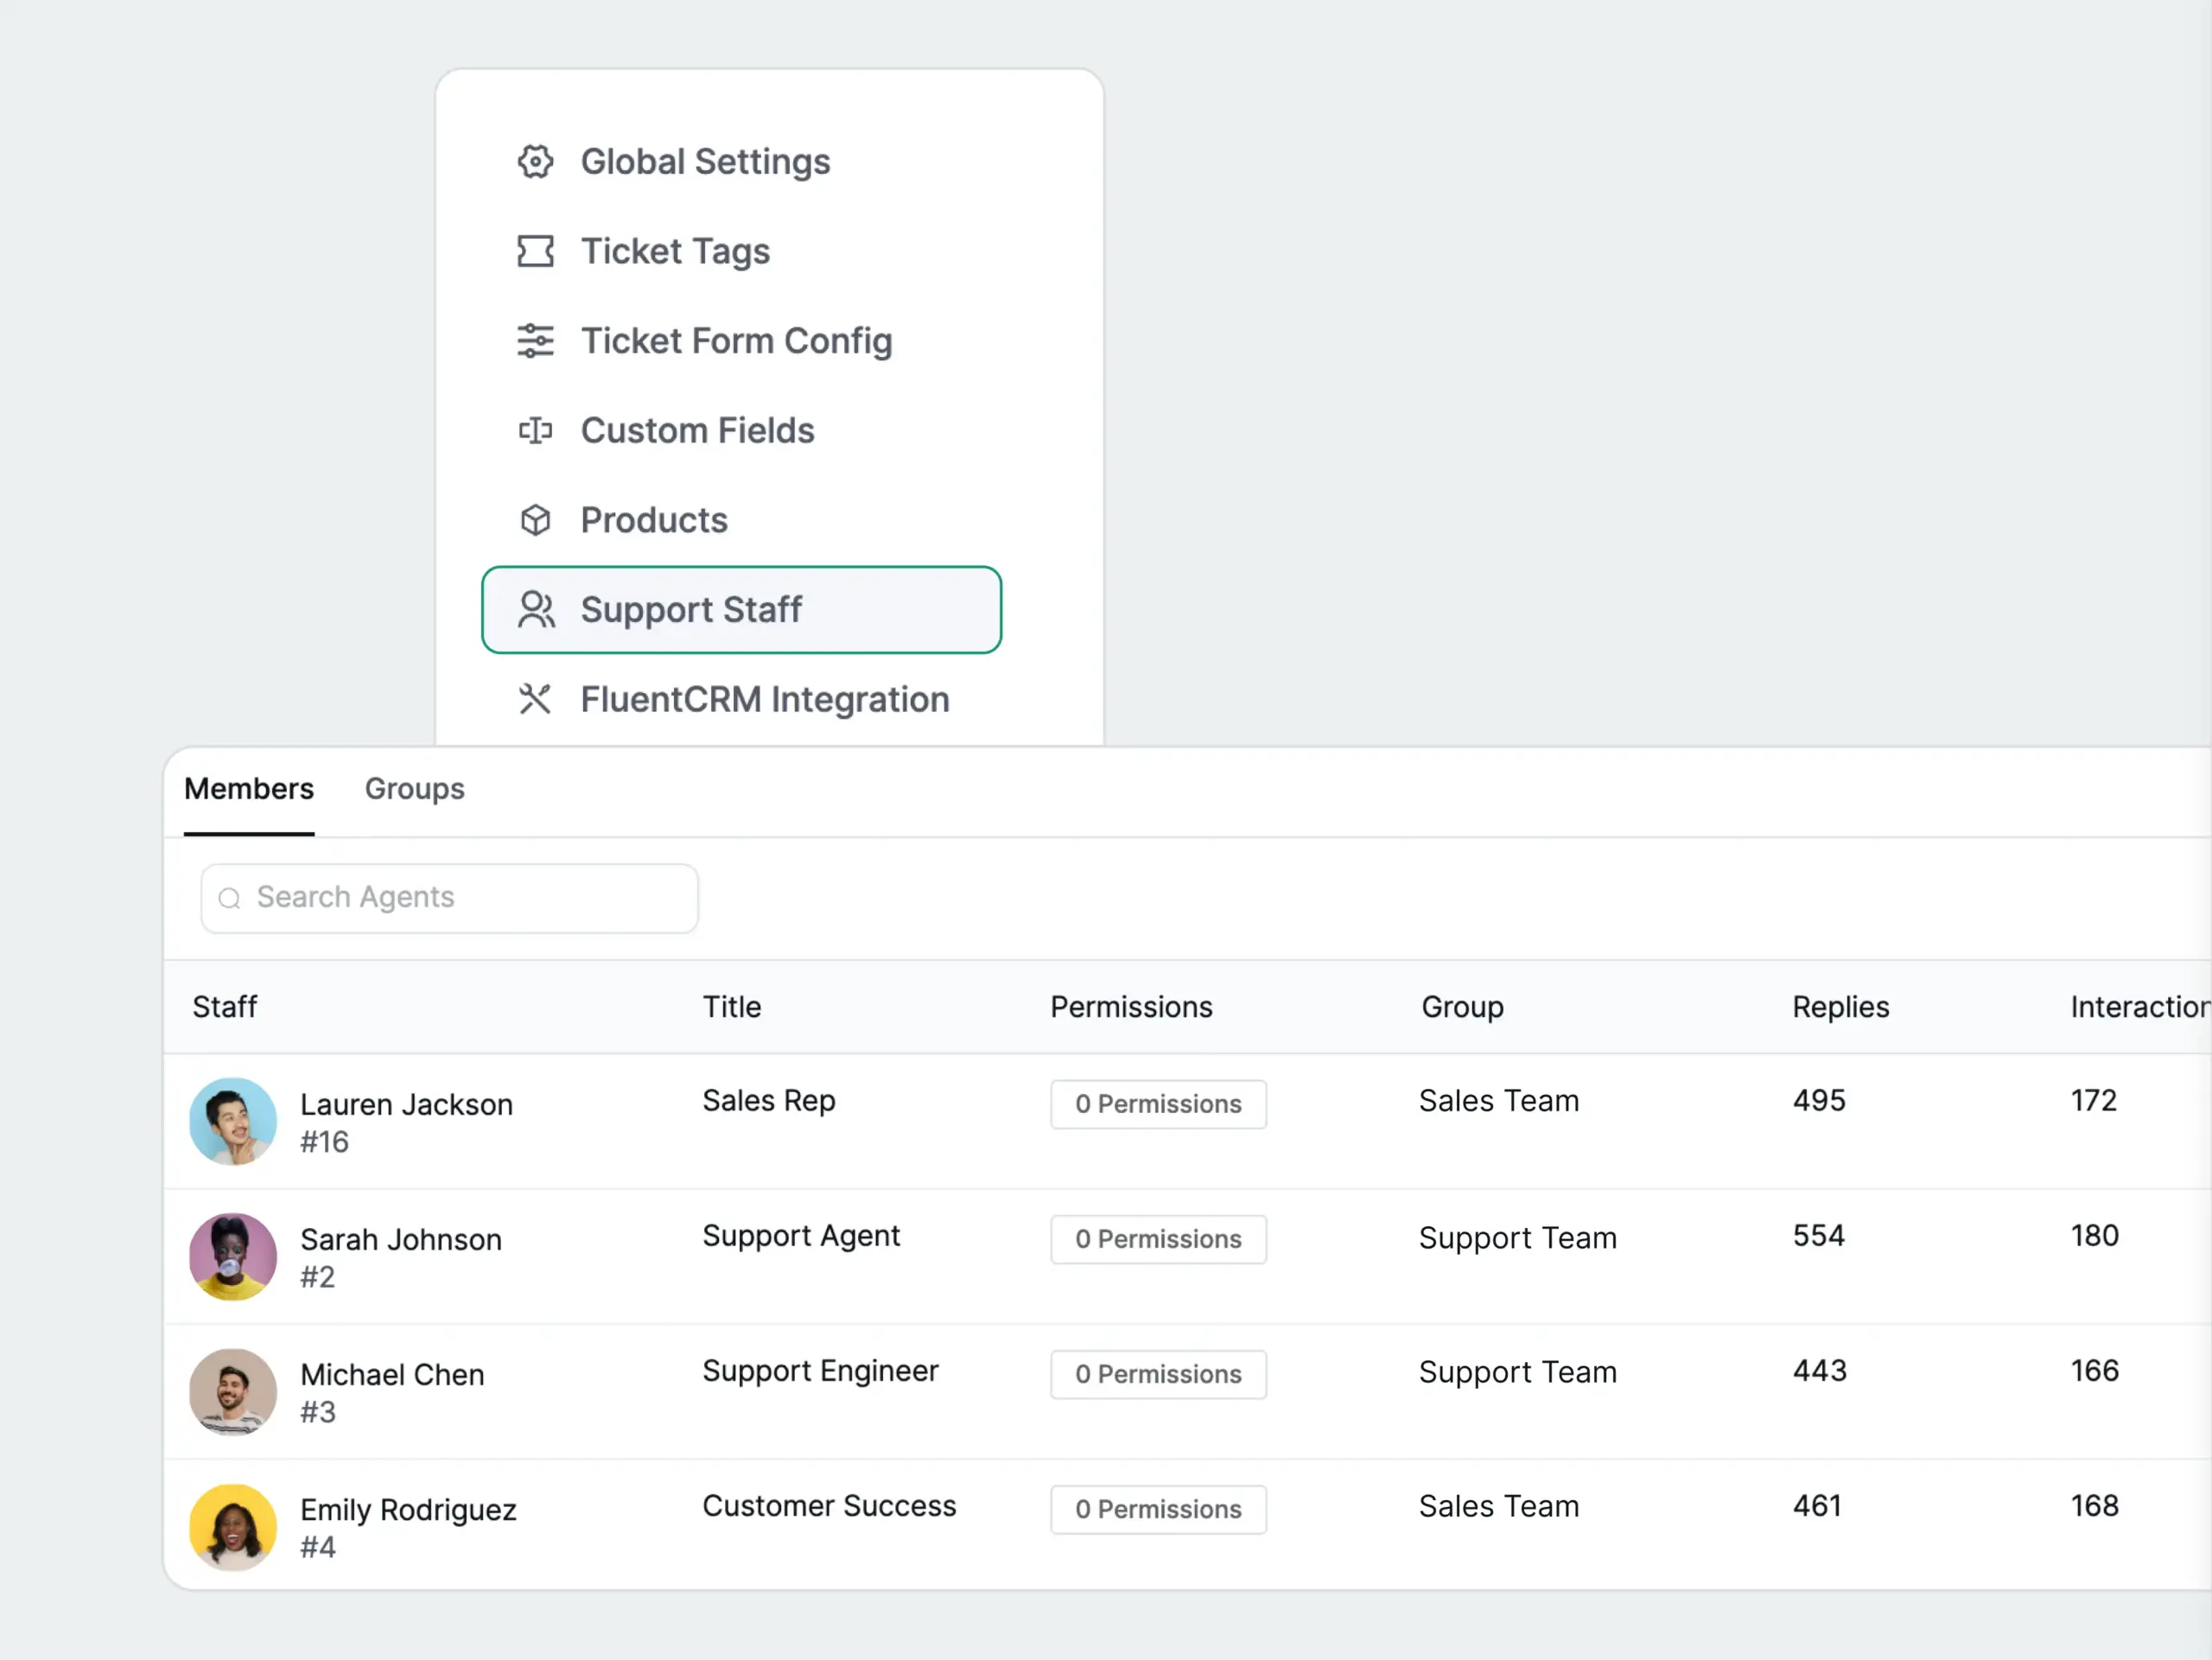
Go to
Fill in the agent’s name, email, and title, then assign permissions:
Optionally, scroll to Agent Signature and enable it. A rich text editor opens where you can write a custom sign-off that appends to the agent’s replies automatically.
Click Create to save.
Solo operator? Your WordPress admin account is already set as the default agent. You don’t need to add anyone else to take your first ticket.
Go to
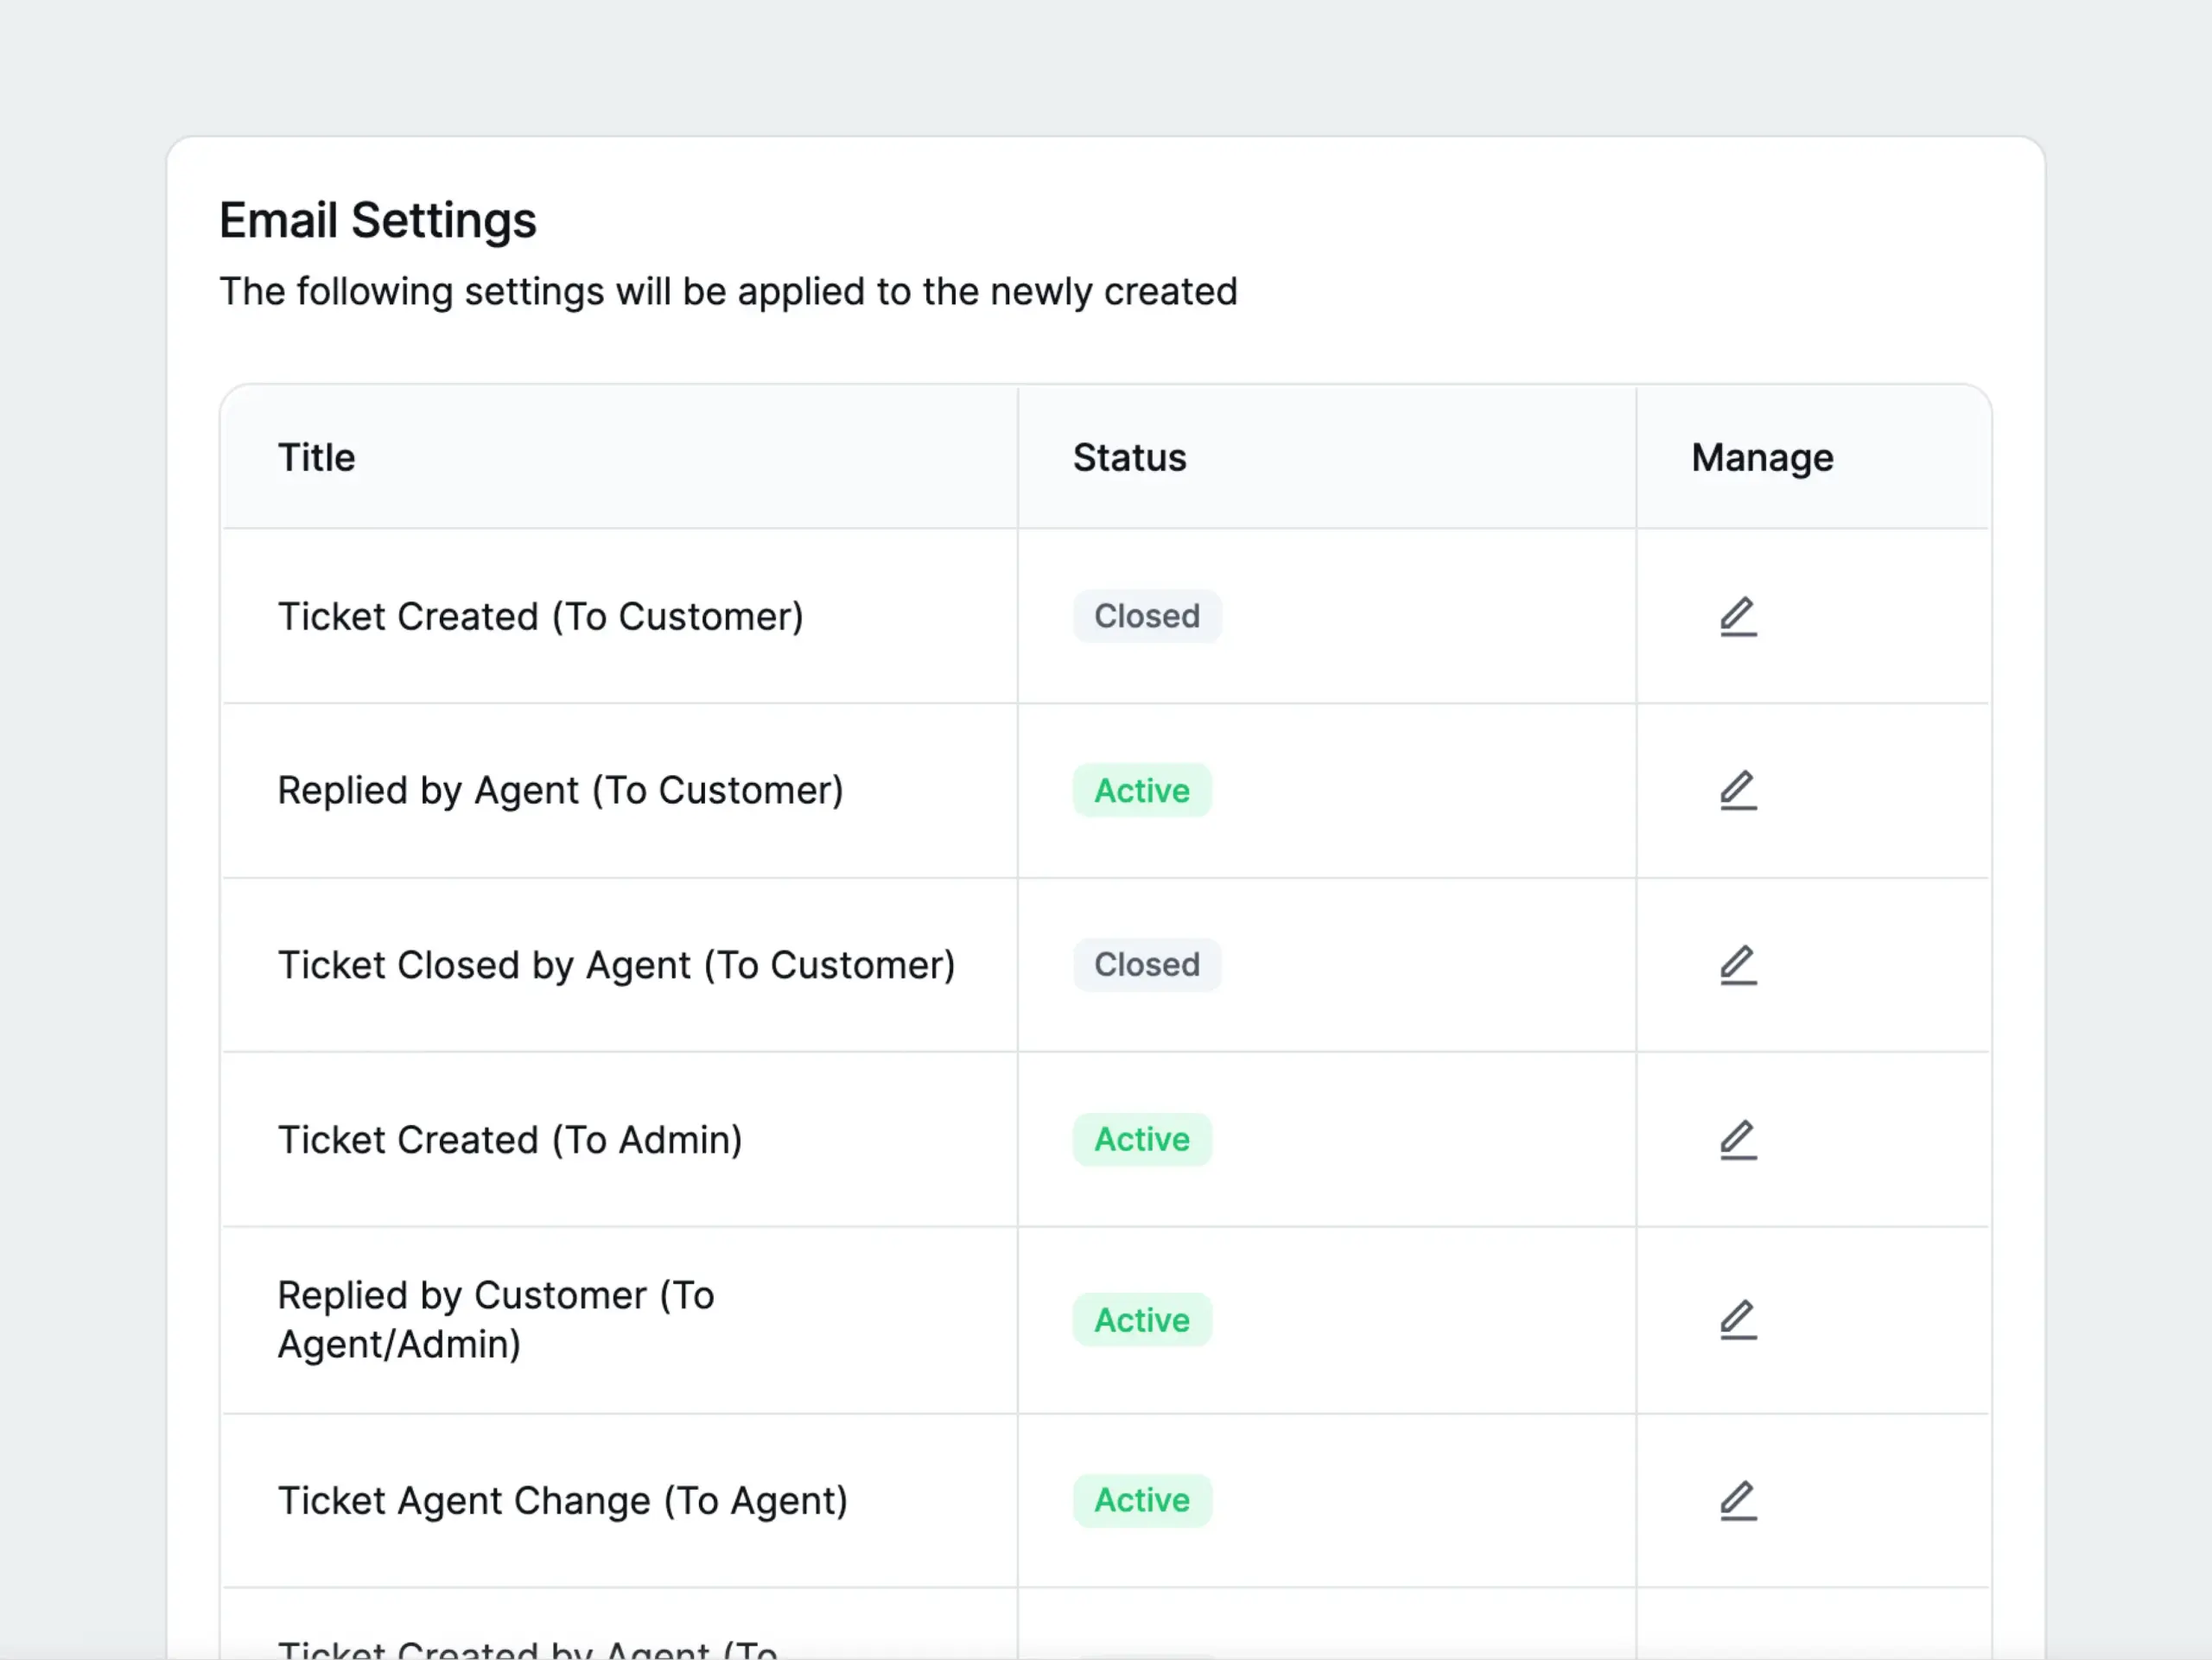
This screen controls which events send an email and what those emails say. Edit the subject line and body for each notification type. Variables like {ticket.title} and {customer.name} pull in live data when the email is sent.
Turn individual notifications on or off.
The available notification types are:
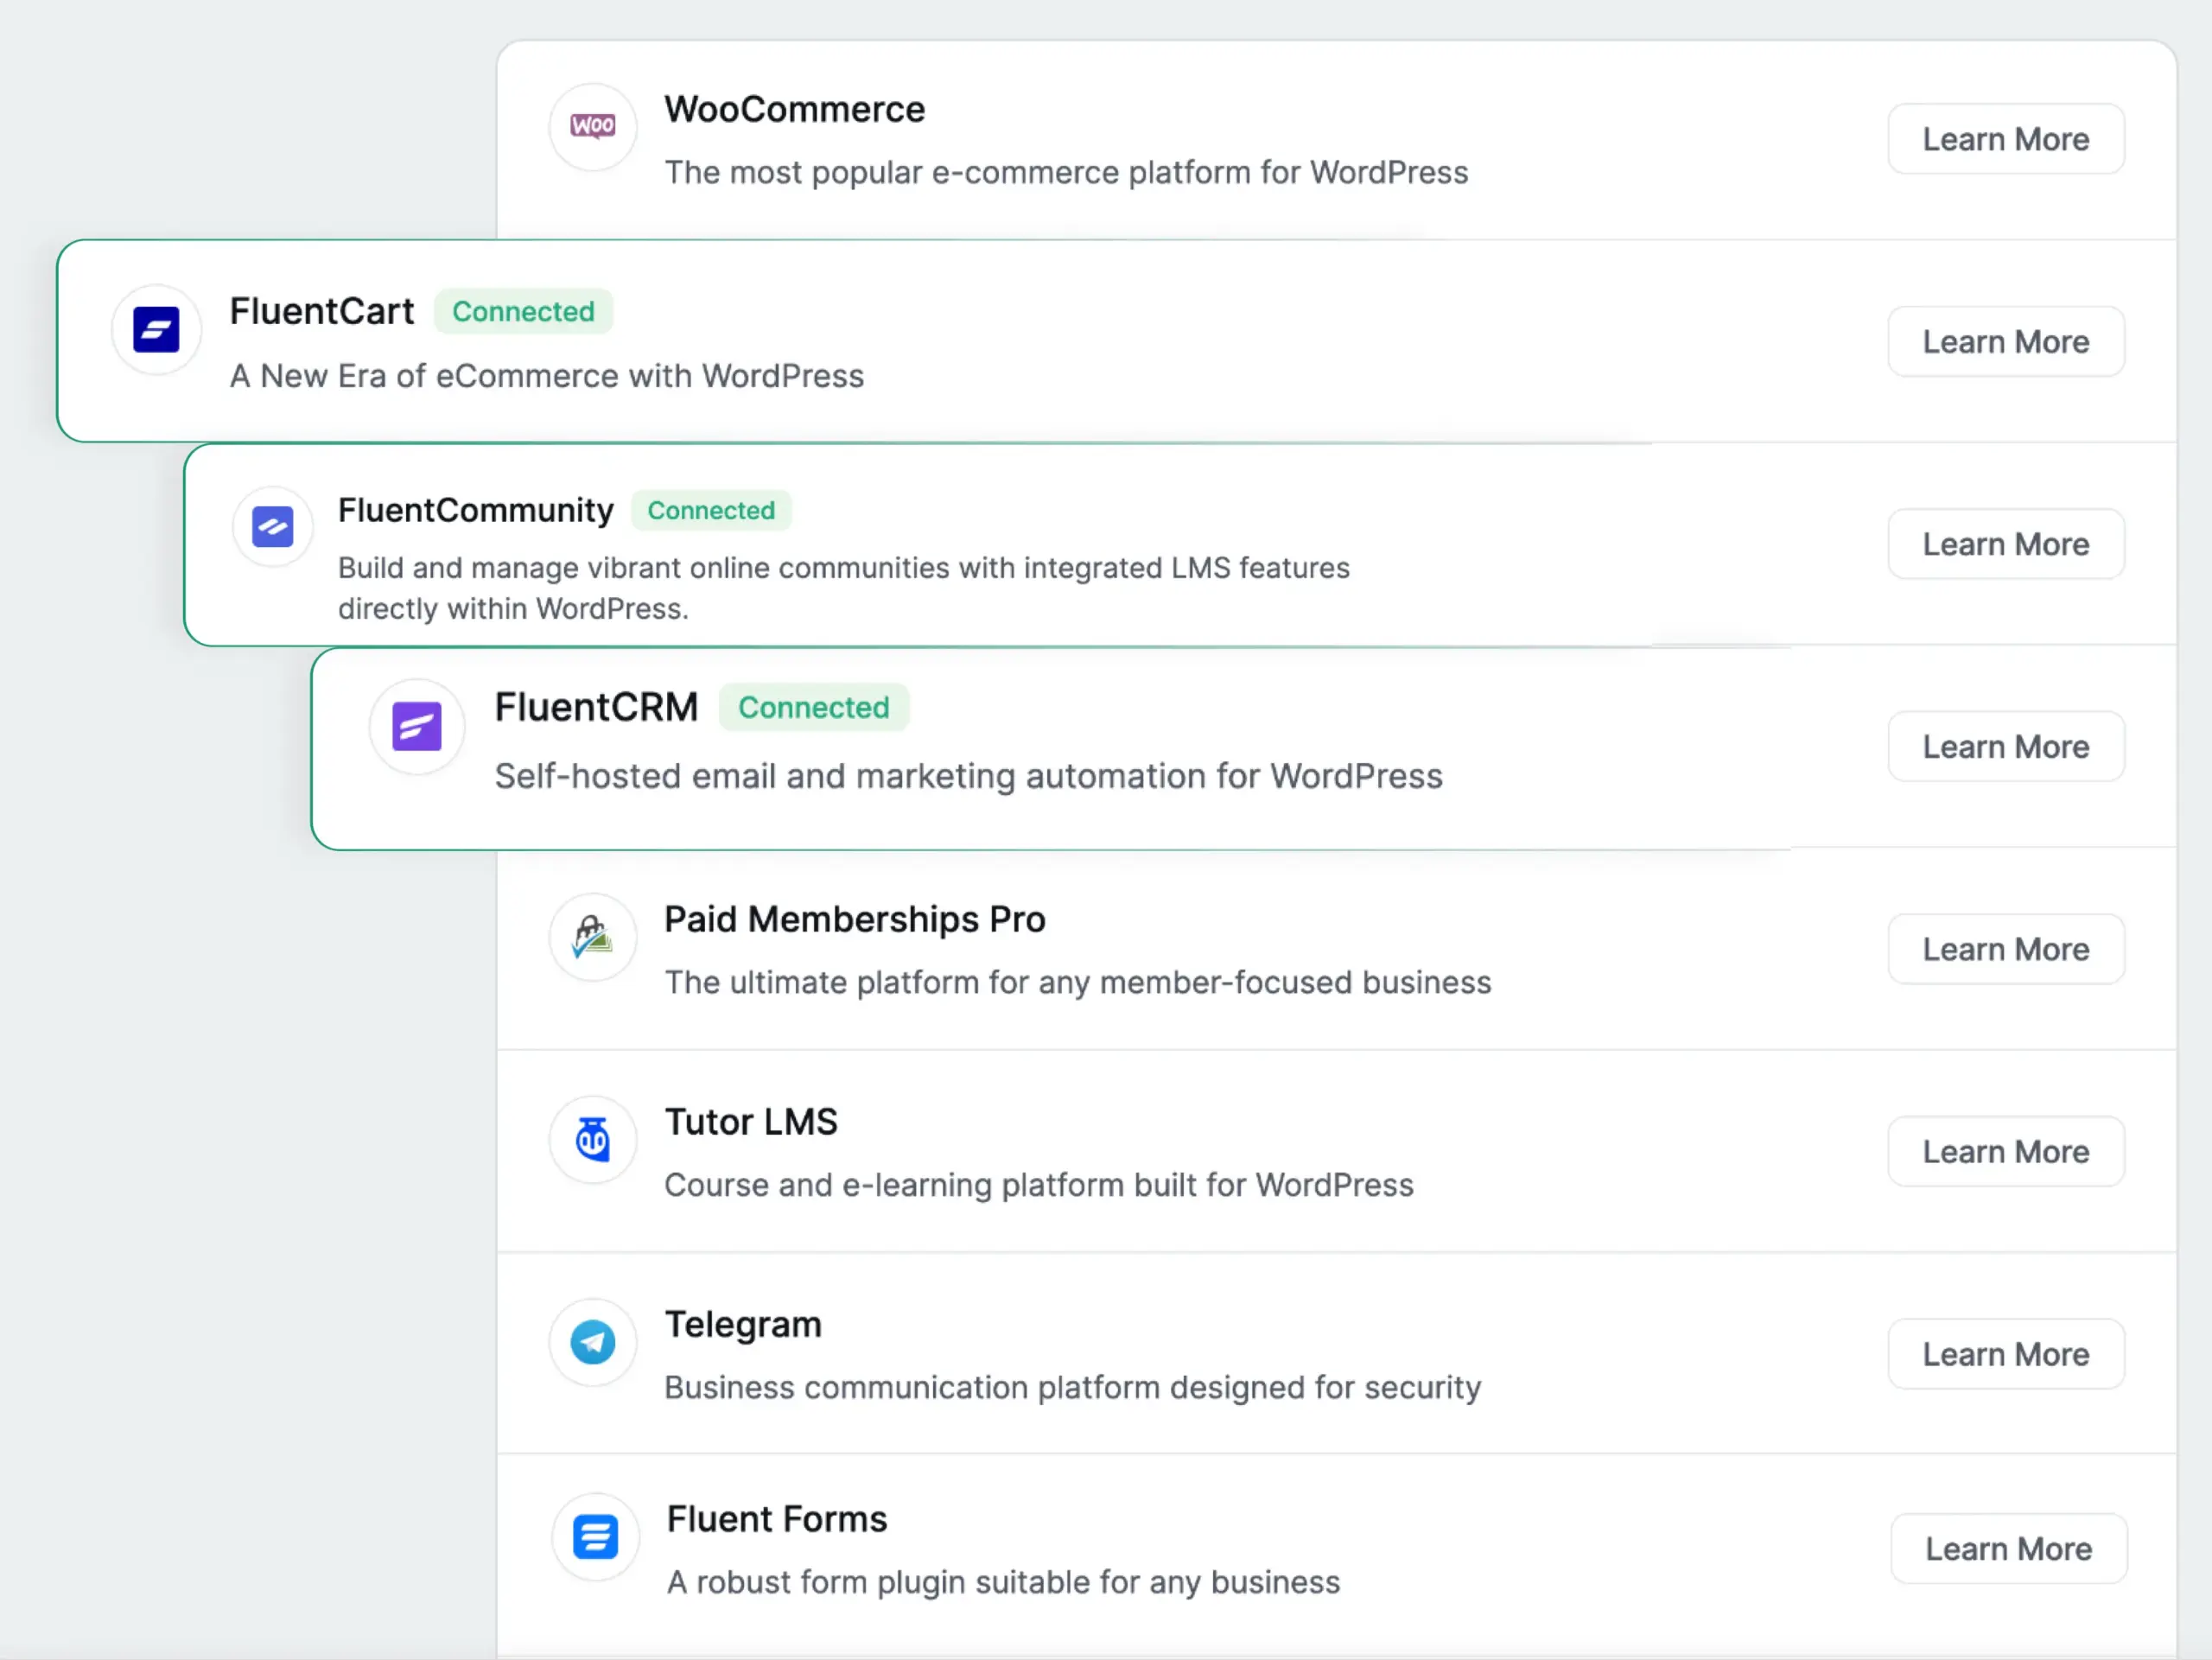
Fluent Support integrates with the plugins and platforms most WordPress businesses already run. Each integration pulls relevant data into the ticket sidebar, so agents have context without switching tabs.
eCommerce, connect WooCommerce, Easy Digital Downloads, or FluentCart and agents see order history, purchase details, and product names on every ticket from a registered customer.
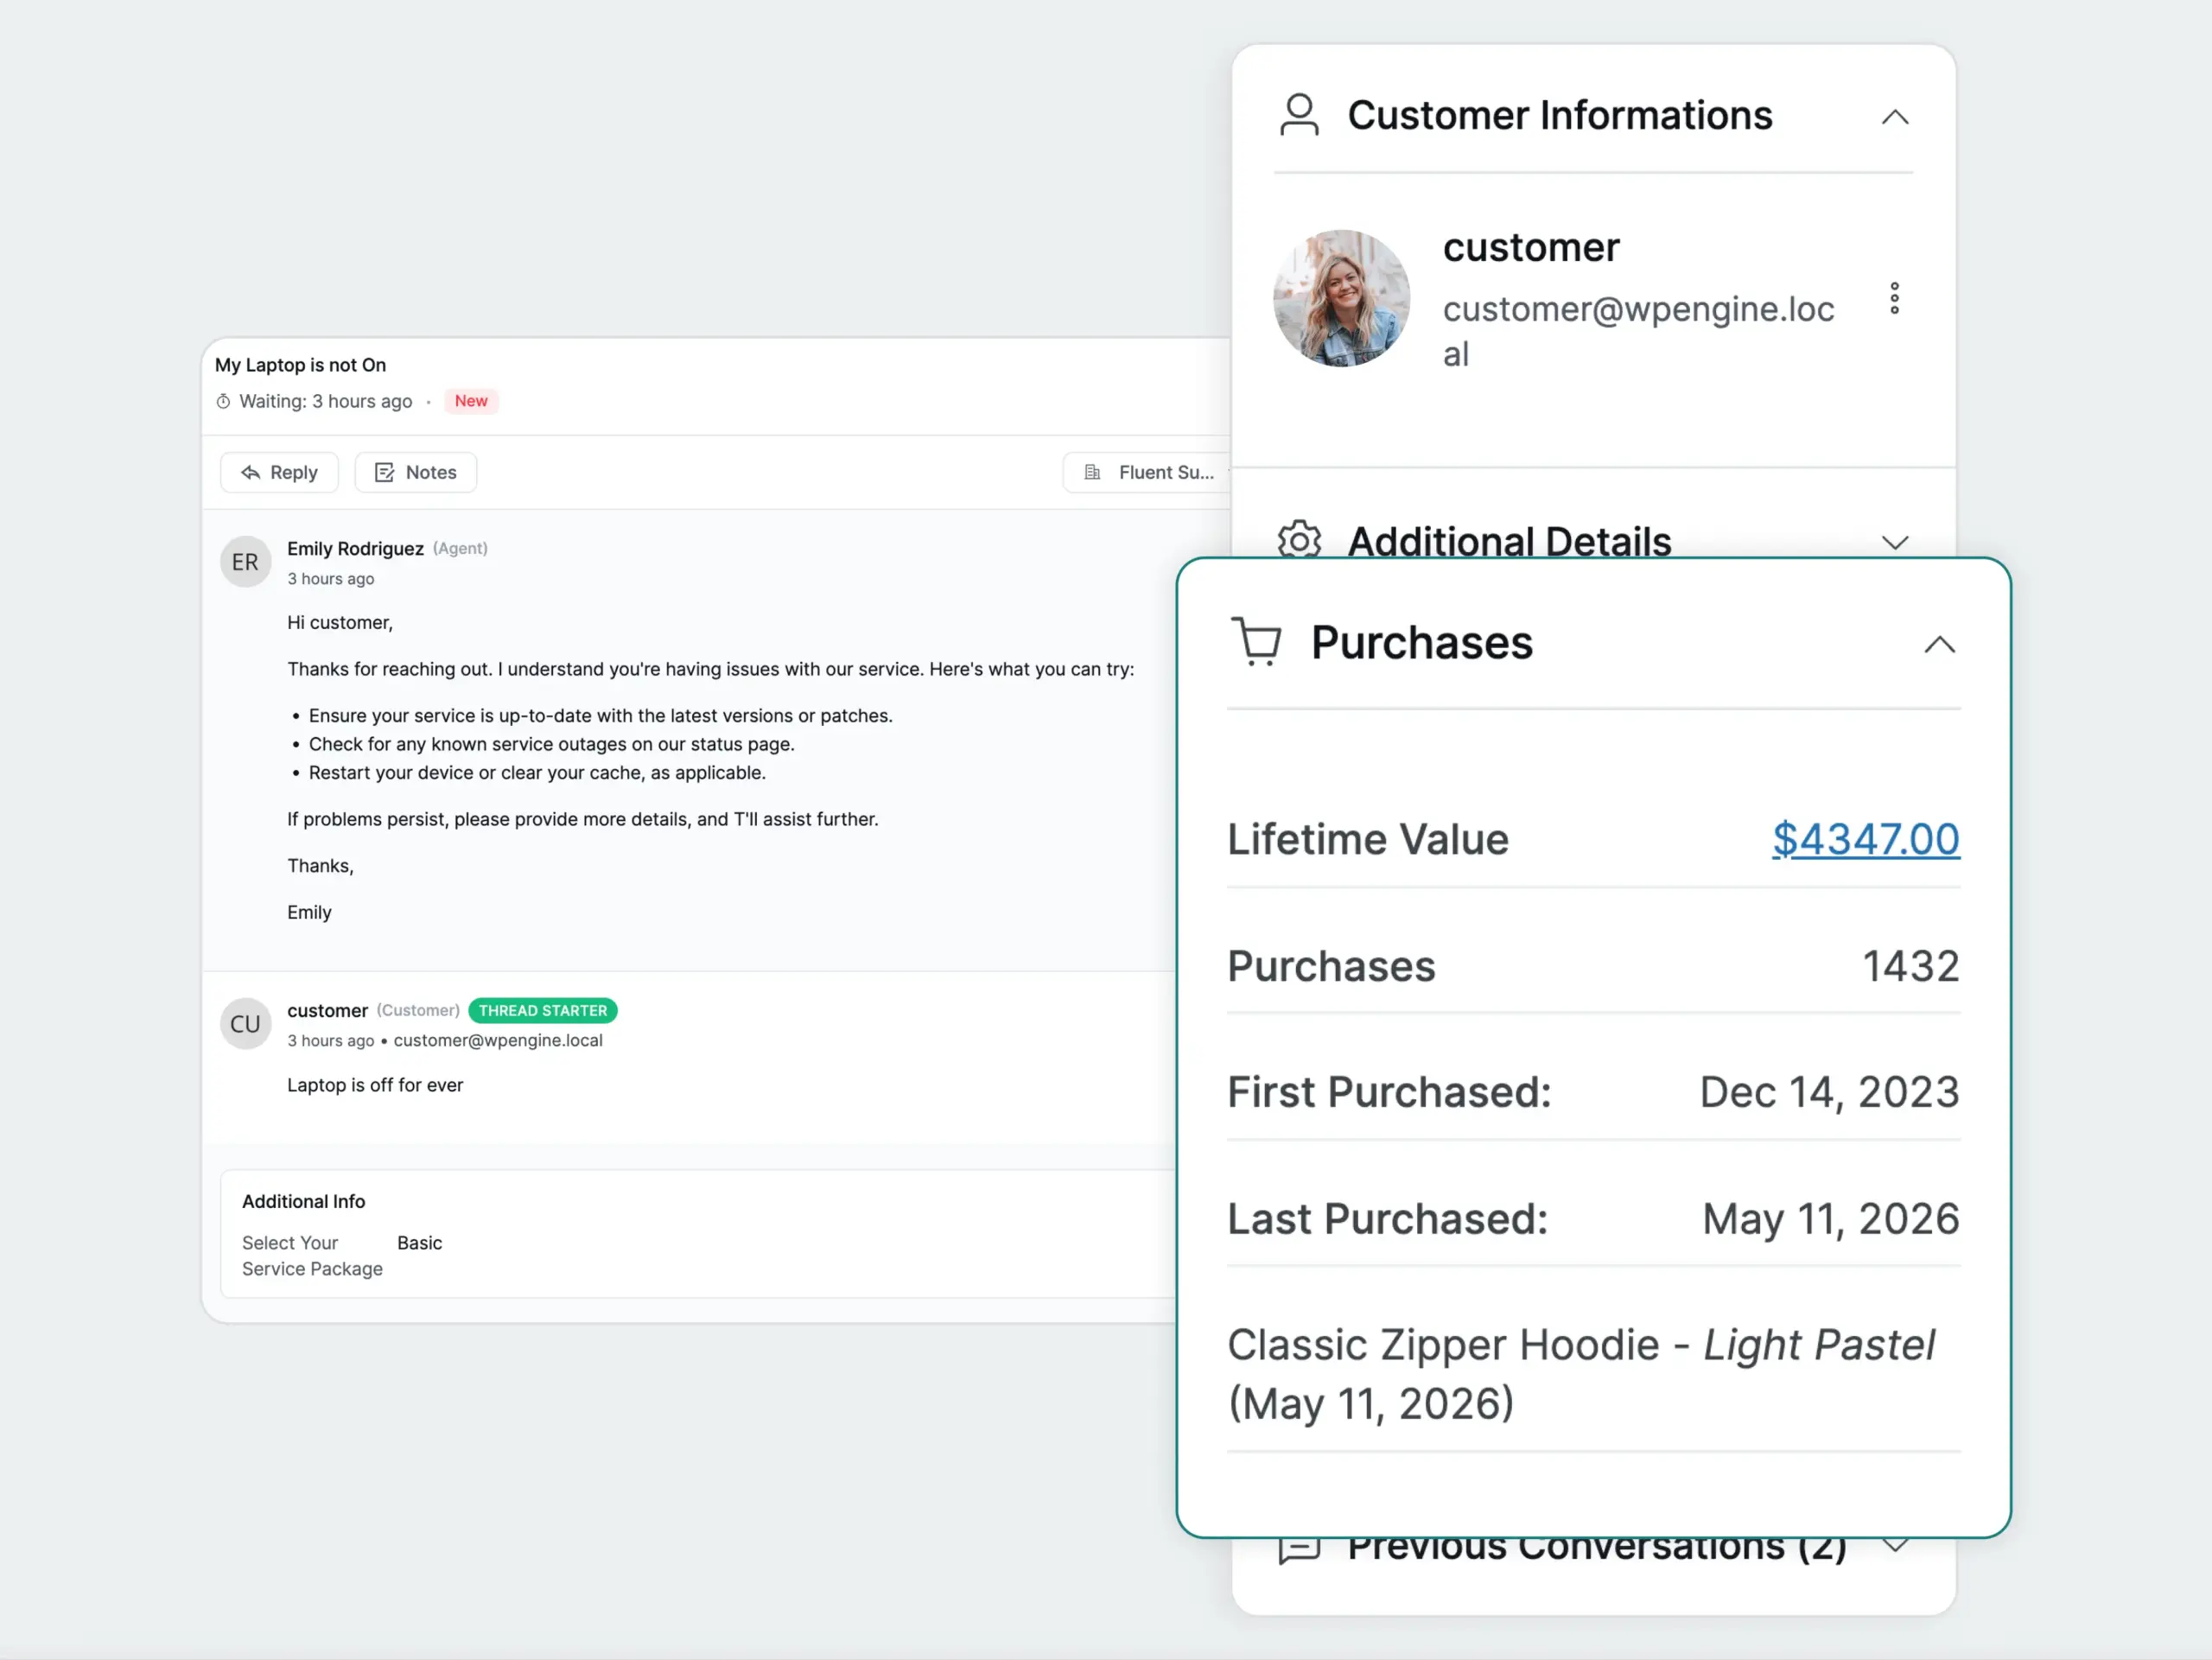
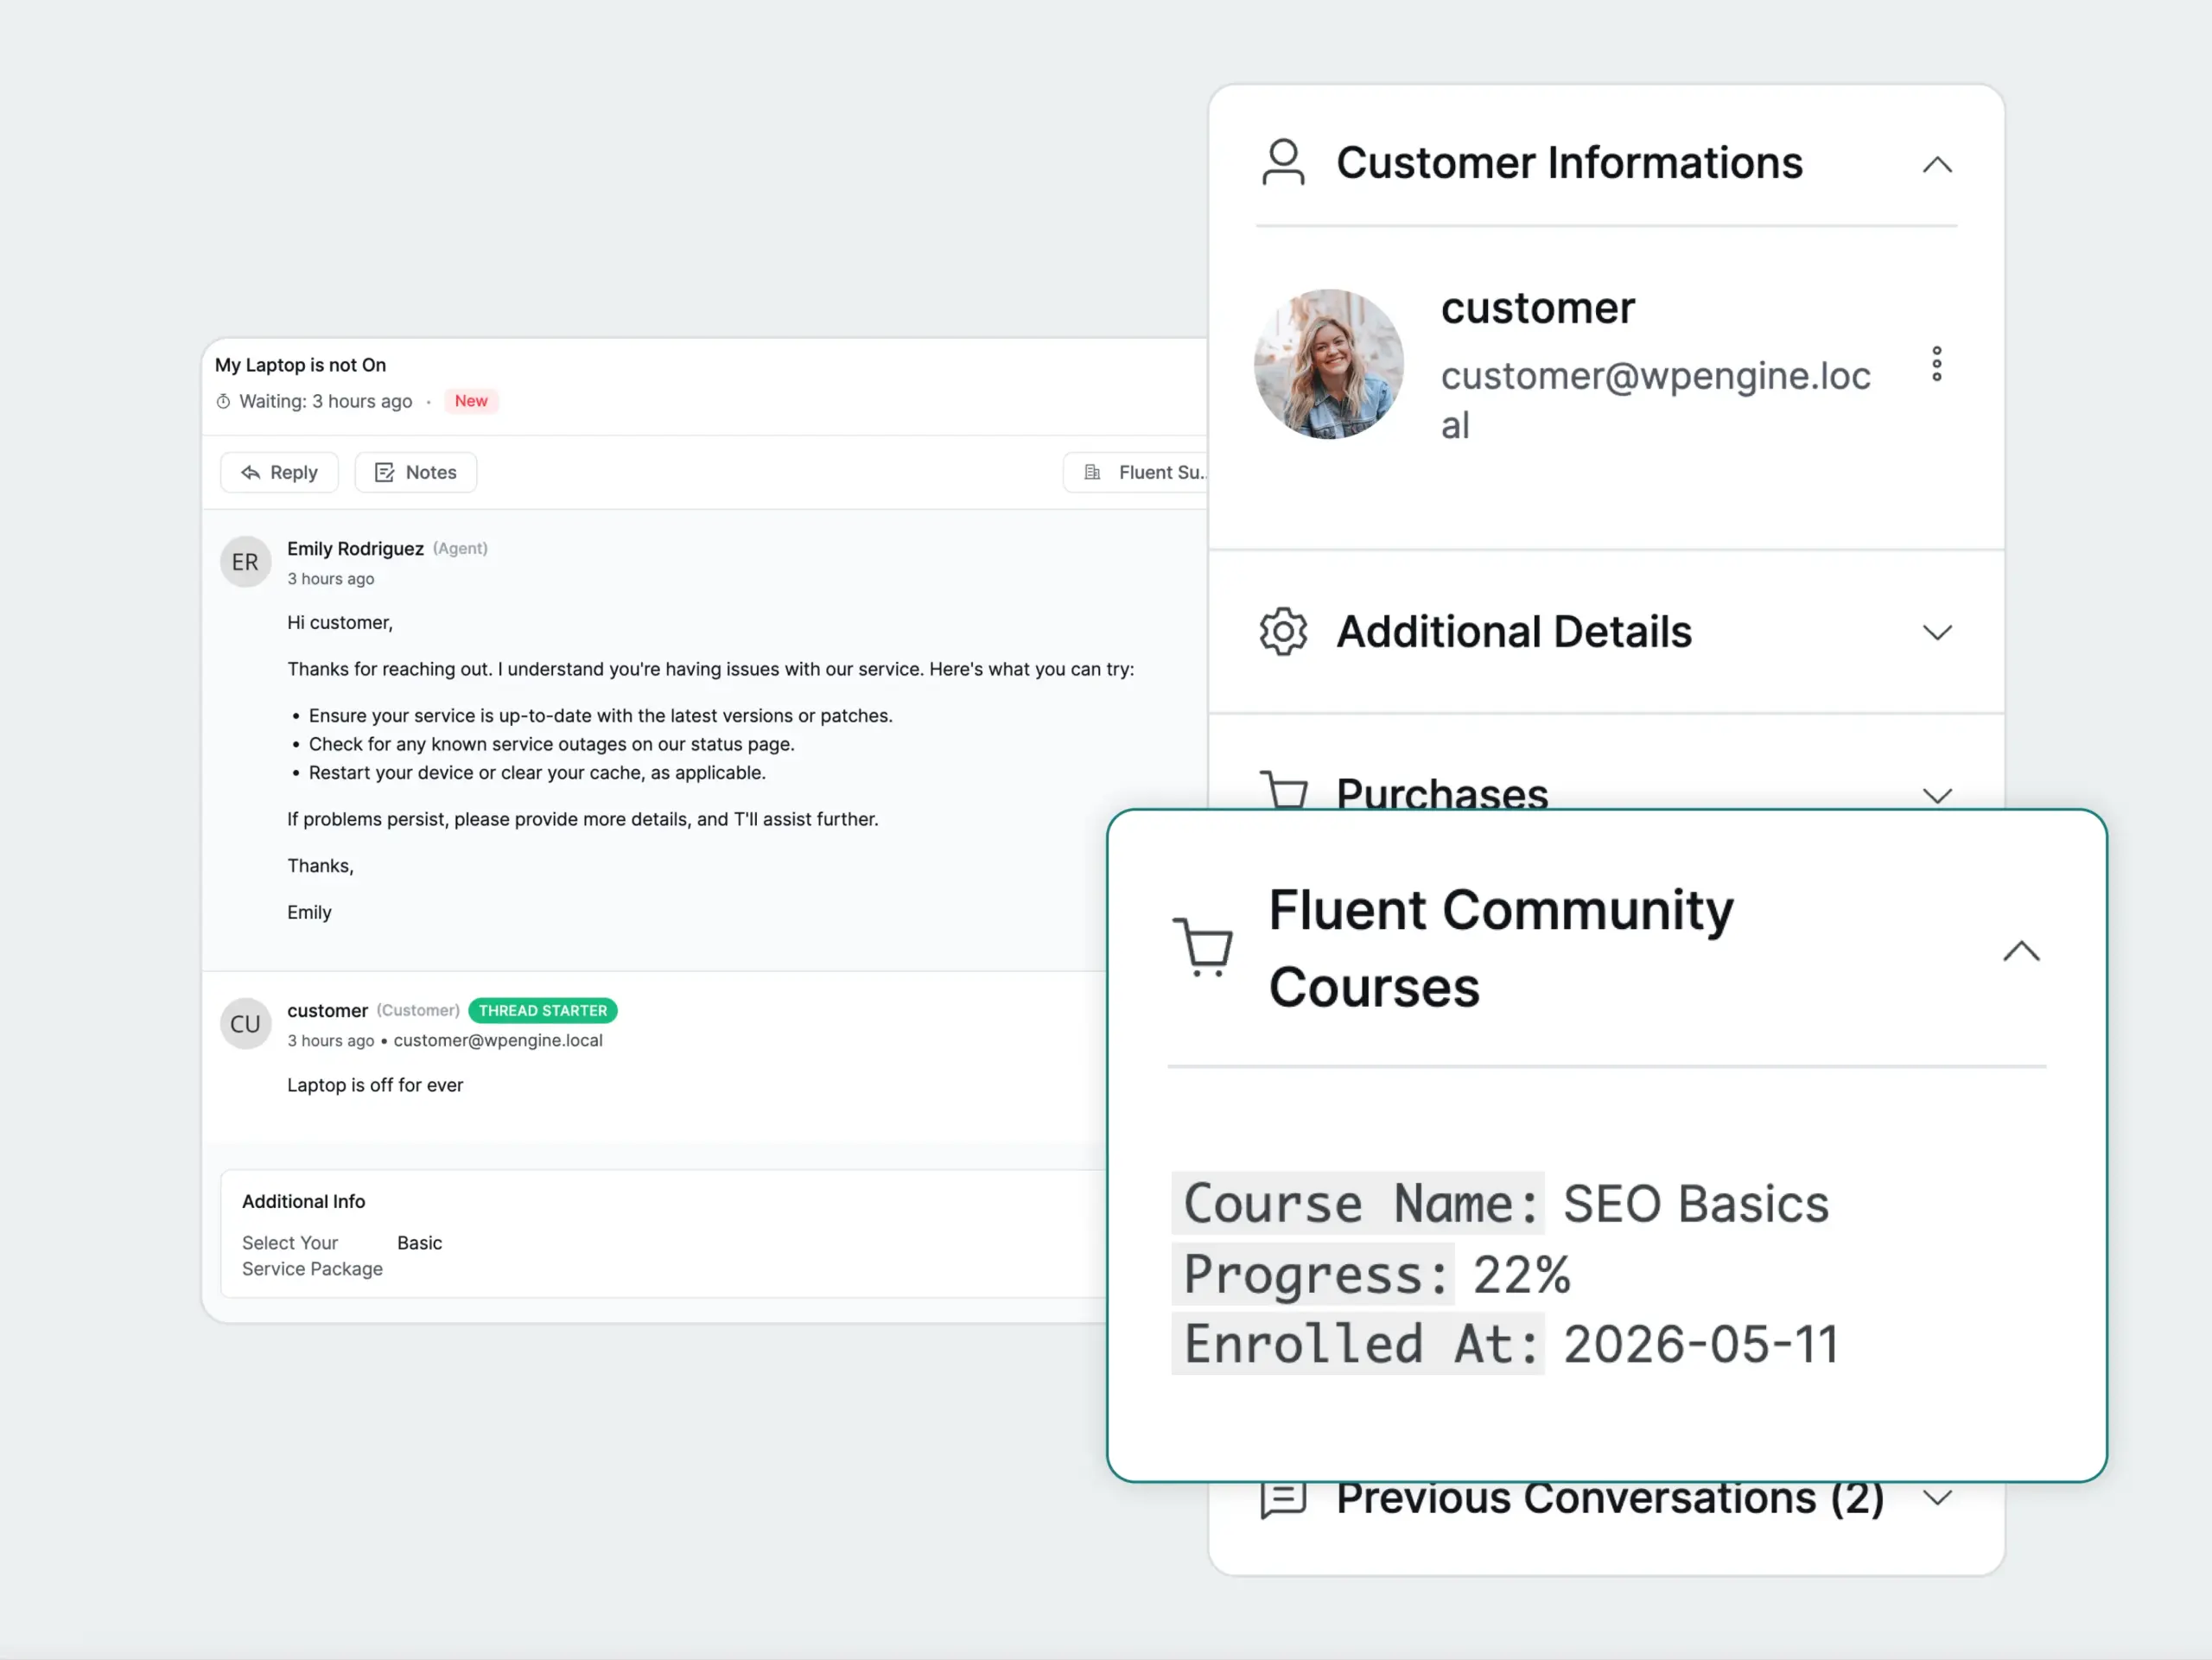
LMS and membership, connect LearnDash, LifterLMS, Tutor LMS, MemberPress, BuddyBoss, and others to show enrolled courses, membership level, and access status inside the ticket.
CRM and marketing, connect FluentCRM to sync customer data and trigger email sequences based on ticket activity.
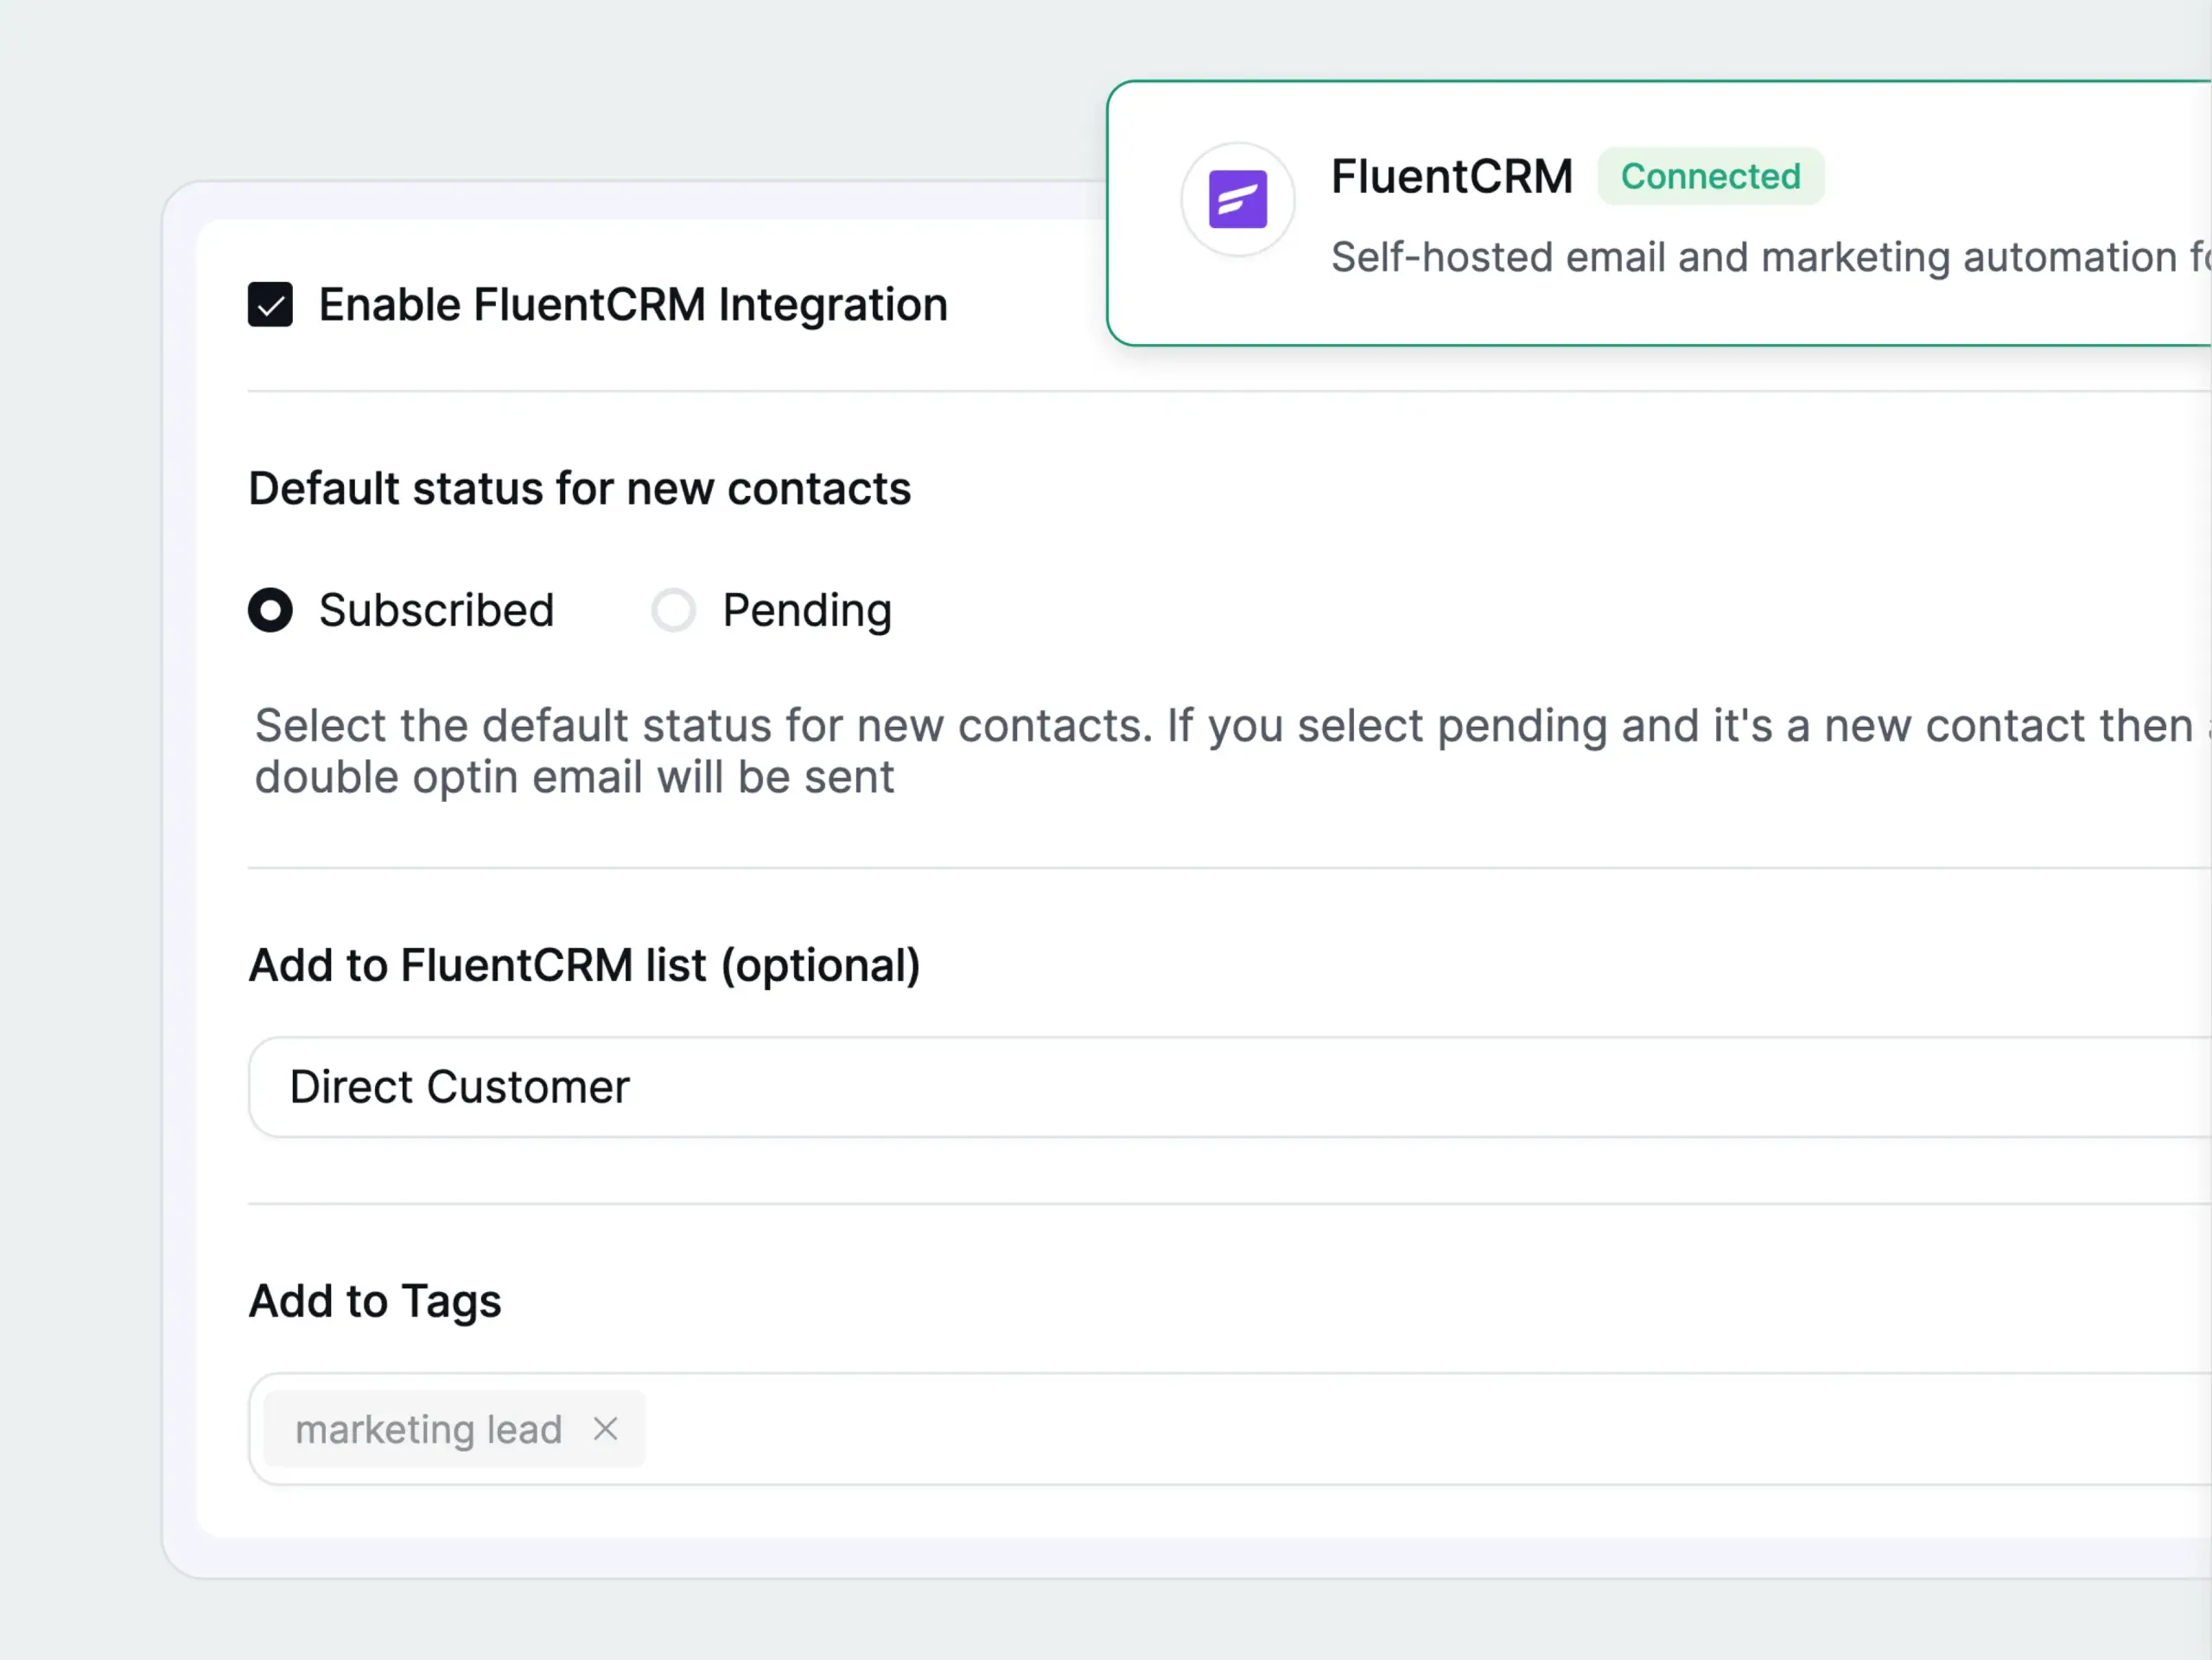
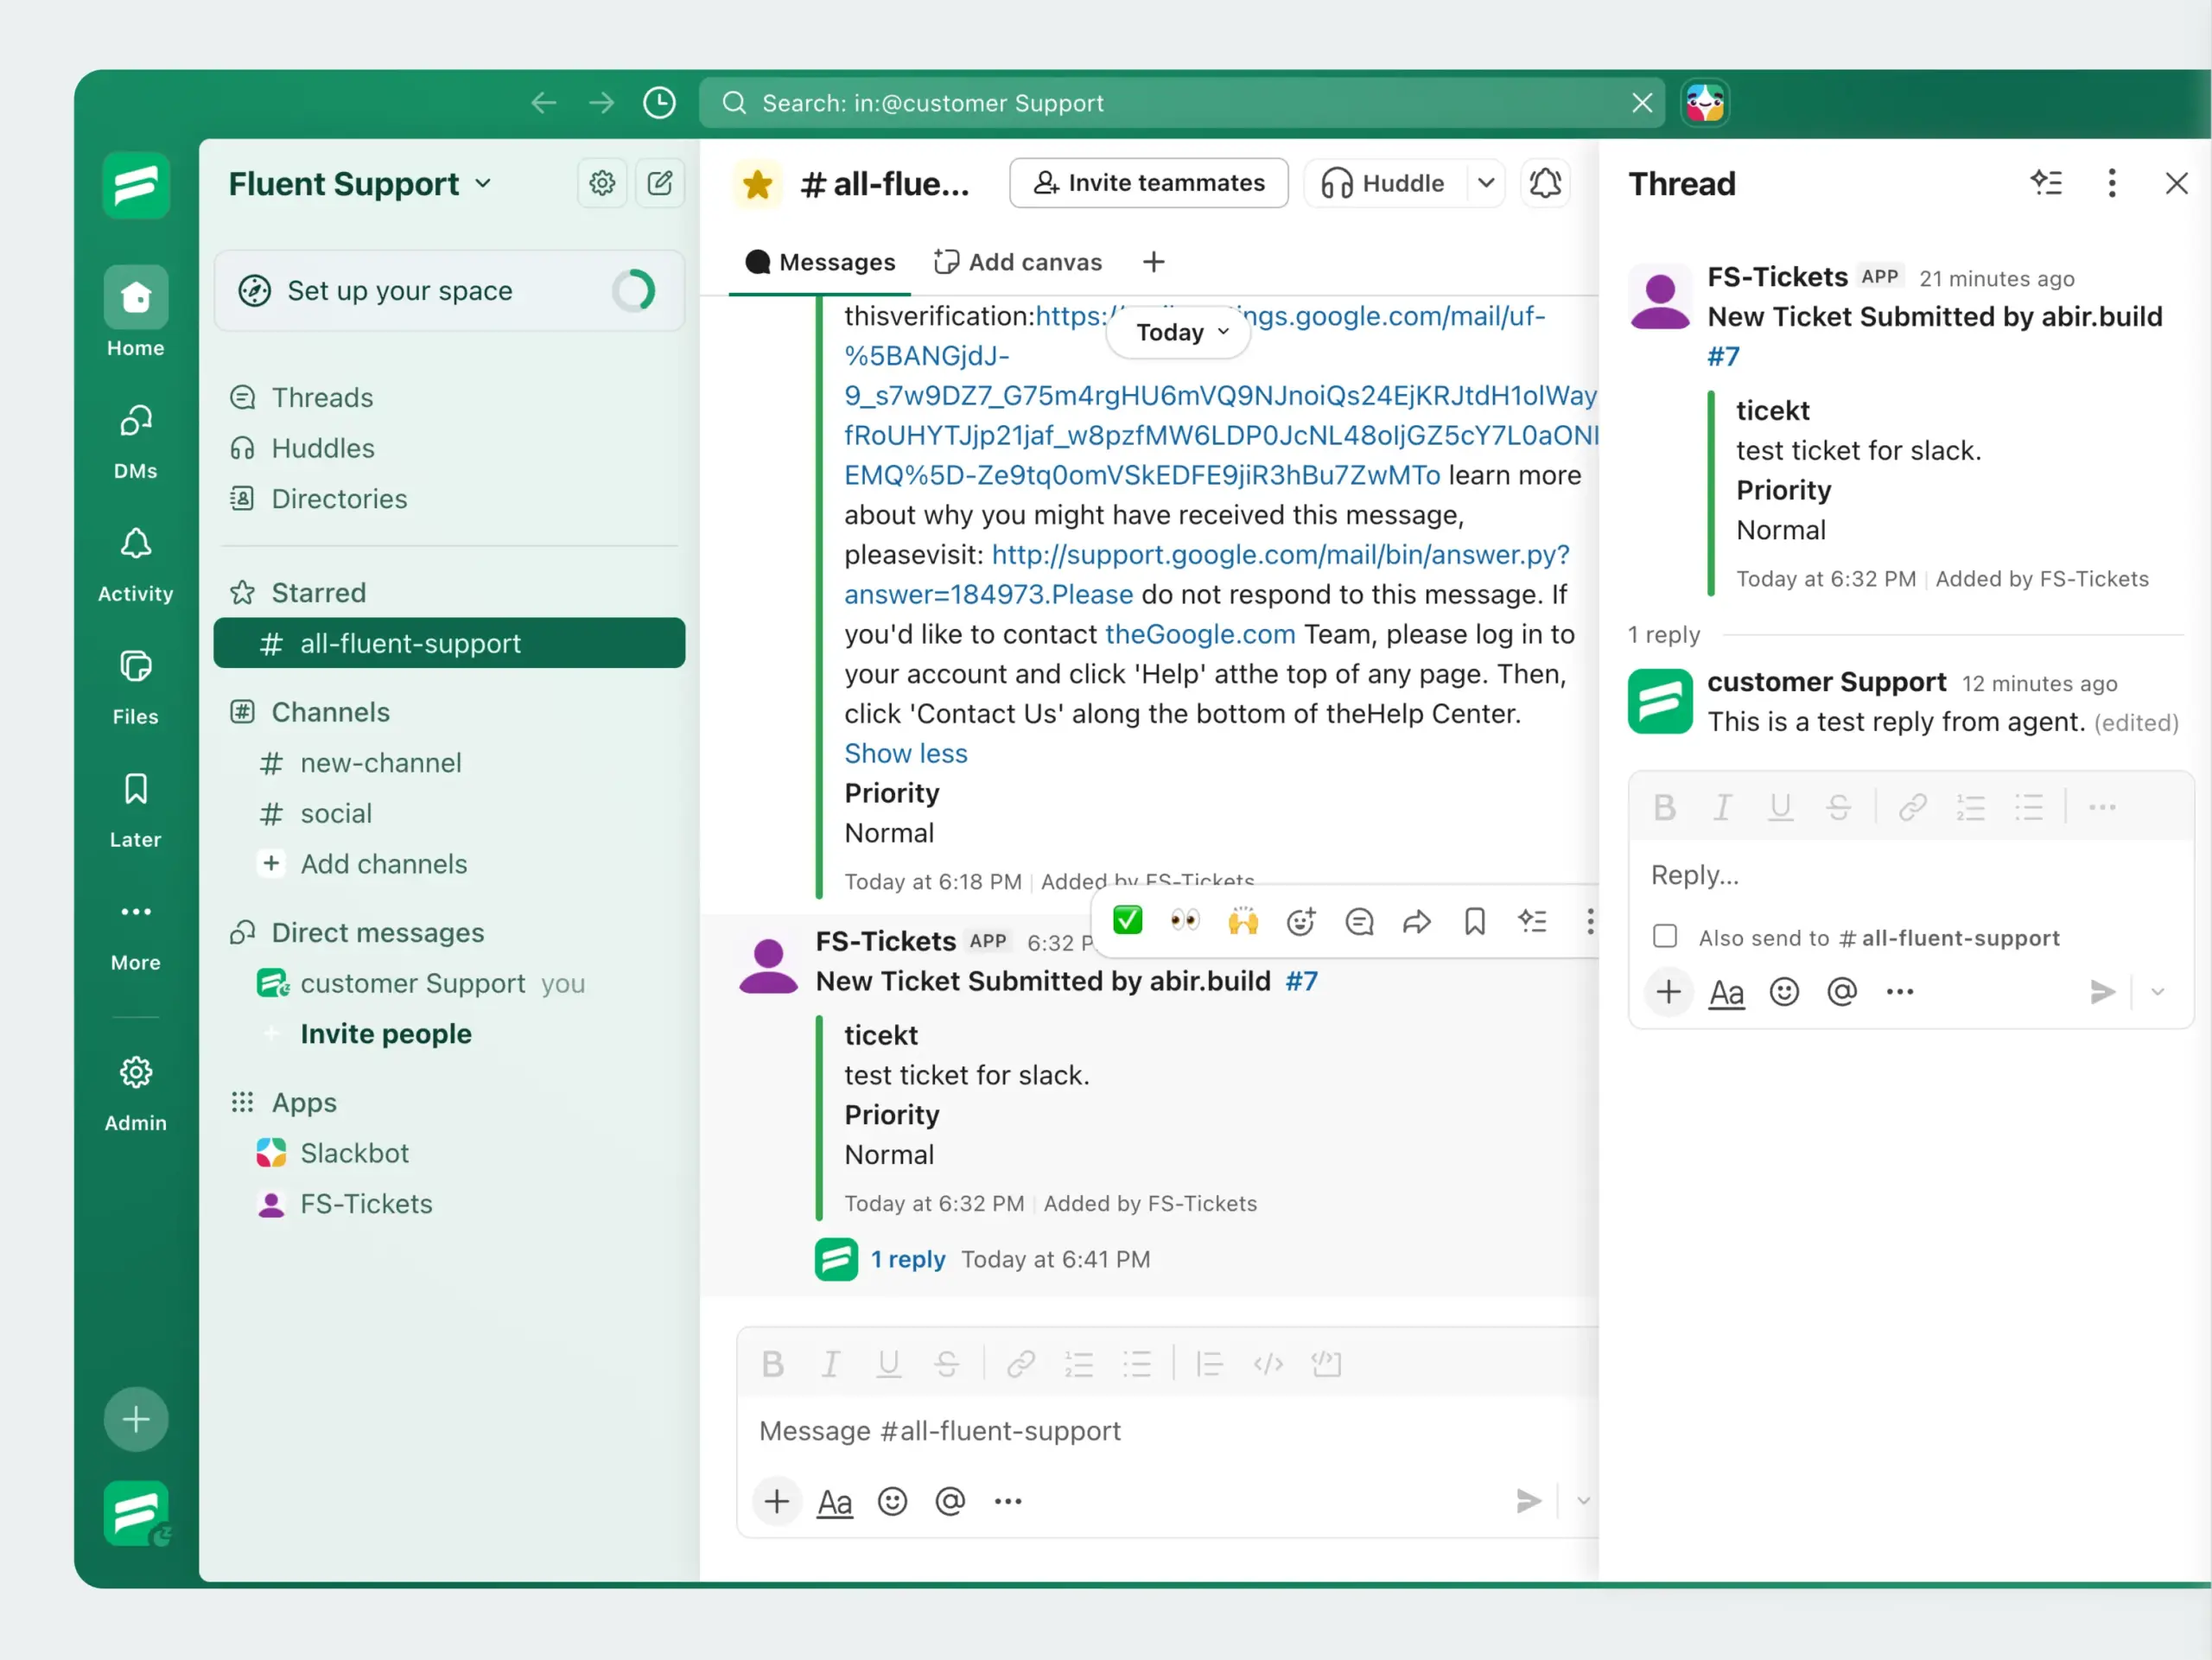
Productivity, connect Slack, Telegram, Discord, or WhatsApp to get ticket notifications in the channels your team already works in.
Go to
to see every available integration and toggle on what you need.Turn individual notifications on or off.
Need automation beyond what’s built in? Fluent Support is available as a node in n8n. Connect it to any app in the n8n ecosystem, create tickets from form submissions, post ticket updates to project management tools, sync data to external CRMs, or build any multi-step workflow your operation requires.
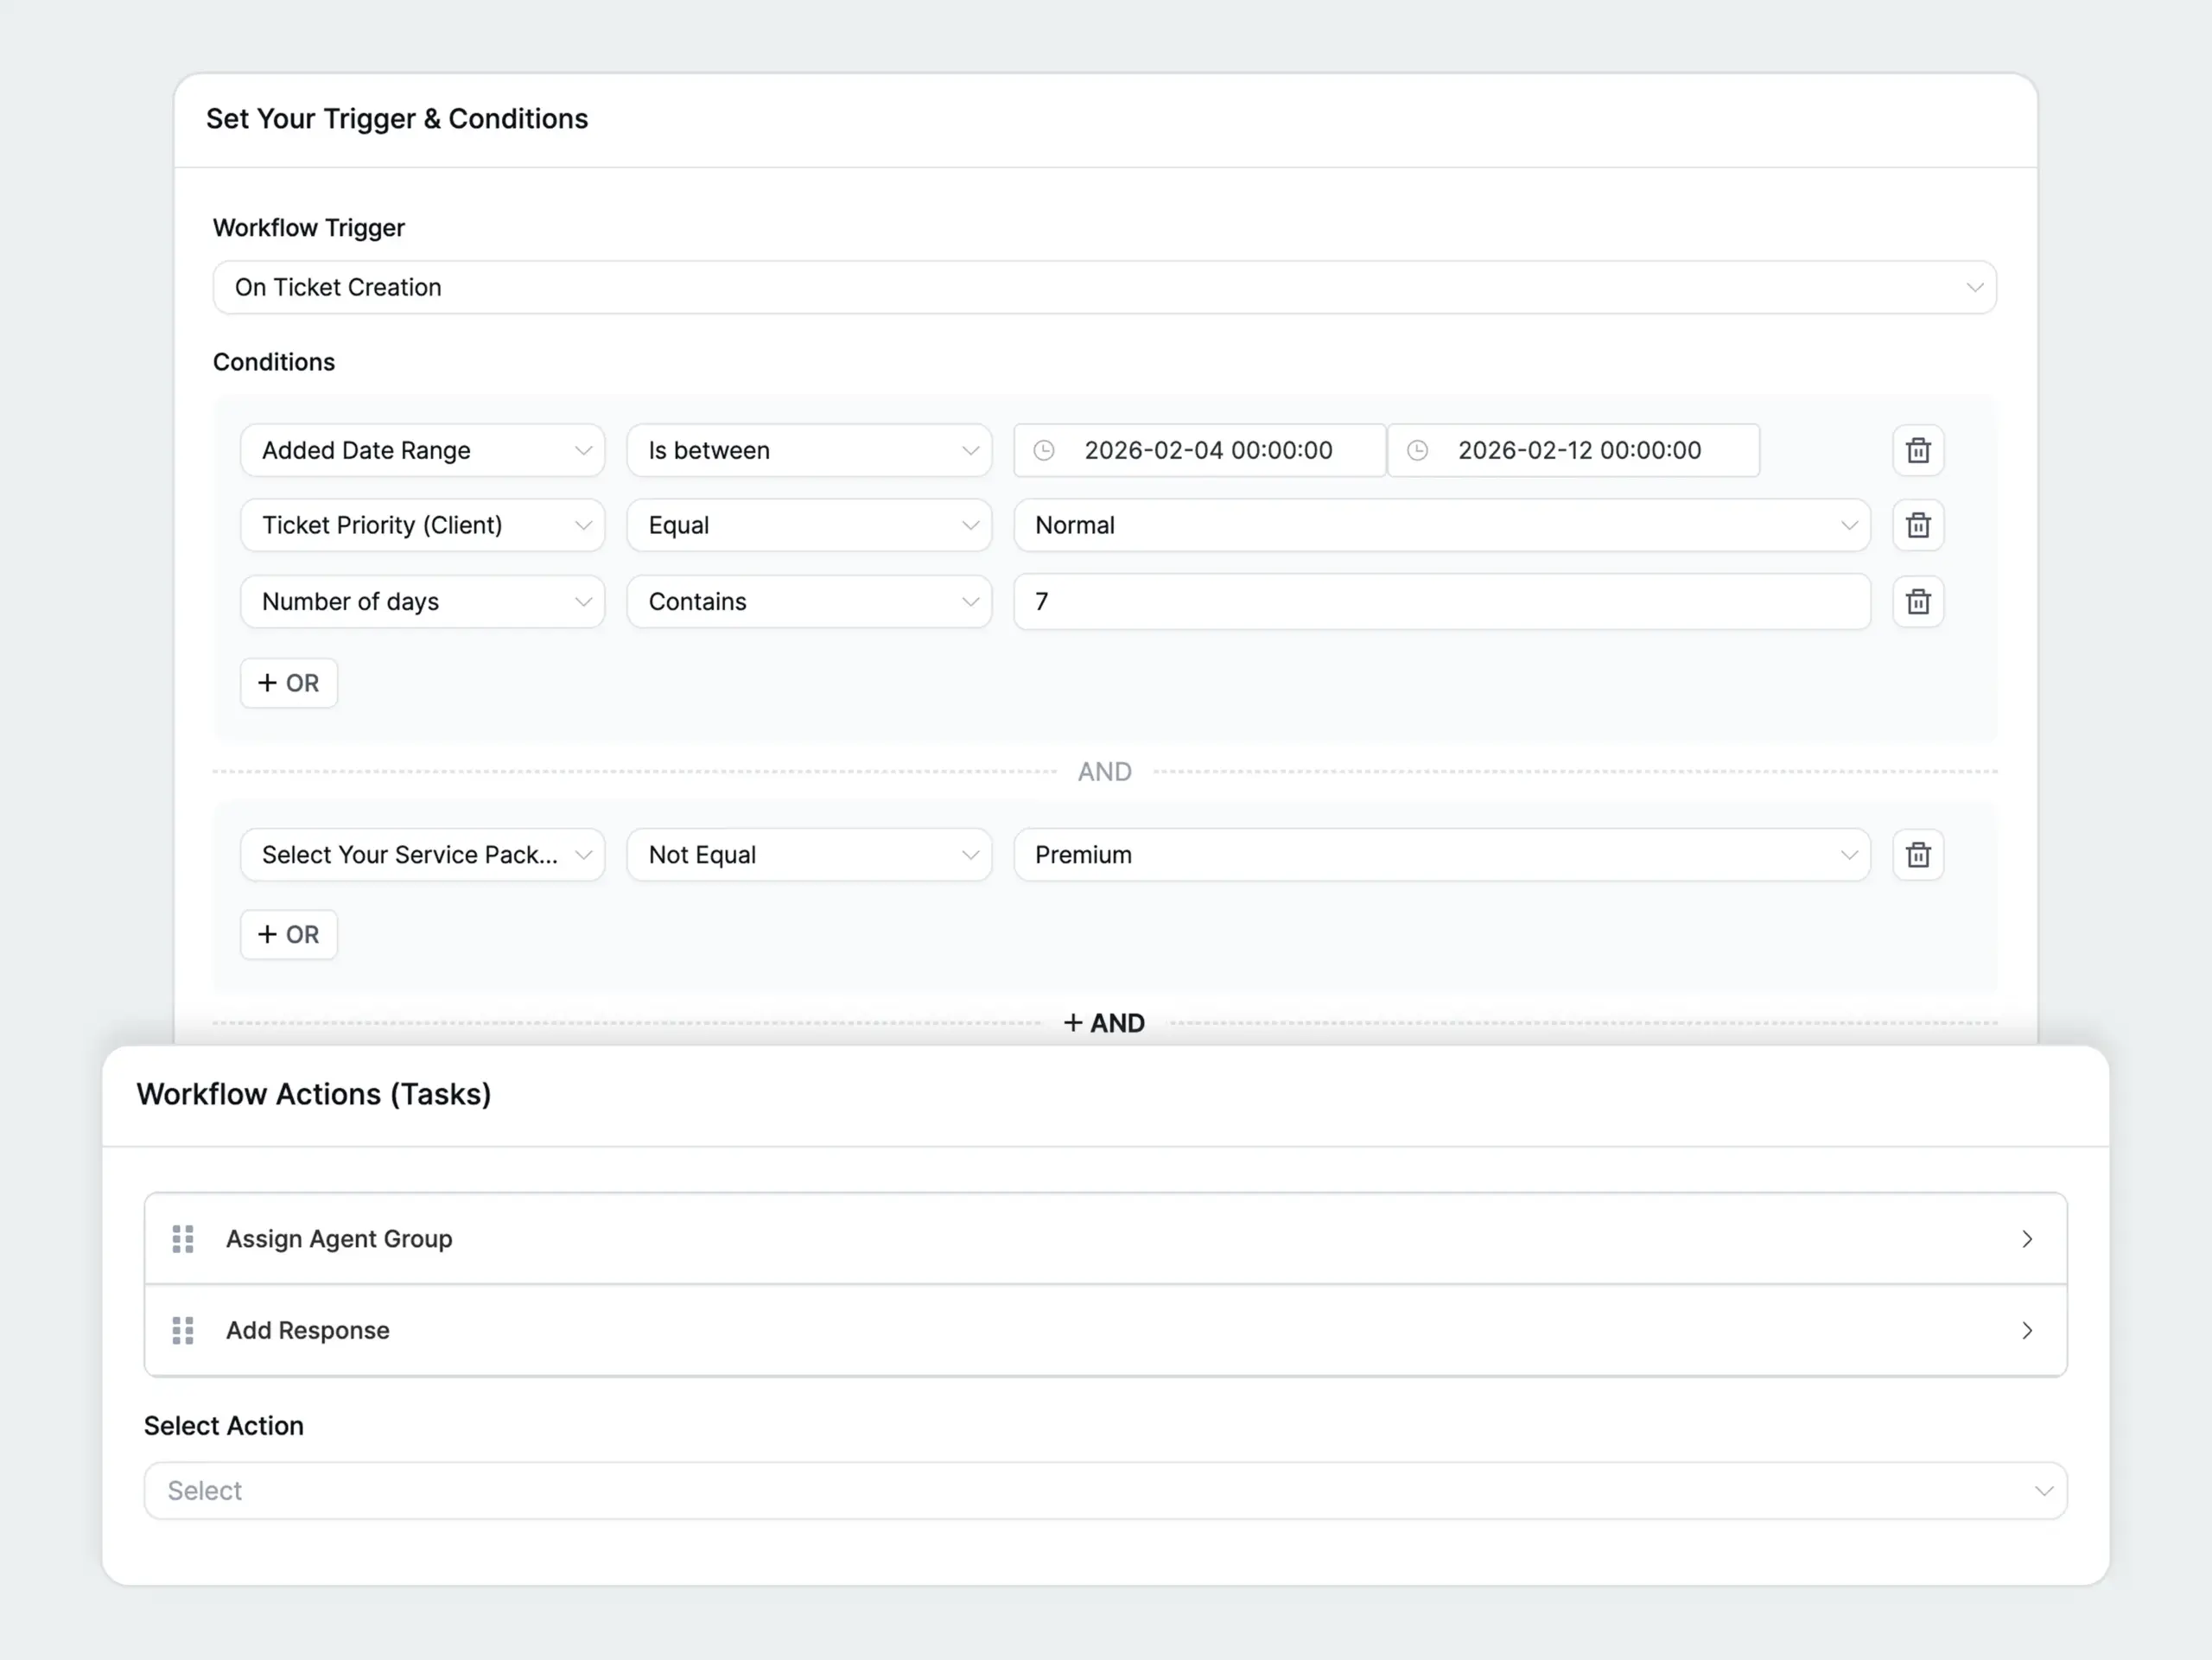
Workflows run actions when ticket events happen, automatically, or manually when an agent triggers them. Go to
Automatic workflows run without agent input. Name your workflow, select Automatic, and click Create Workflow.
Set a Trigger, the event that starts the workflow. Common triggers include On Ticket Creation, On Ticket Reply, and On Ticket Close.
Set a Condition, the criteria a ticket must meet before the workflow runs. Filter by customer name or email, ticket title, message content, selected product, priority, or mailbox. Combine conditions with +AND and +OR.
Set one or more Actions, what the workflow does when it fires: Assign Agent, Add Response, Add Tag, Remove Tag, Change Mailbox, Close Ticket, Add Internal Note, Trigger Outgoing Webhook, and more. Use + Add Another Action to chain multiple actions. Use the drag handle to reorder them.
Enable the Publish toggle at the top right and click Update Workflow to make it live.
Manual workflows work the same way, but agents trigger them on demand. Select Manual when creating the workflow. The workflow then appears as a button inside ticket threads.
Build one workflow and test it on a real ticket before duplicating. Once it runs correctly, use the Duplicate option to clone it and adjust the conditions for similar rules.
The customer portal is the page your customers use to submit tickets and view their ticket history. Fluent Support connected it to your first Business Inbox during the wizard.
Confirm the portal page
Go to
Check that the correct page is set as your Portal Page. Save settings.
Customise the portal with the Gutenberg block. Open the portal page in the WordPress block editor. Search for the Fluent Support (Customer Portal) block and add it to the page. The block’s sidebar controls let you adjust colours, layout, and displayed fields to match your site’s design.
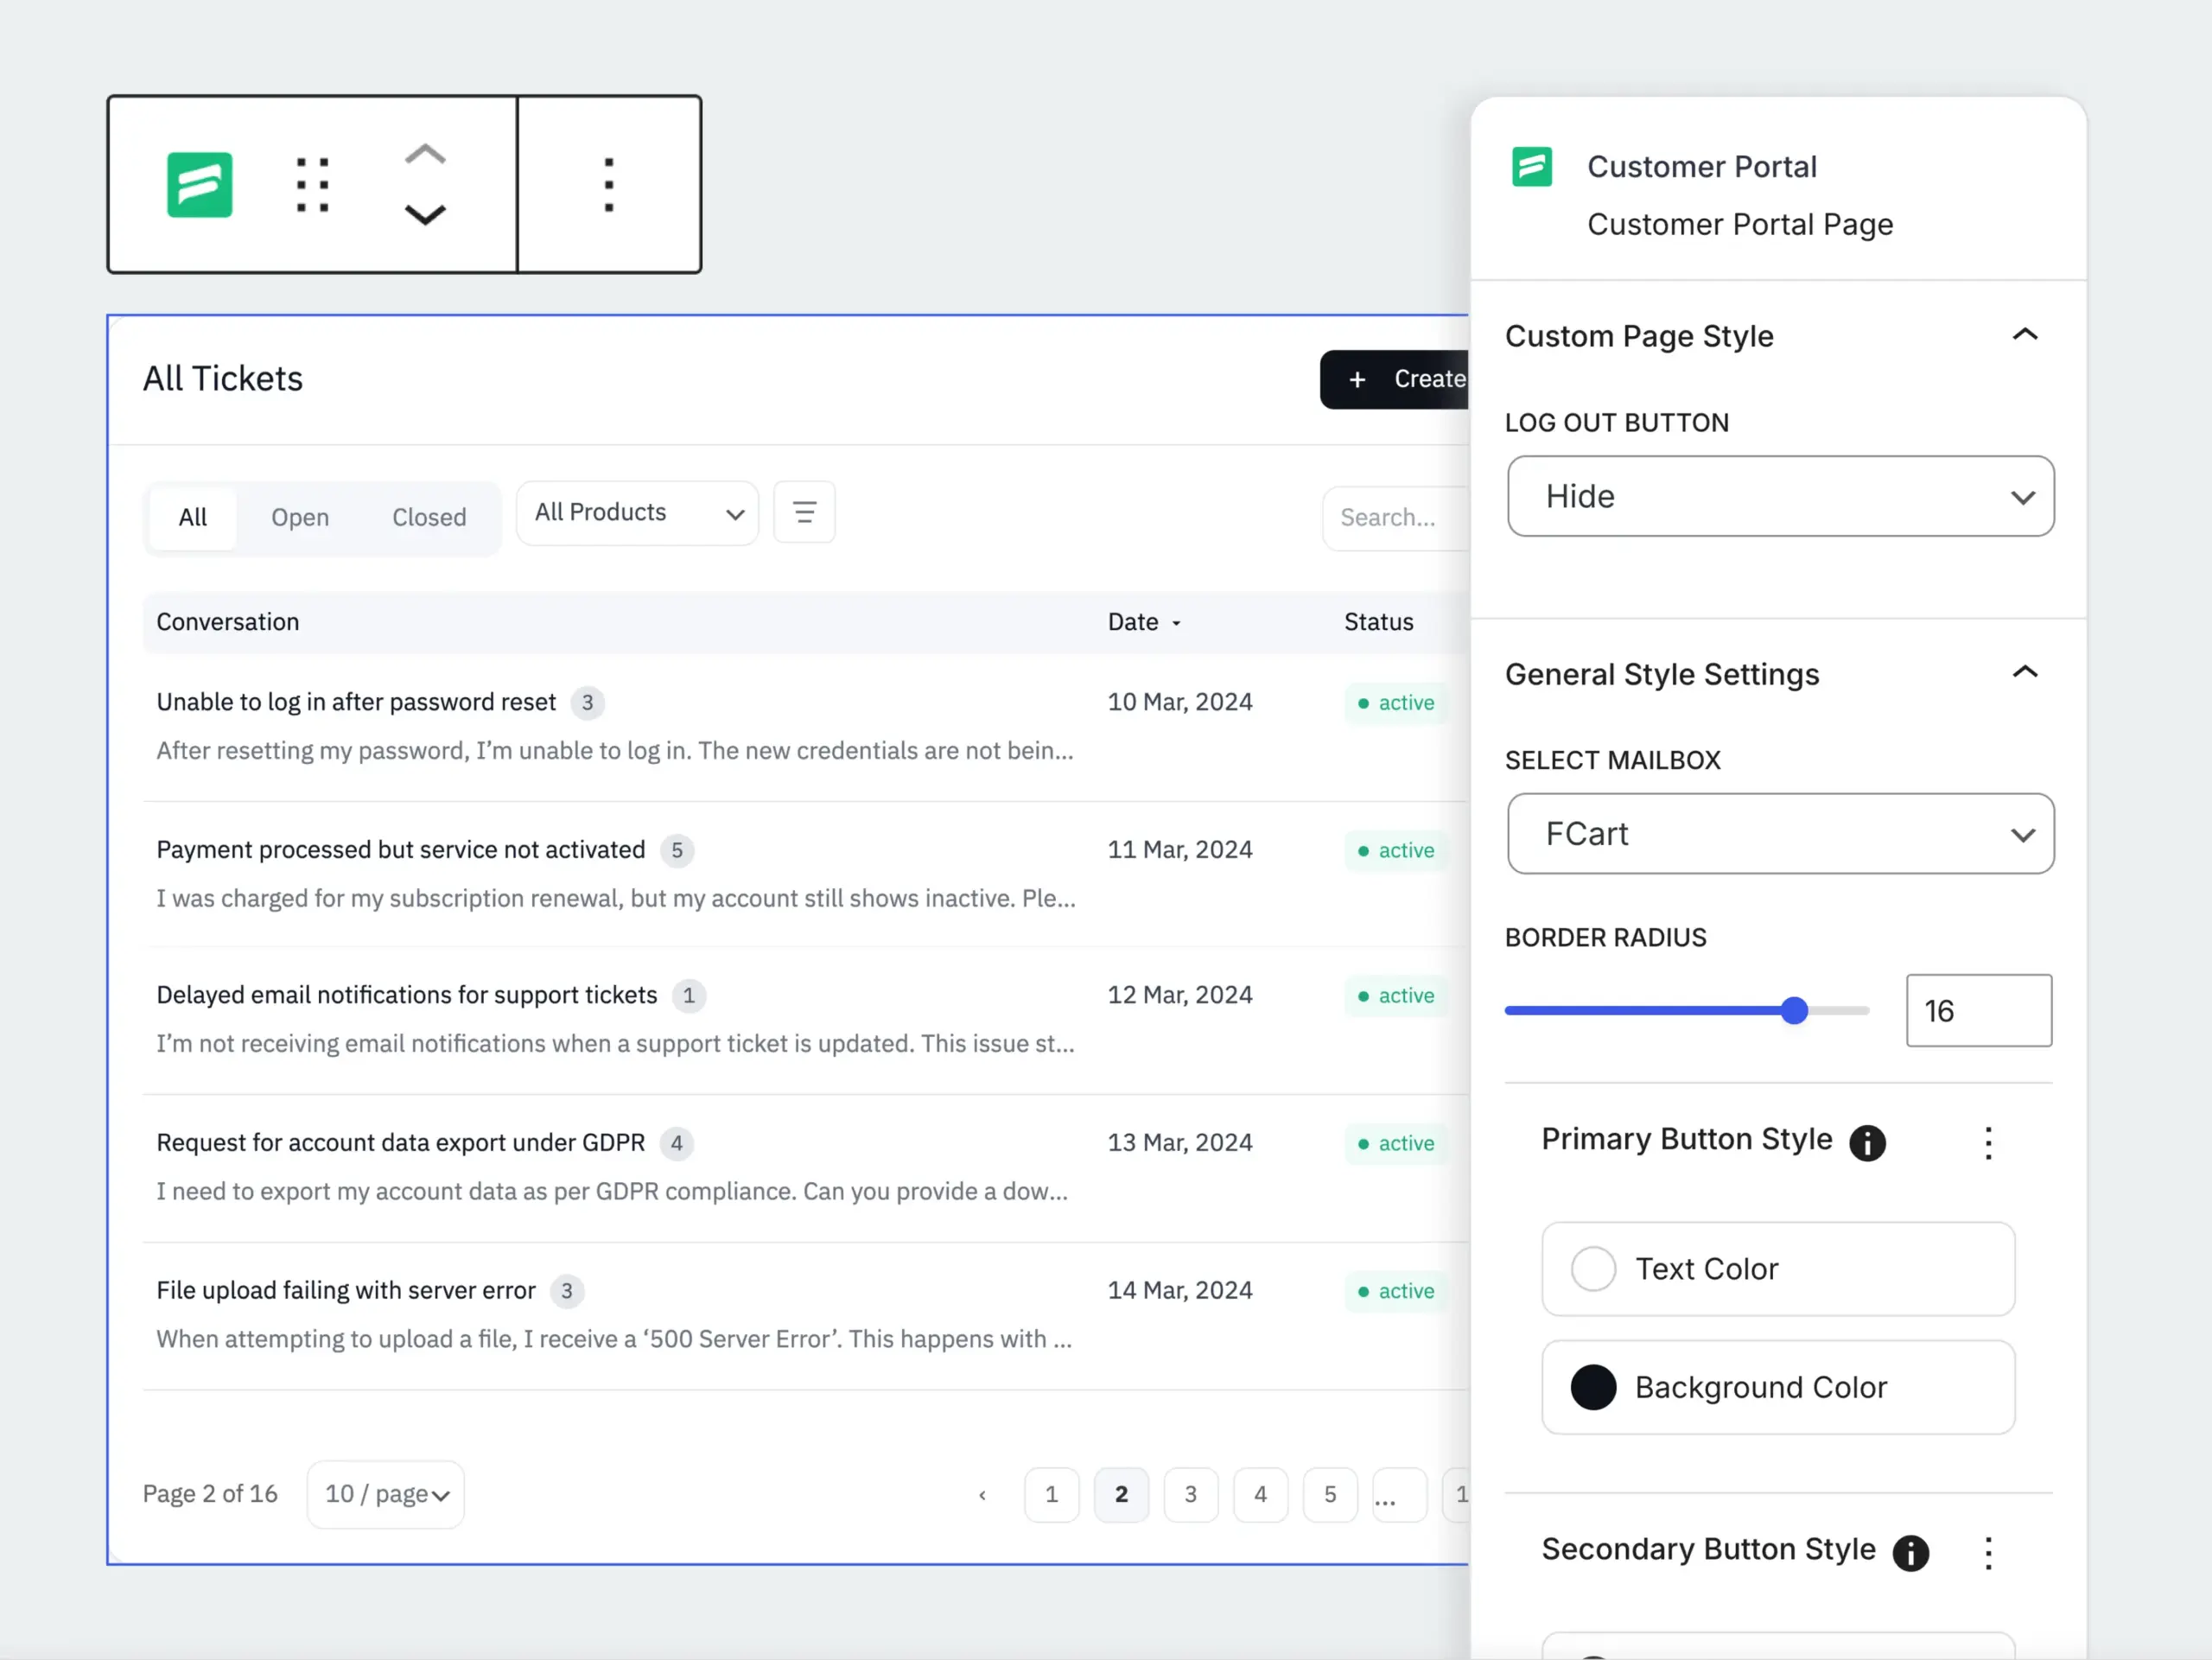
Customise the ticket submission form
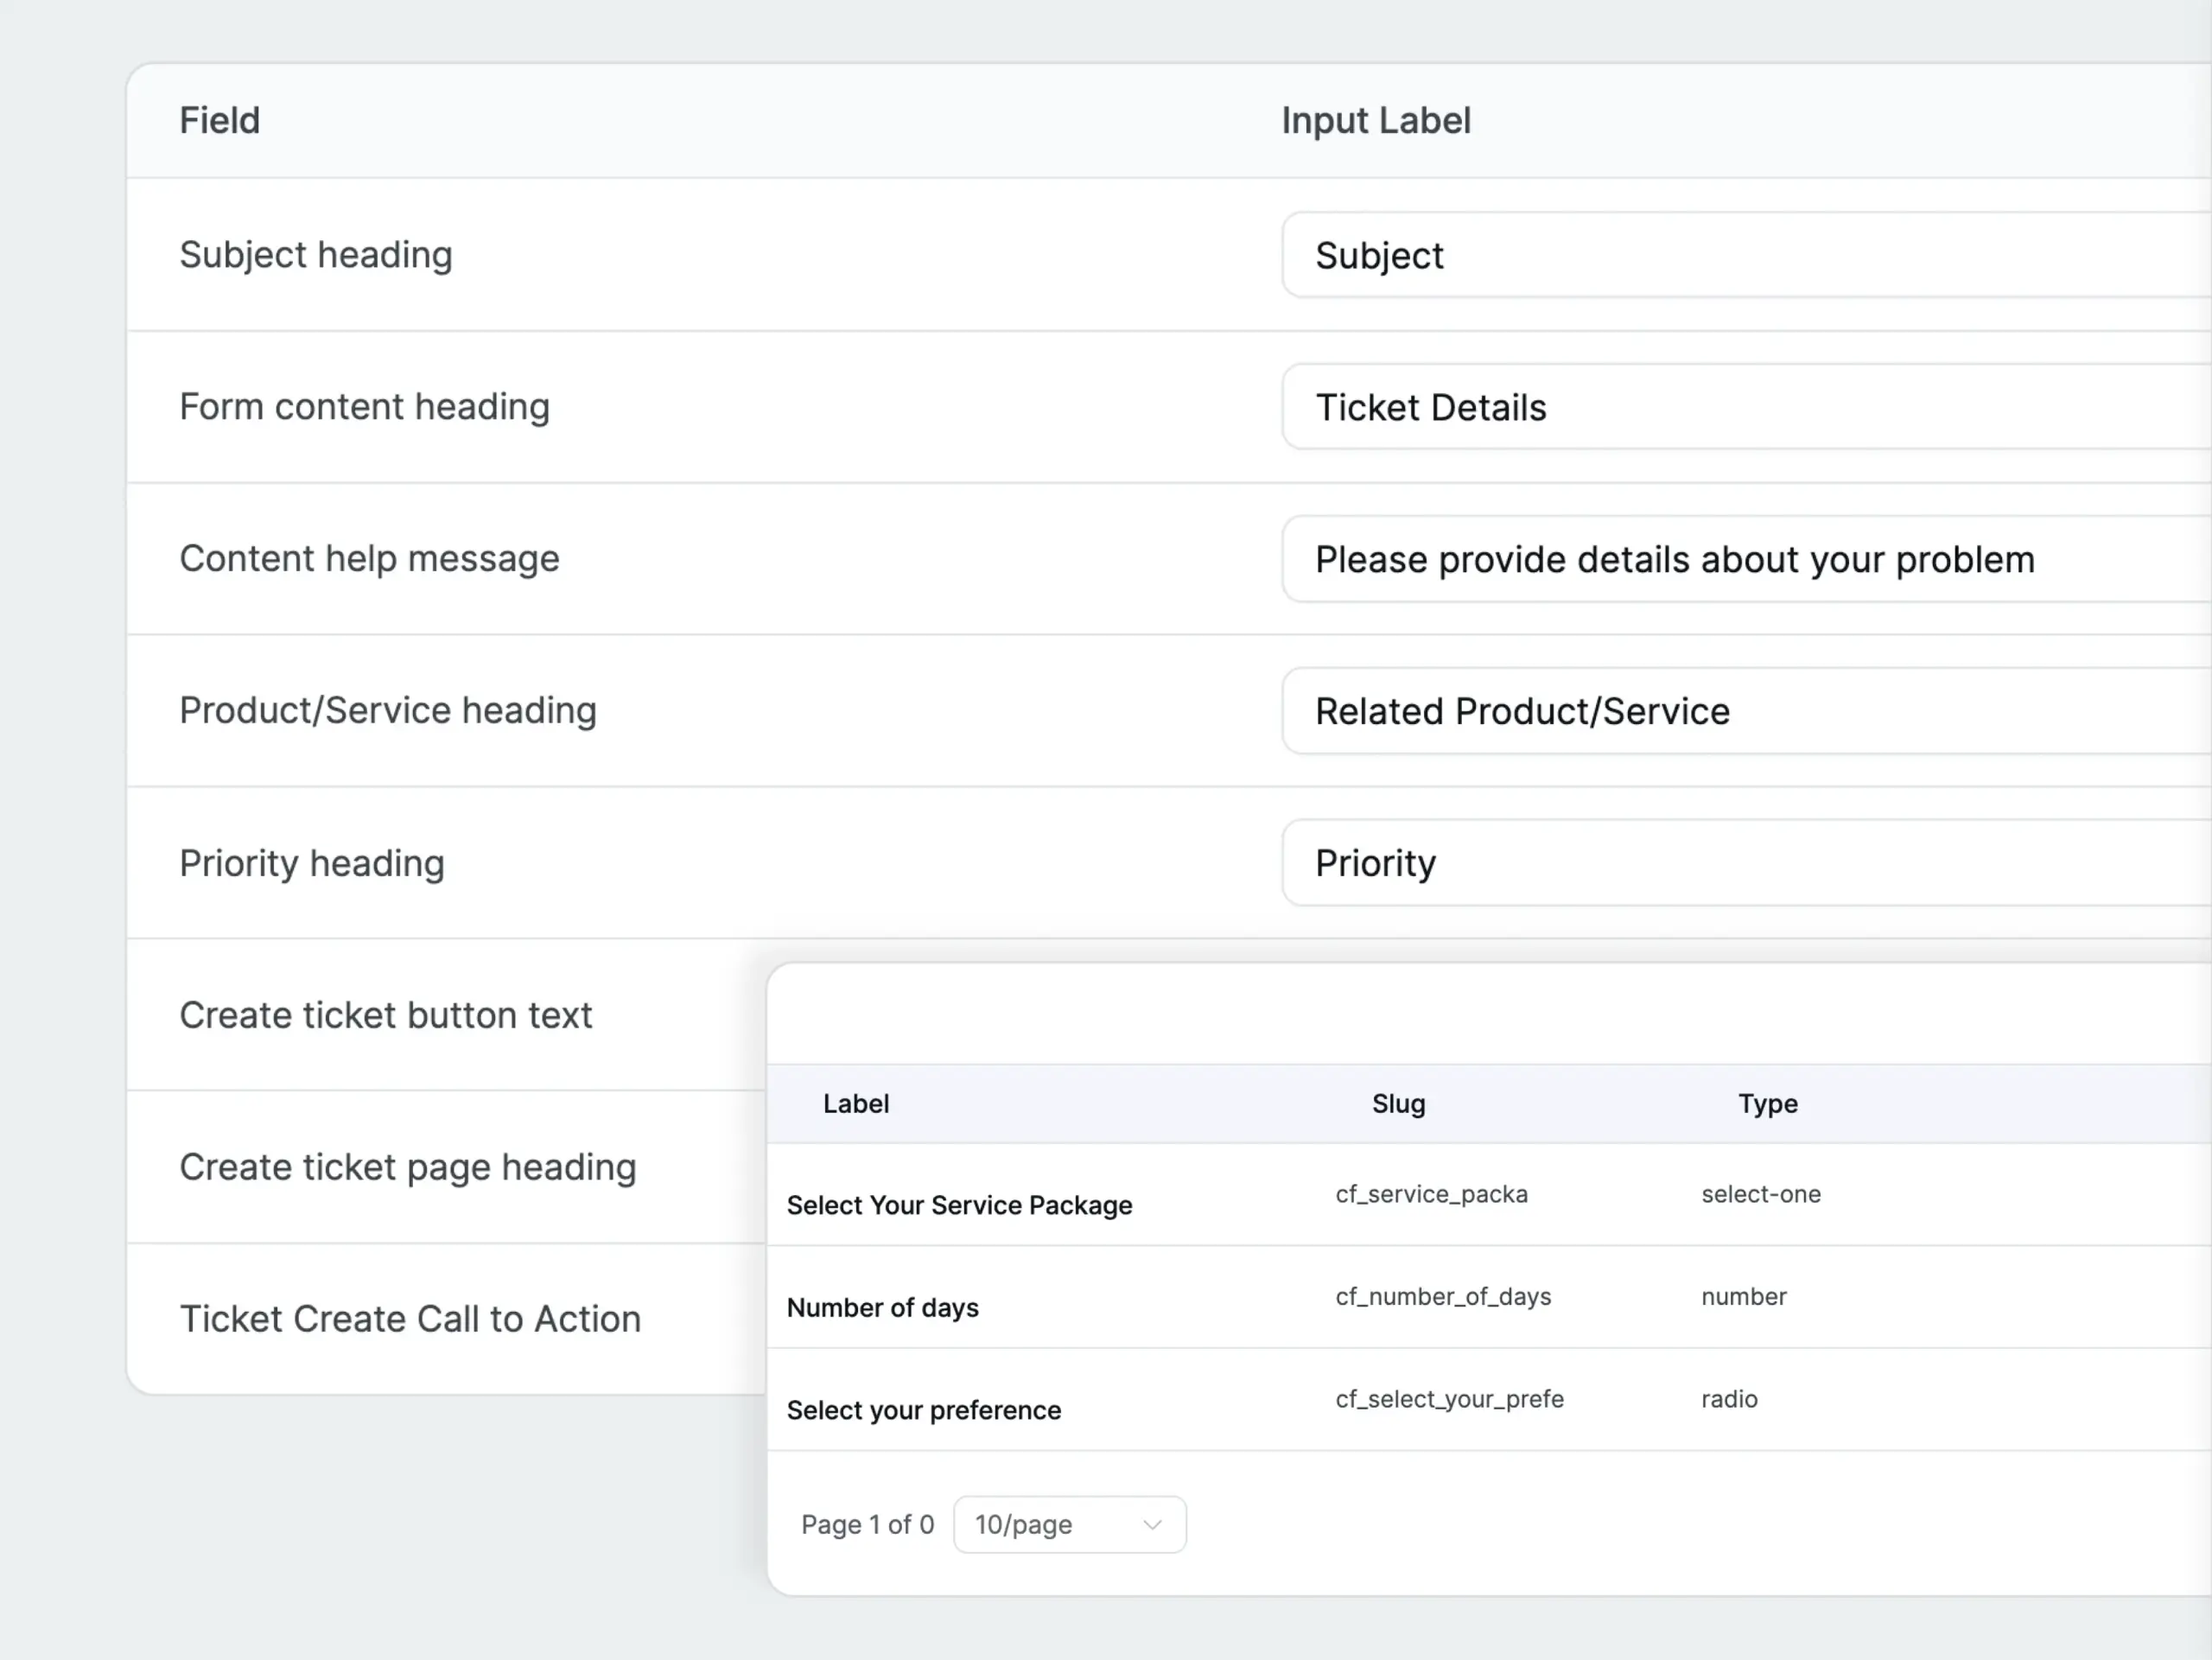
Email piping converts incoming emails directly into tickets. Go to
Add, remove, or reorder the fields customers see when submitting a ticket. Custom fields support conditional logic, show a field only when a customer selects a specific product, for example.
Your Support Desk Is Live
Already set up? Your portal is live, your inbox is ready, and your agents are in. Here’s what to explore next.
» Saved Replies, store pre-written responses for common questions
» Internal Notes, leave private comments on a ticket, visible only to agents
» Reports & Statistics, ticket volume, response times, and agent performance
Still evaluating? The free version covers web-based ticketing, one business inbox, unlimited tickets, agent permissions, and basic reporting. Pro adds email piping, workflow automations, advanced integrations, multiple business inboxes, and priority support.

Transform your support agents into superheroes with the most affordable support plugin for WordPress