Fluent Support allows you to add Agents / Staff for your tickets, as well as some Permissions and Settings for managing agents. This article will guide you through the steps to how to add Support Staff / Agents and about the settings and permission for Agents.
Add Support Staff/Agents #
To learn how to add Support Staff for your WordPress site with Fluent Support, follow the steps with the screenshots below —
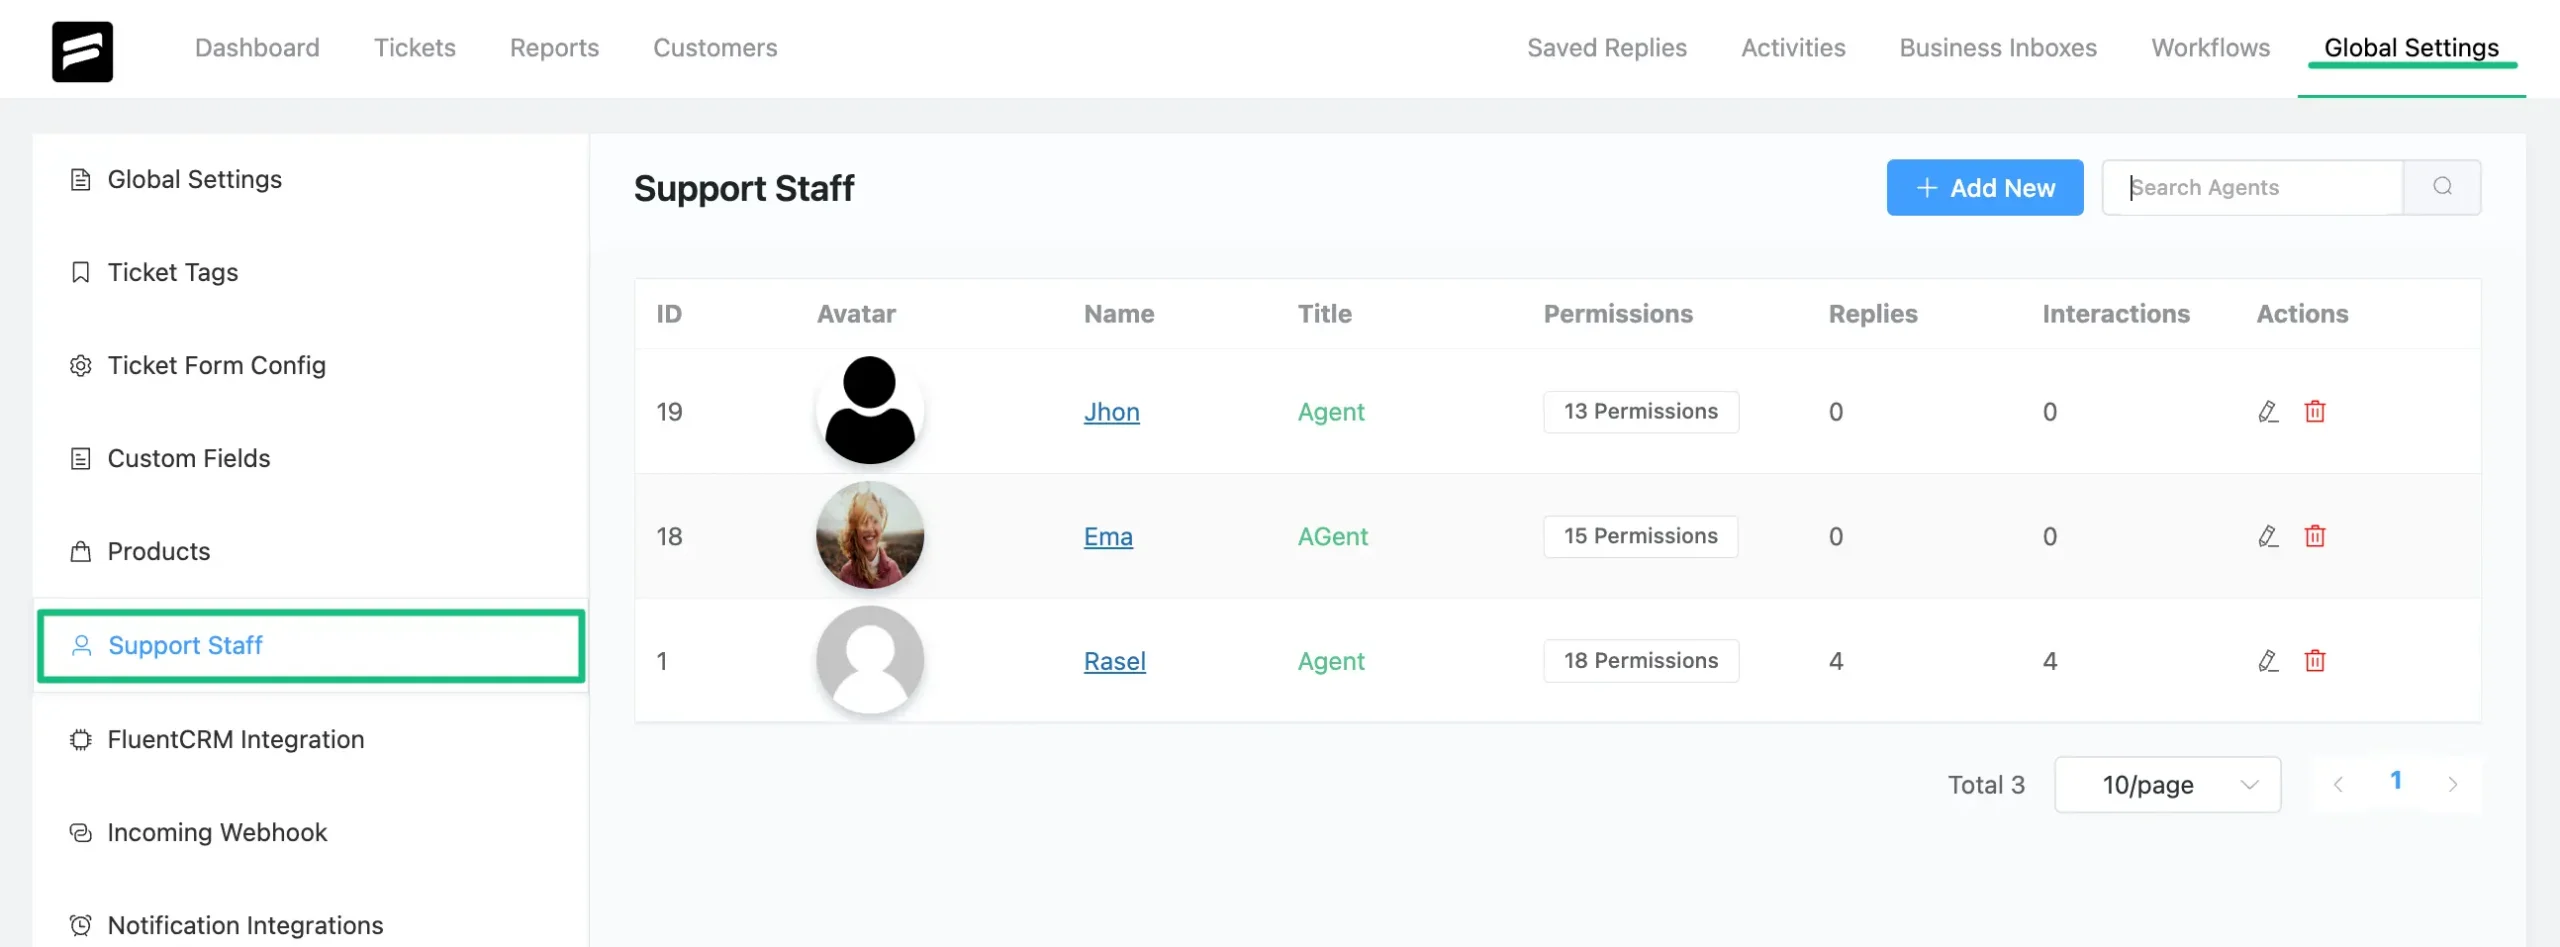
Go to Global Settings from your Fluent Support Dashboard and click on Support Staff from the left sidebar.
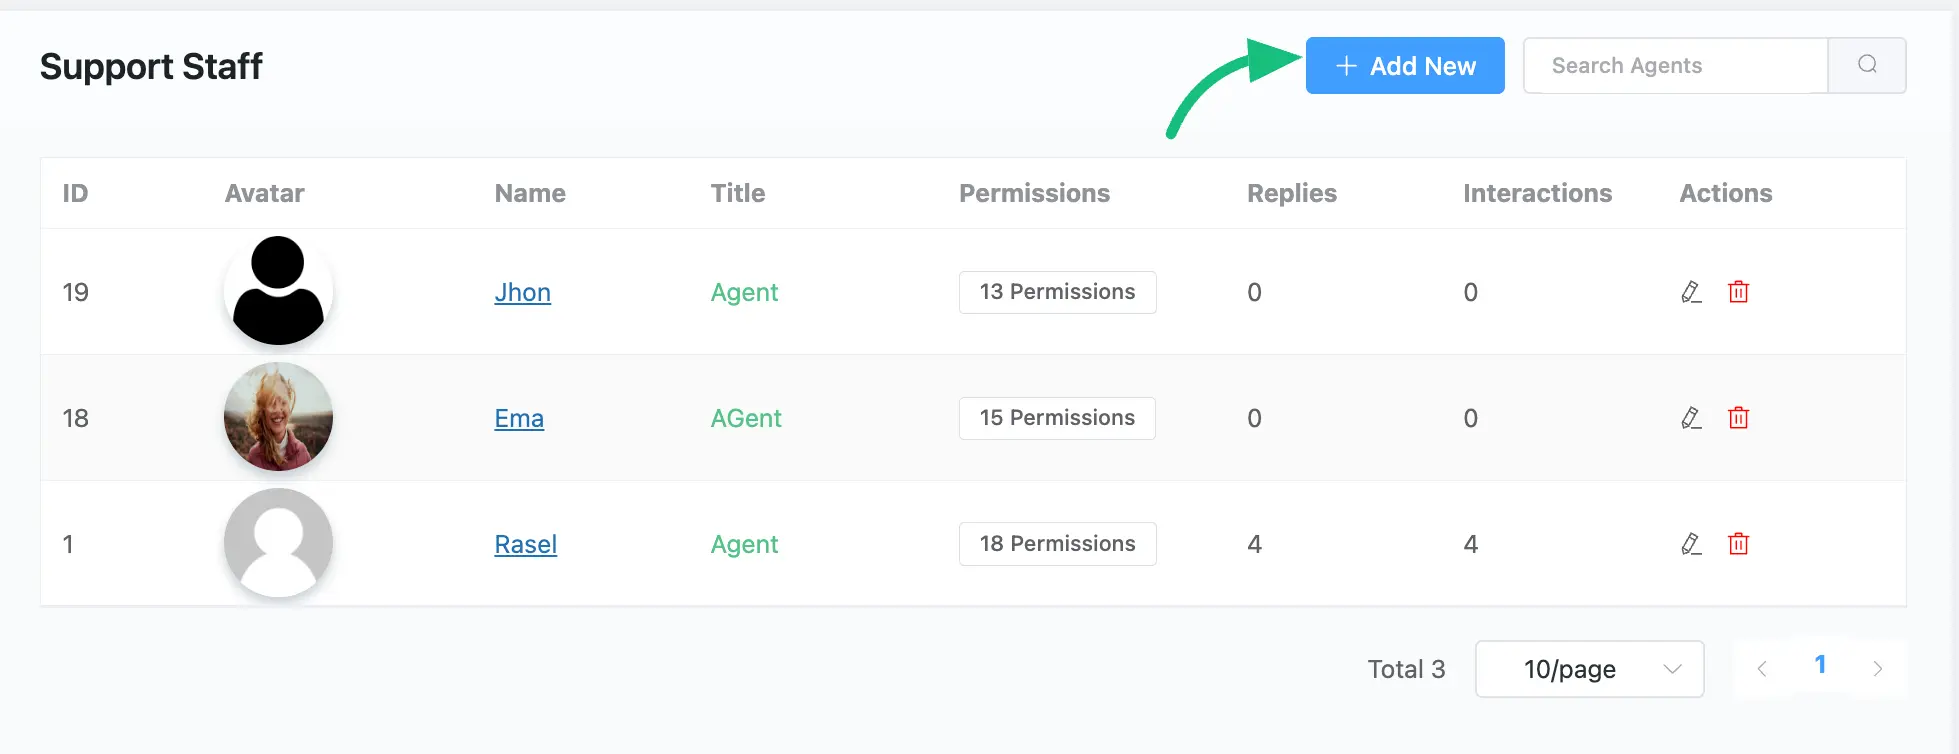
Click the Add New button to add a Support Agent/Staff and a pop-up window will appear for adding information about the Agent/Staff.
You can only add your WordPress Site User as your support Agent/Staff.
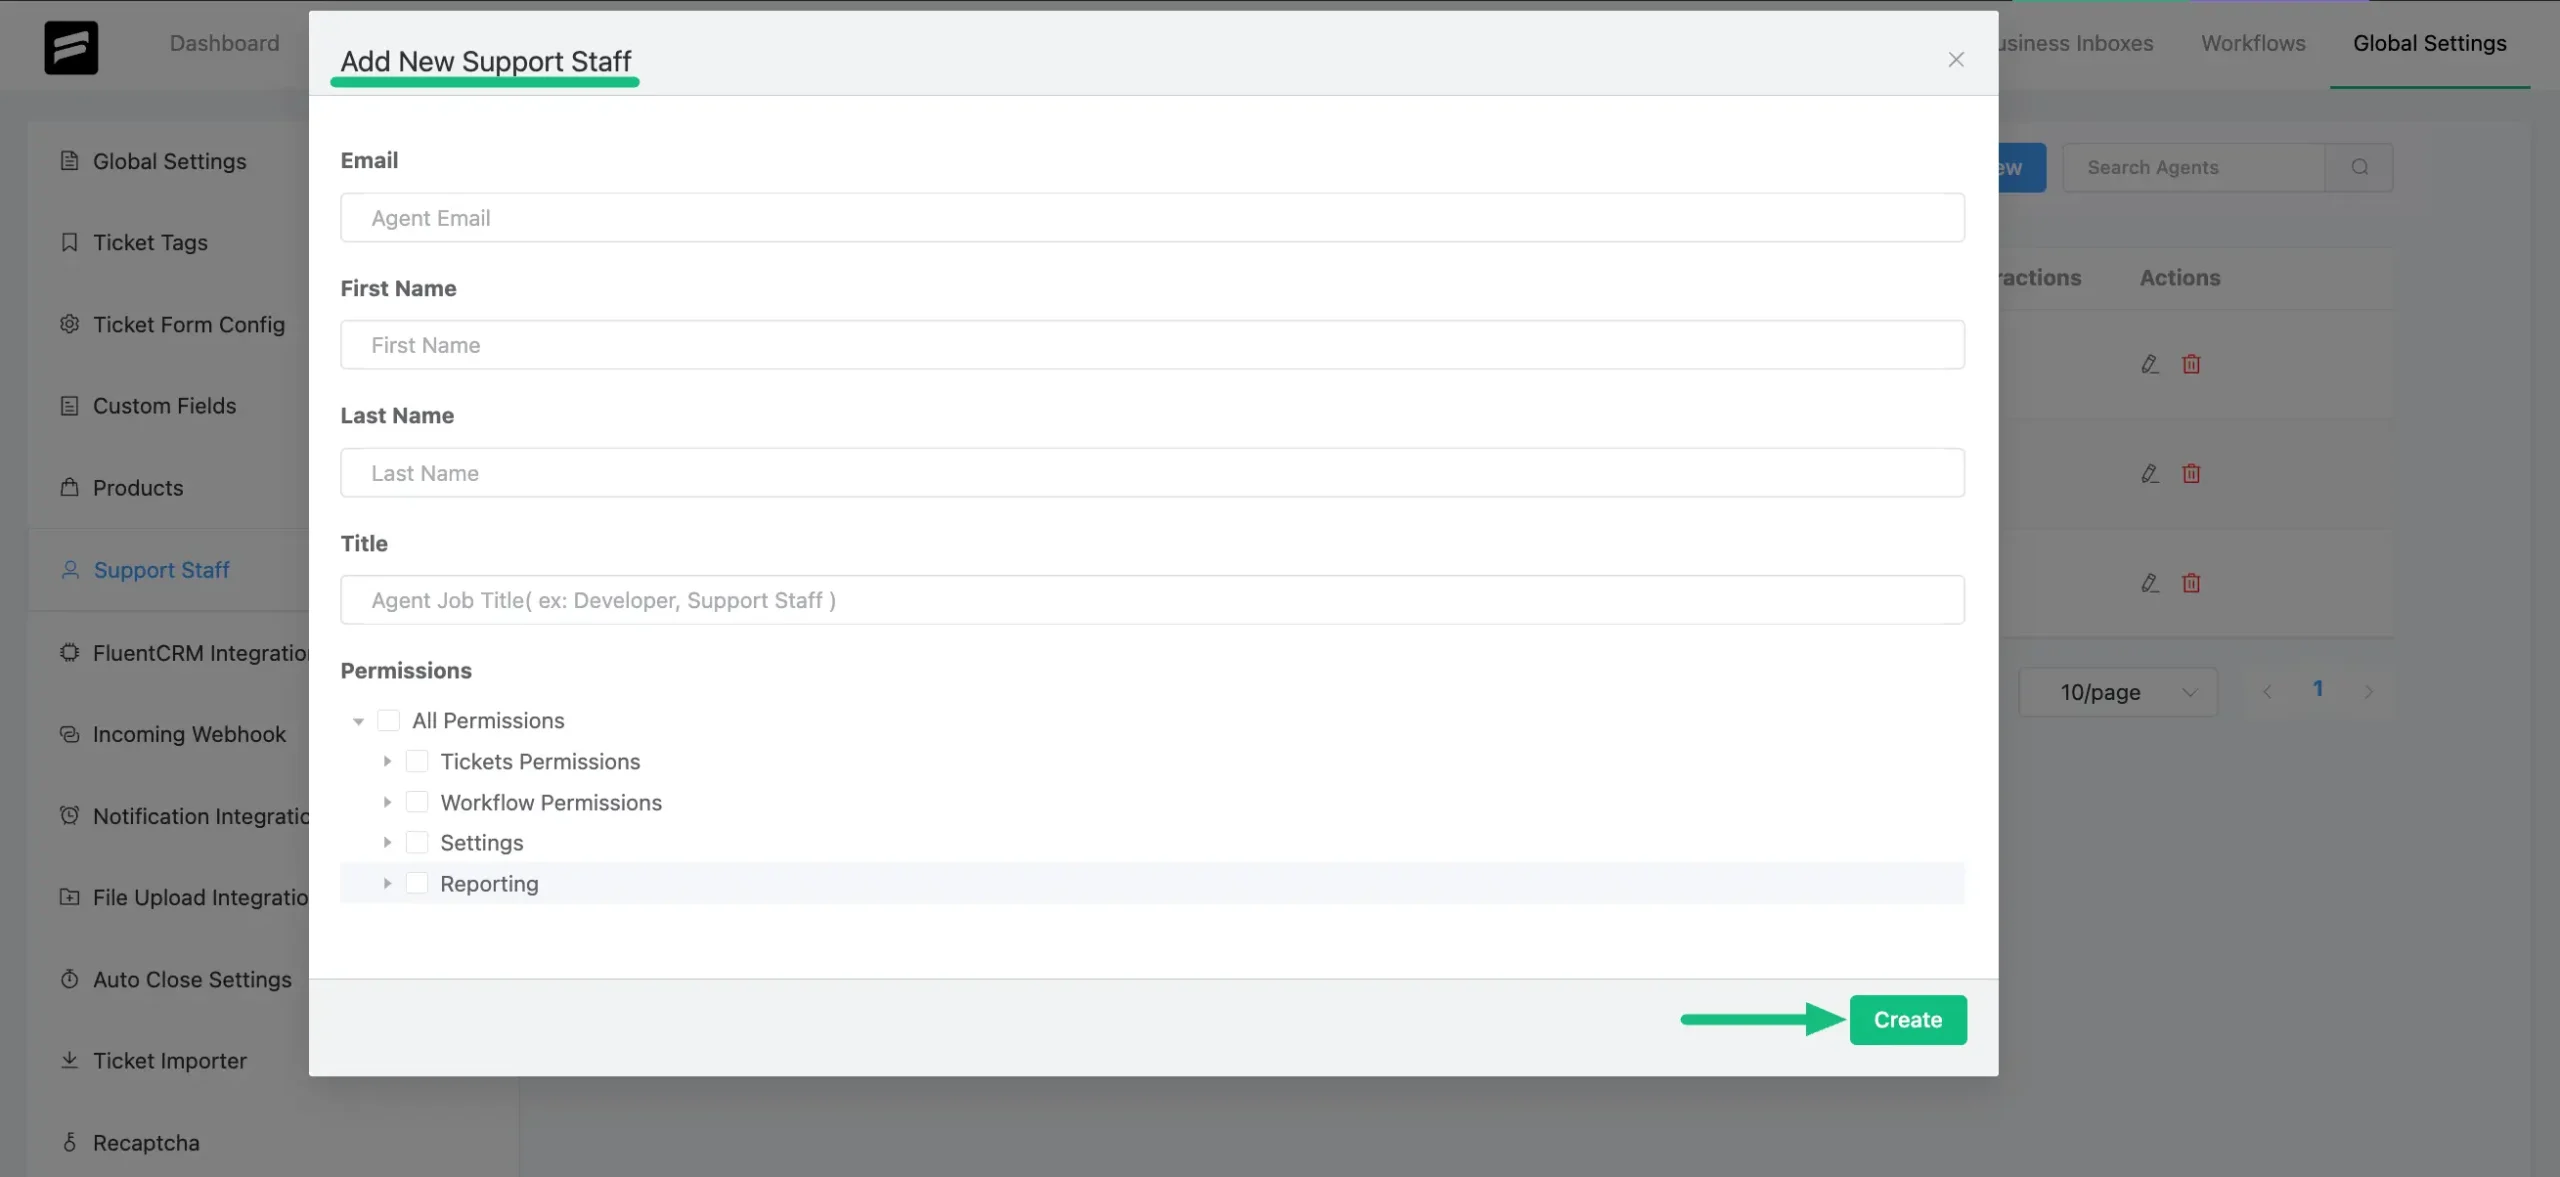
Here you have to give the Email, First Name, Last Name, Title (Job Title), and permissions for the Agent/Staff.
Once you are done, click on the Create button to finish the process.
This is how you can add as many new staff/agents as you need!
If you have any further questions, concerns, or suggestions, please do not hesitate to contact our @support team. Thank you.


