Fluent Support offers three platforms for storing uploaded files: your Default WordPress storage, Dropbox, and Google Drive. But, you can select only one storage platform for your uploaded files at a time. This article will guide you through the process required to upload your files in fluent support.
File Upload Integration With Fluent Support #
To learn how to set your preferred file storage platform, follow the steps with screenshots below
Enable Your File Storage Platform #
From Fluent Support Dashboard, go to Global Settings, select File Upload Integration, and click Configure to enable your preferred storage platform.
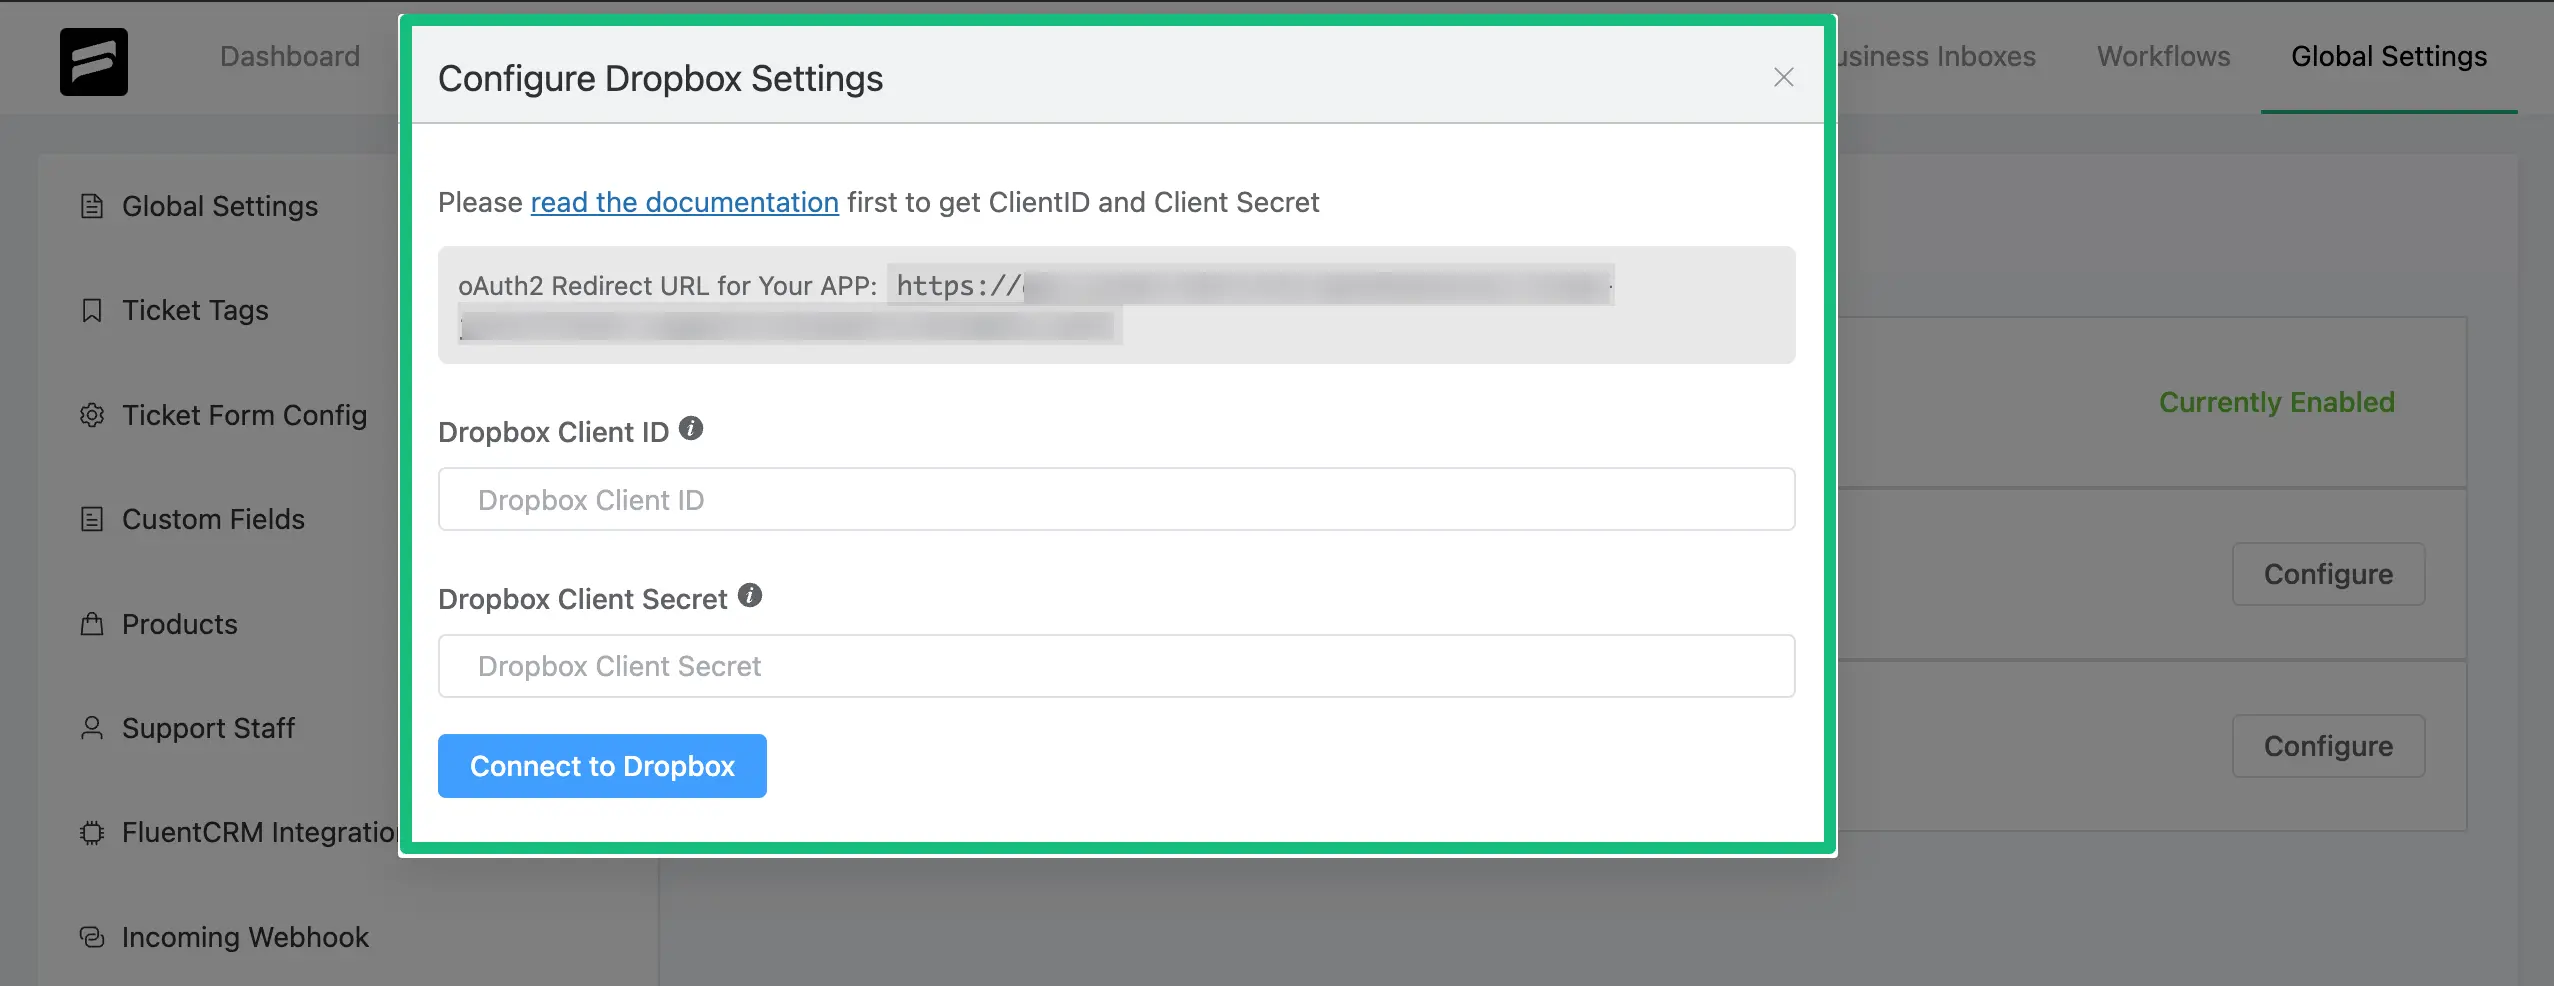
For example, here I selected the “Dropbox” platform.

Now, provide all the credentials for your selected storage platform in the pop-up.
Upload Your Files #
To learn how to upload the files to your desired storage platform, refer to the articles below —
Remember, no configuration is necessary for your Default WordPress Storage platform.
Dropbox Integration
#
To learn how you can integrate Fluent Support with Dropbox for uploading your files to run a better workflow,
read this full Documentation.
Before uploading the files to Dropbox, you must integrate it with your Fluent Support.
Google Drive Integration #
To learn how you can integrate Fluent Support with Google Drive for uploading your files to run a better workflow,
read this full Documentation.
Before uploading the files to Google Drive, you must integrate it with your Fluent Support.
This is how you can integrate File Upload Platforms with Fluent Support!
If you have any further questions, concerns, or suggestions, please do not hesitate to contact our @support team. Thank you.


