This article will guide you through the process required to create a ticket for any customer using the Add Ticket functionality of Fluent Support. (especially in situations where a customer requests your support staff to open a ticket on their behalf).
How to Create Tickets on Behalf of the Customer #
To learn how to create tickets on behalf of the customer, follow the steps with the screenshots below —
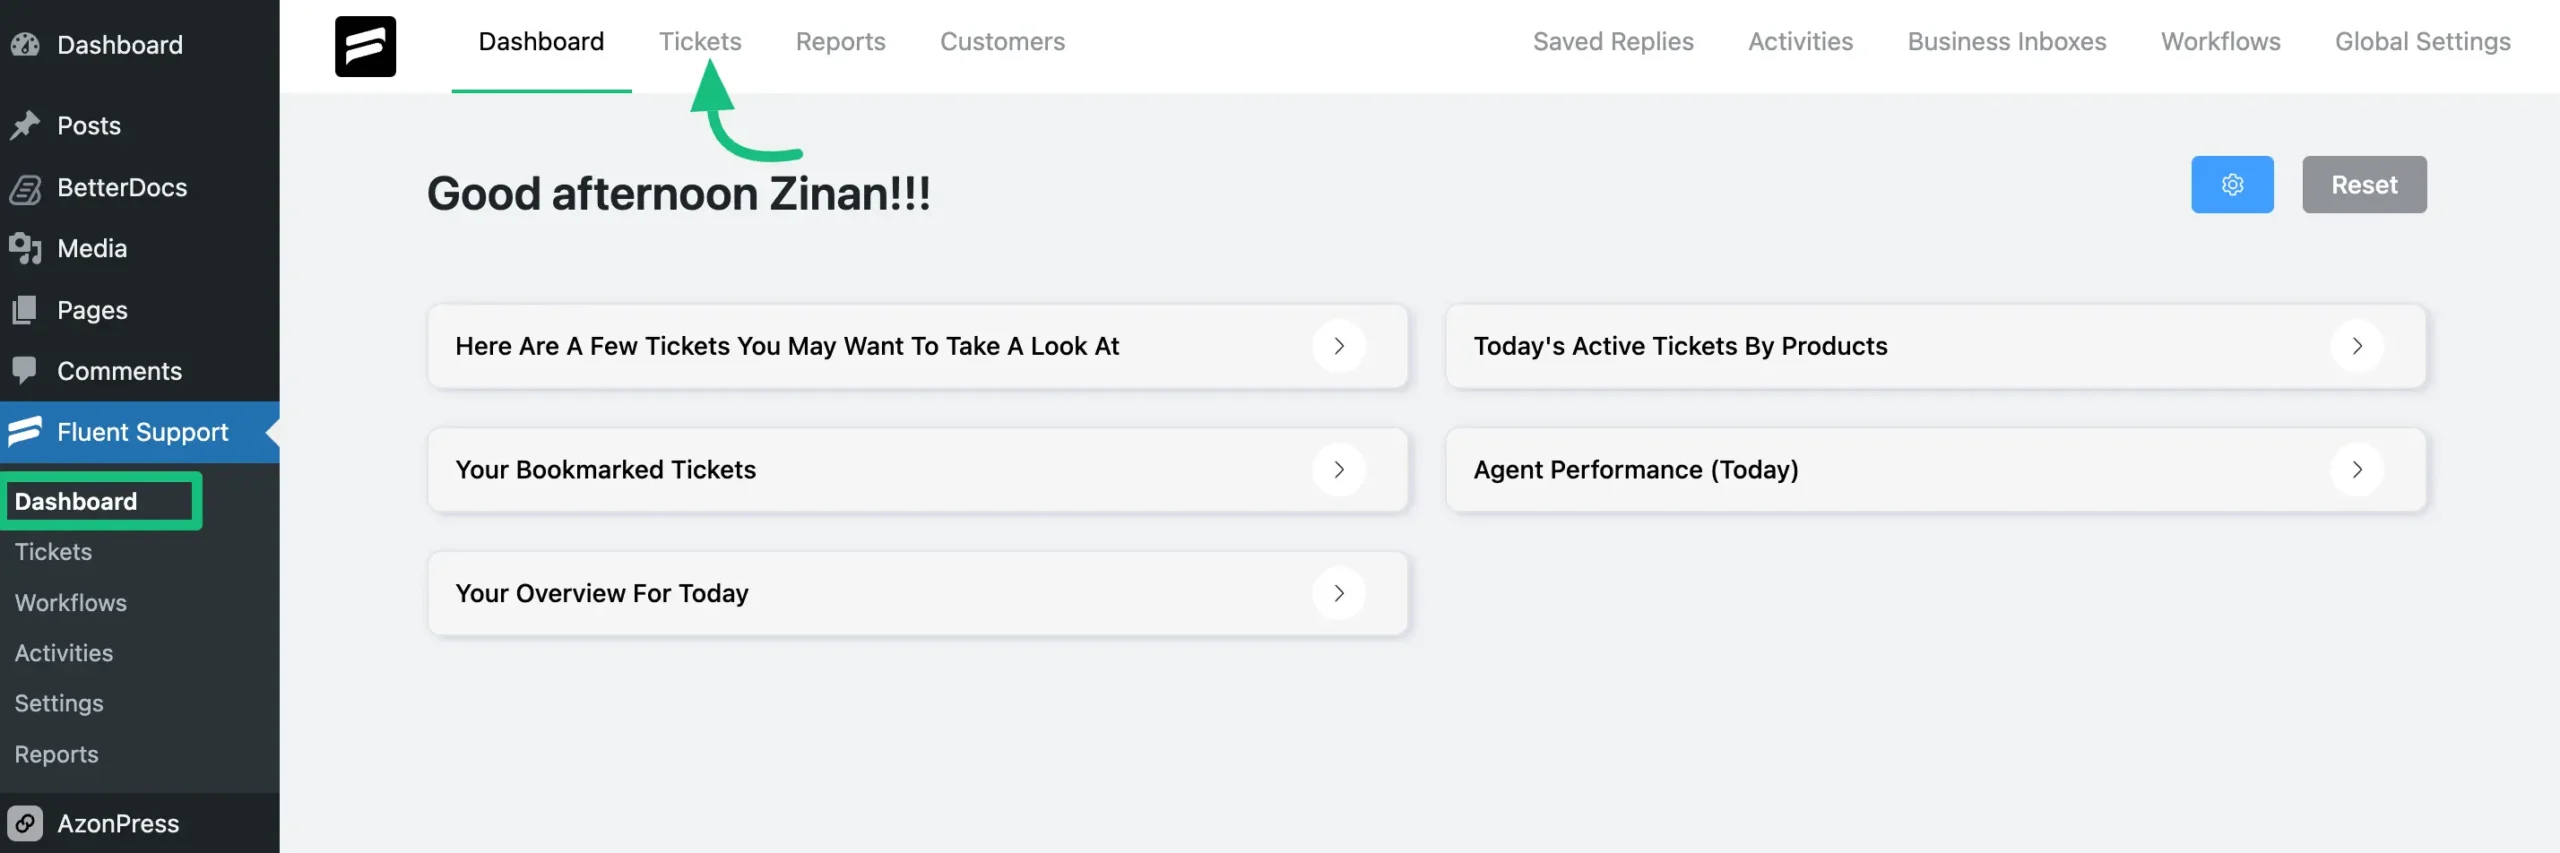
Go to your Fluent Support Dashboard & click on Tickets.
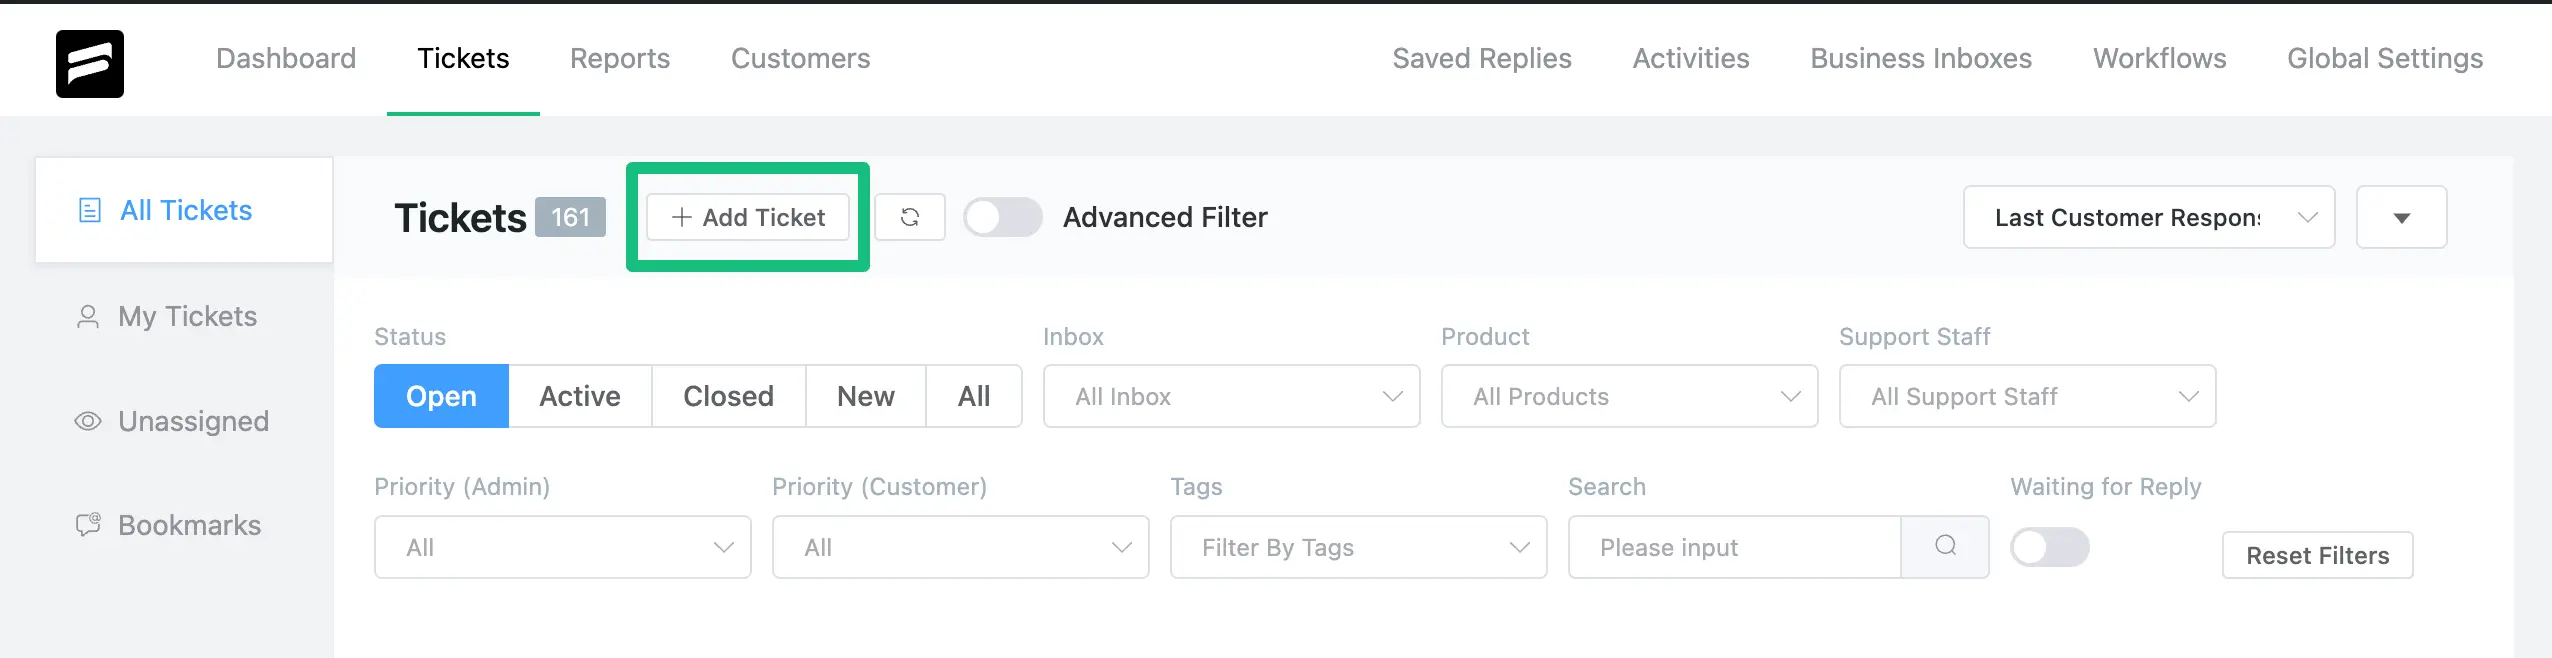
Click on the + Add Ticket button in the top left corner of the Tickets tab and a pop-up page will appear for creating a ticket.
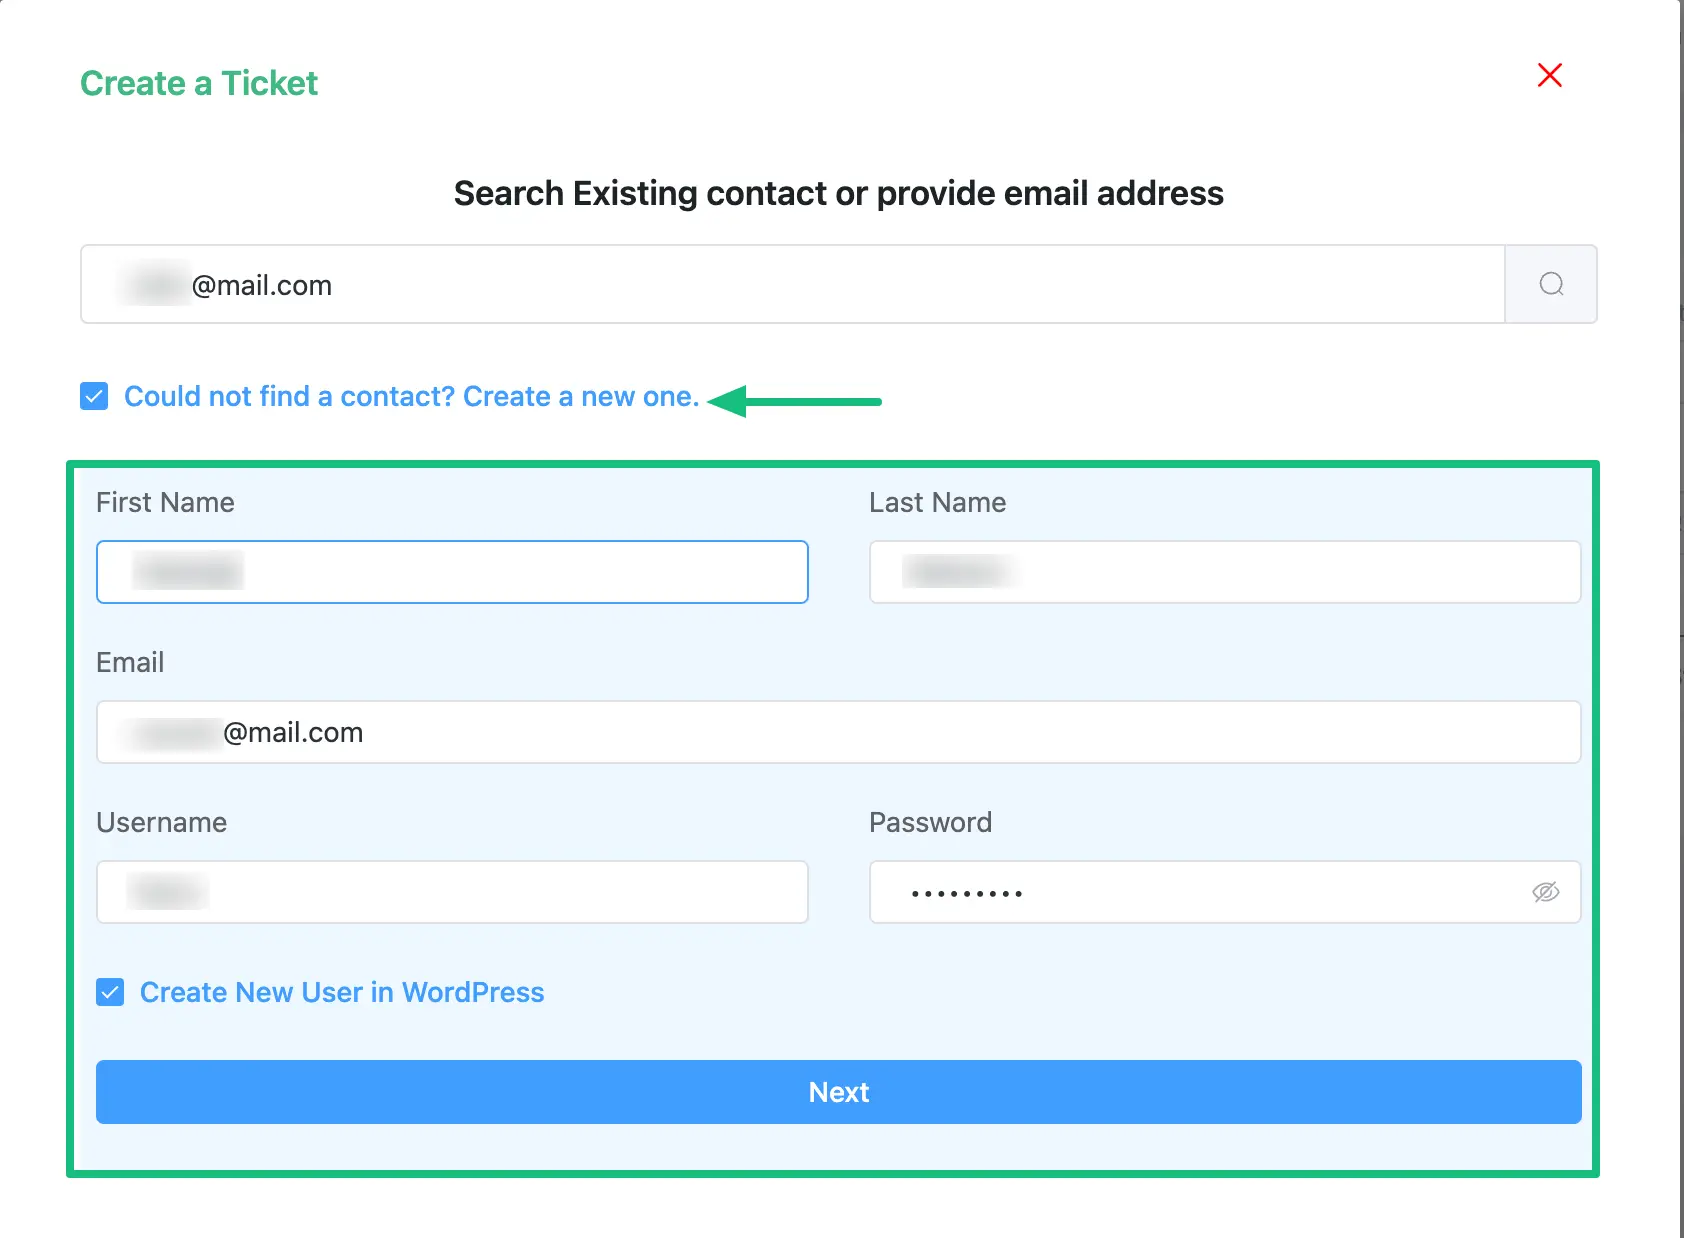
You can reach your customer here by entering the customer’s name or email address into the search box.
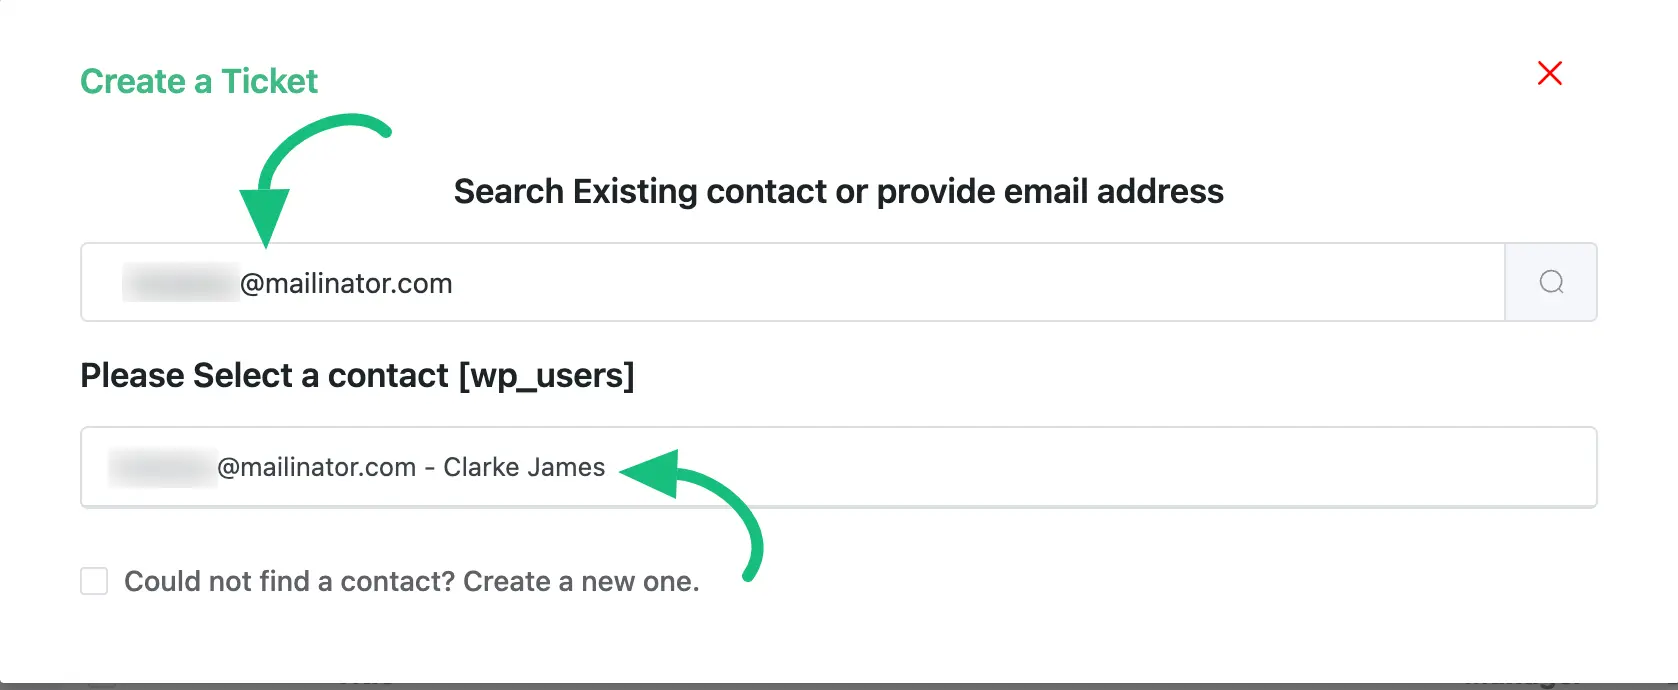
But, if the search fails, you can tick the checkbox “Could not find a contact? Create a new one” to add a new customer to your list.
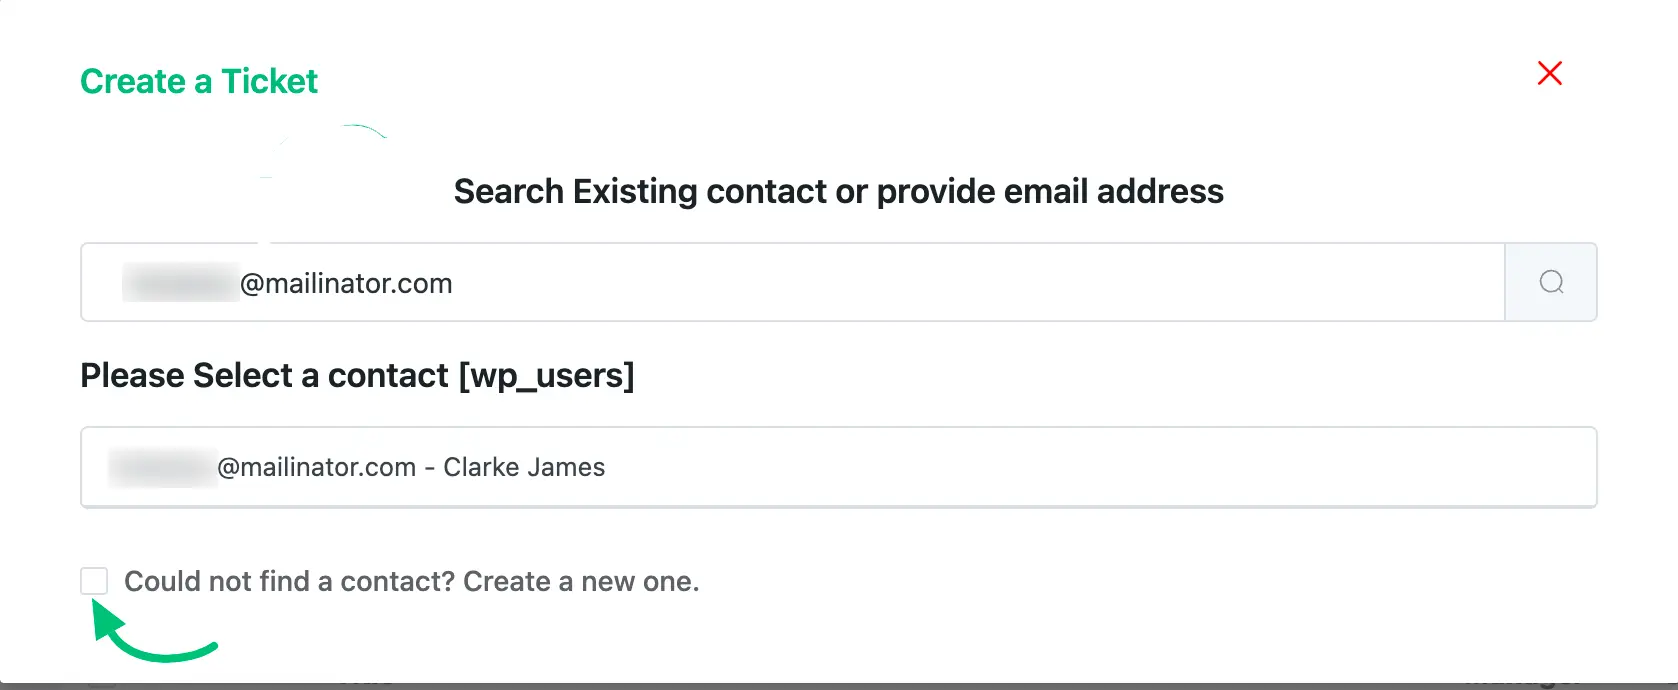
After clicking the Create a new one, you will need to provide the necessary information about the customer and once you are done, click on the Next button to proceed.
Here, you need to fill up the required fields with the customer’s details and requirements about the ticket.
Once you are done, click on Create Ticket to add the ticket on behalf of the customer.
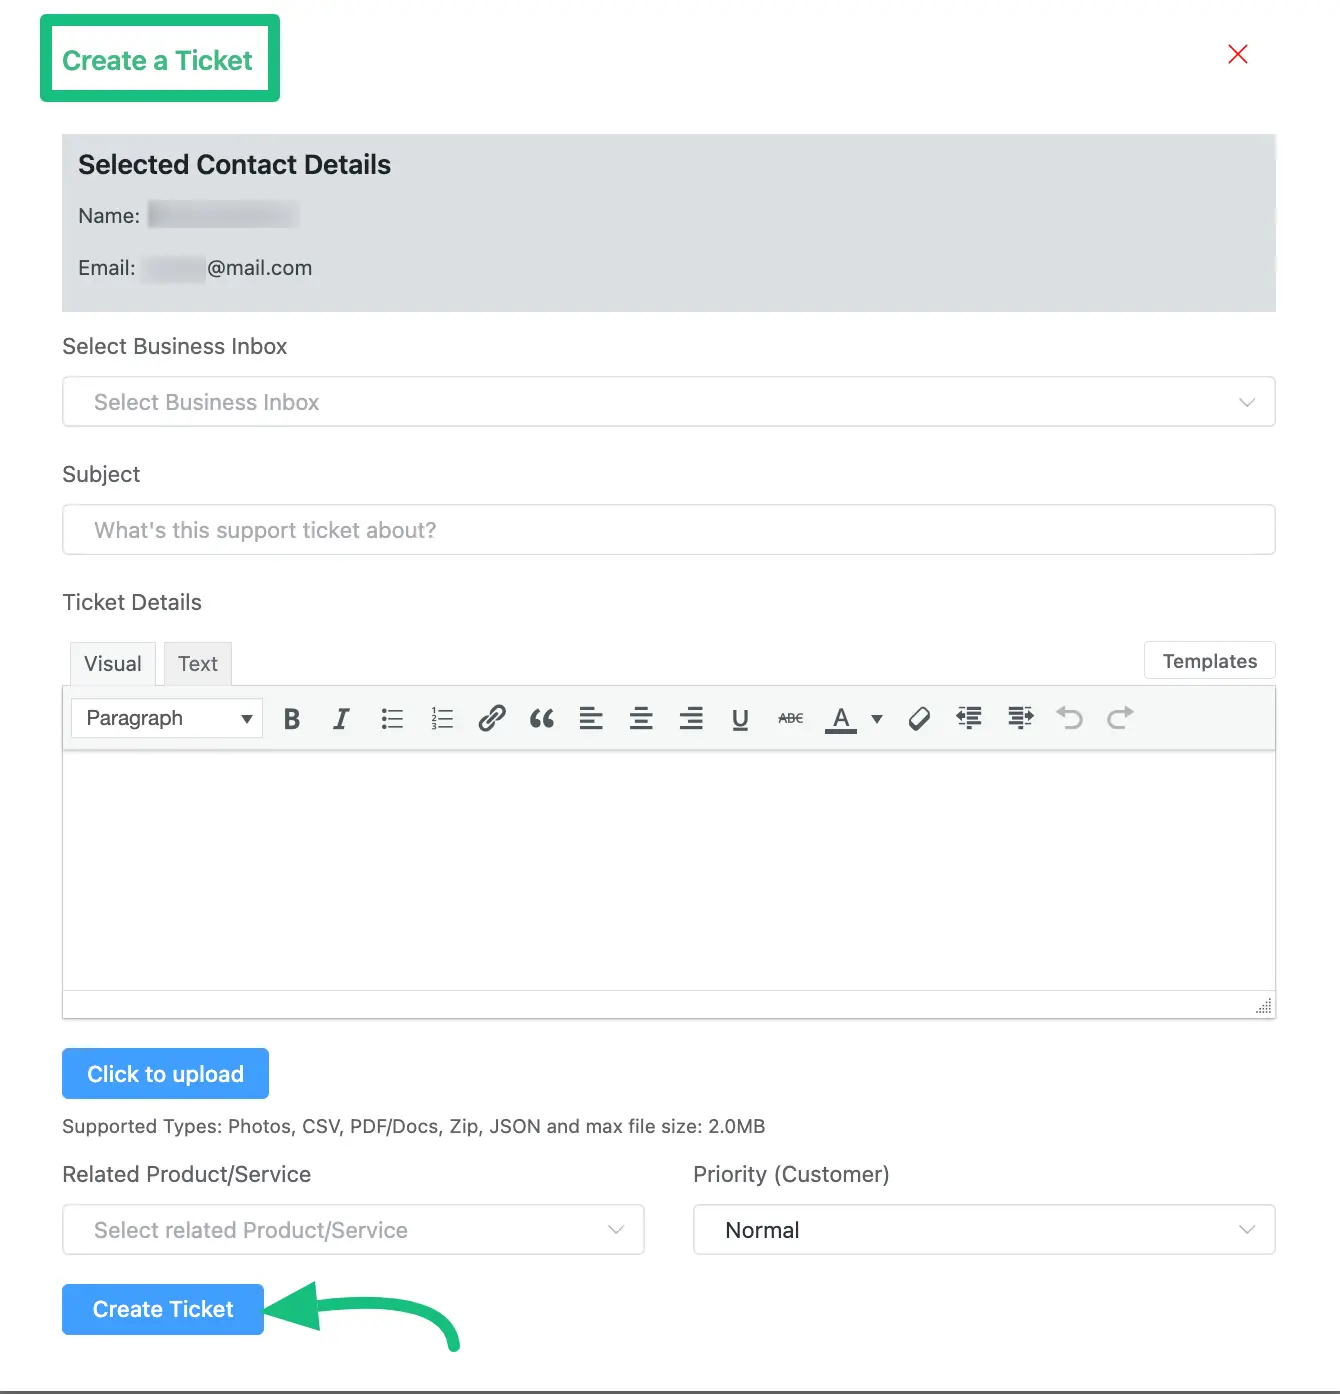
A brief explanation of the settings shown in the screenshot above is given below —
- Selected Contact Details: Here, you will find the name & email of the customer on whose behalf you opened this ticket.
- Select Business: Here, you can select Business Inbox from the dropdown to specify the mailbox where this ticket should open.
- Subject: You can add the subject to your ticket here.
- Ticket Details: Here, you can add appropriate ticket details using this Text editor. And, to know the details about the Templates setting located in the left corner under Ticket Details, click here.
- Click to Upload: Using this setting, you can attach files with your ticket which can be Photos, CSV, PDF/Docs, Zip, and JSON.
- Related Product/Service: Here, you can select your relevant Product Name, for example. Fluent Support, Fluent CRM, and so on.
- Priority: Also, you can choose the ticket’s priority level; there are three priority levels; Normal, Medium & Critical.
If you have any further questions, concerns, or suggestions, please do not hesitate to contact our @support team. Thank you.


