FluentSupport (Customer Portal) Gutenberg Block empowers you to create a customized customer portal. You can design the customer portal precisely according to your preferences. To know the whole process, follow the steps accordingly.
Add Customer Portal #
To learn how to add the FluentSupport (Customer Portal) on your WordPress site, follow the steps with screenshots below —
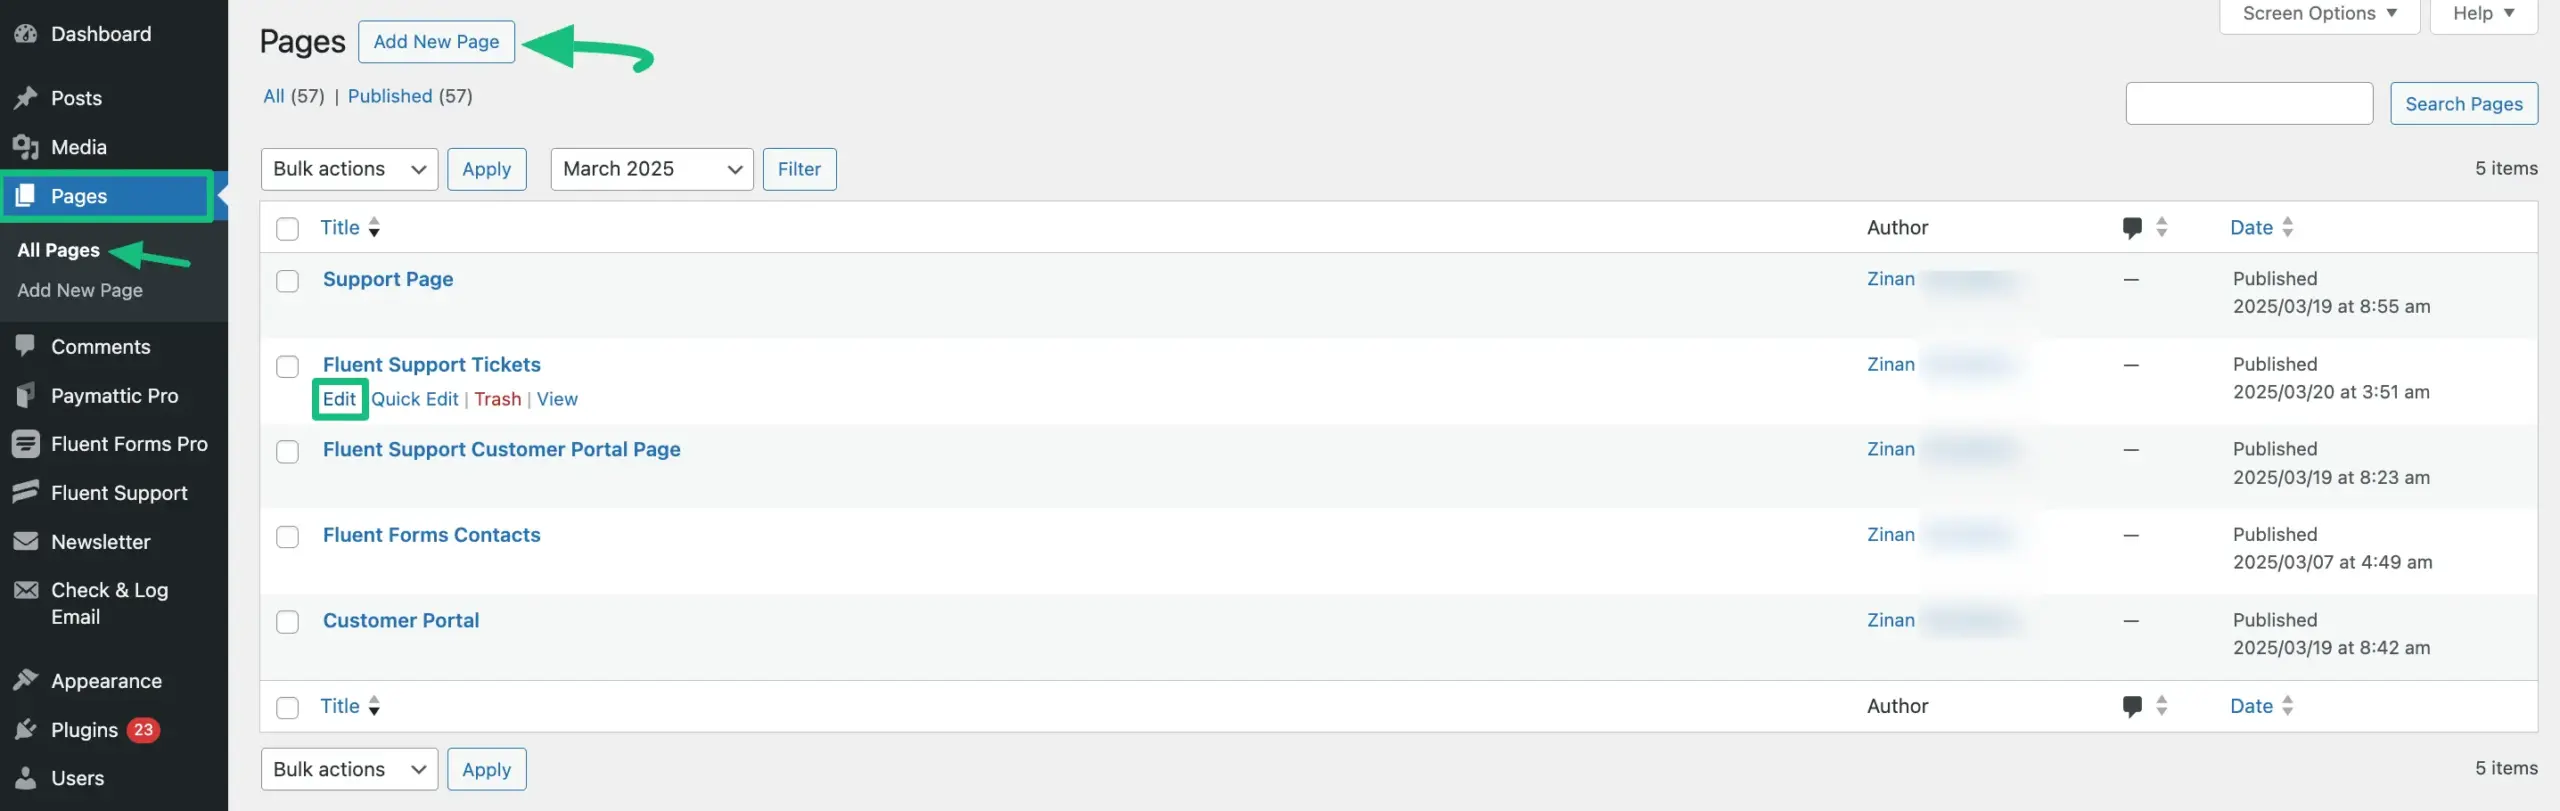
Go to the Pages from the WordPress Dashboard, open the desired page where you want to add your Customer Support Portal1 and click the Edit button.
If you want to add your Customer Support Portal to a new page, click the Add New Page button in the top left corner and create a new page.
Once you are on the Page Editor, add a FluentSupport (Customer Portal) Gutenberg Block to your desired page as shown in the GIF below.
You can also add FluentSupport (Customer Portal) in Posts on your WordPress Site by following the process shown below.
Customize Customer Portal #
To learn how to customize the FluentSupport (Customer Portal), follow the steps with the screenshots & GIFs below —
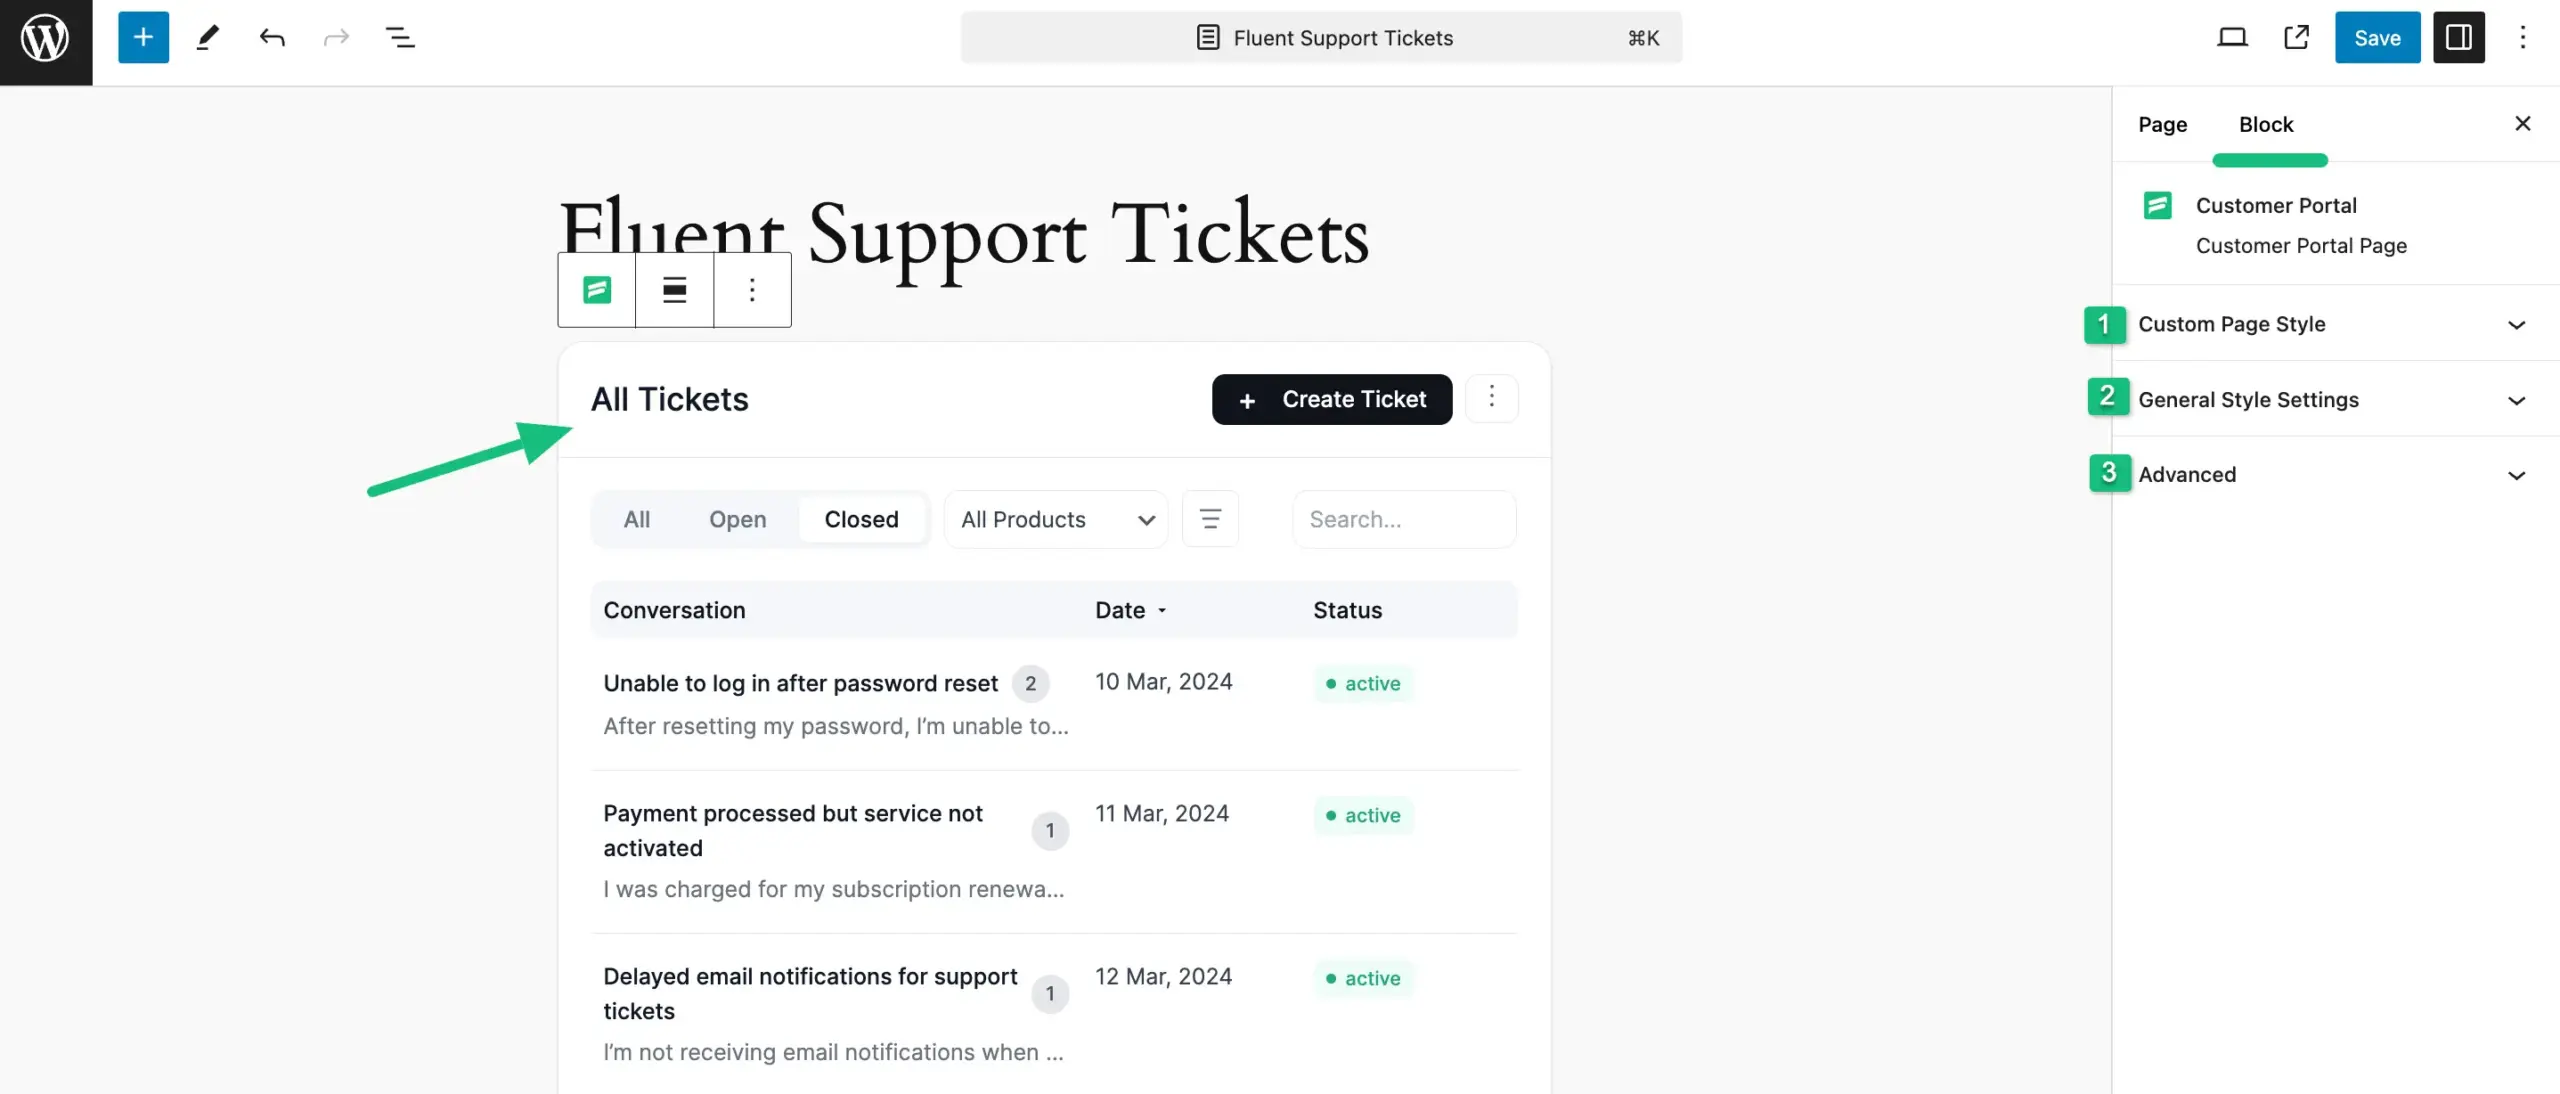
Once you’ve added the block, your Customer Portal will appear and you can personalize its design according to your needs.
First, click any place of the portal randomly and it will take you to the Block page in the right sidebar where all the available customization settings will appear. These are:
- Custom Page Style
- General Style Settings
- Advanced
All three major customization settings mentioned above are briefly explained below:
1. Custom Page Style #
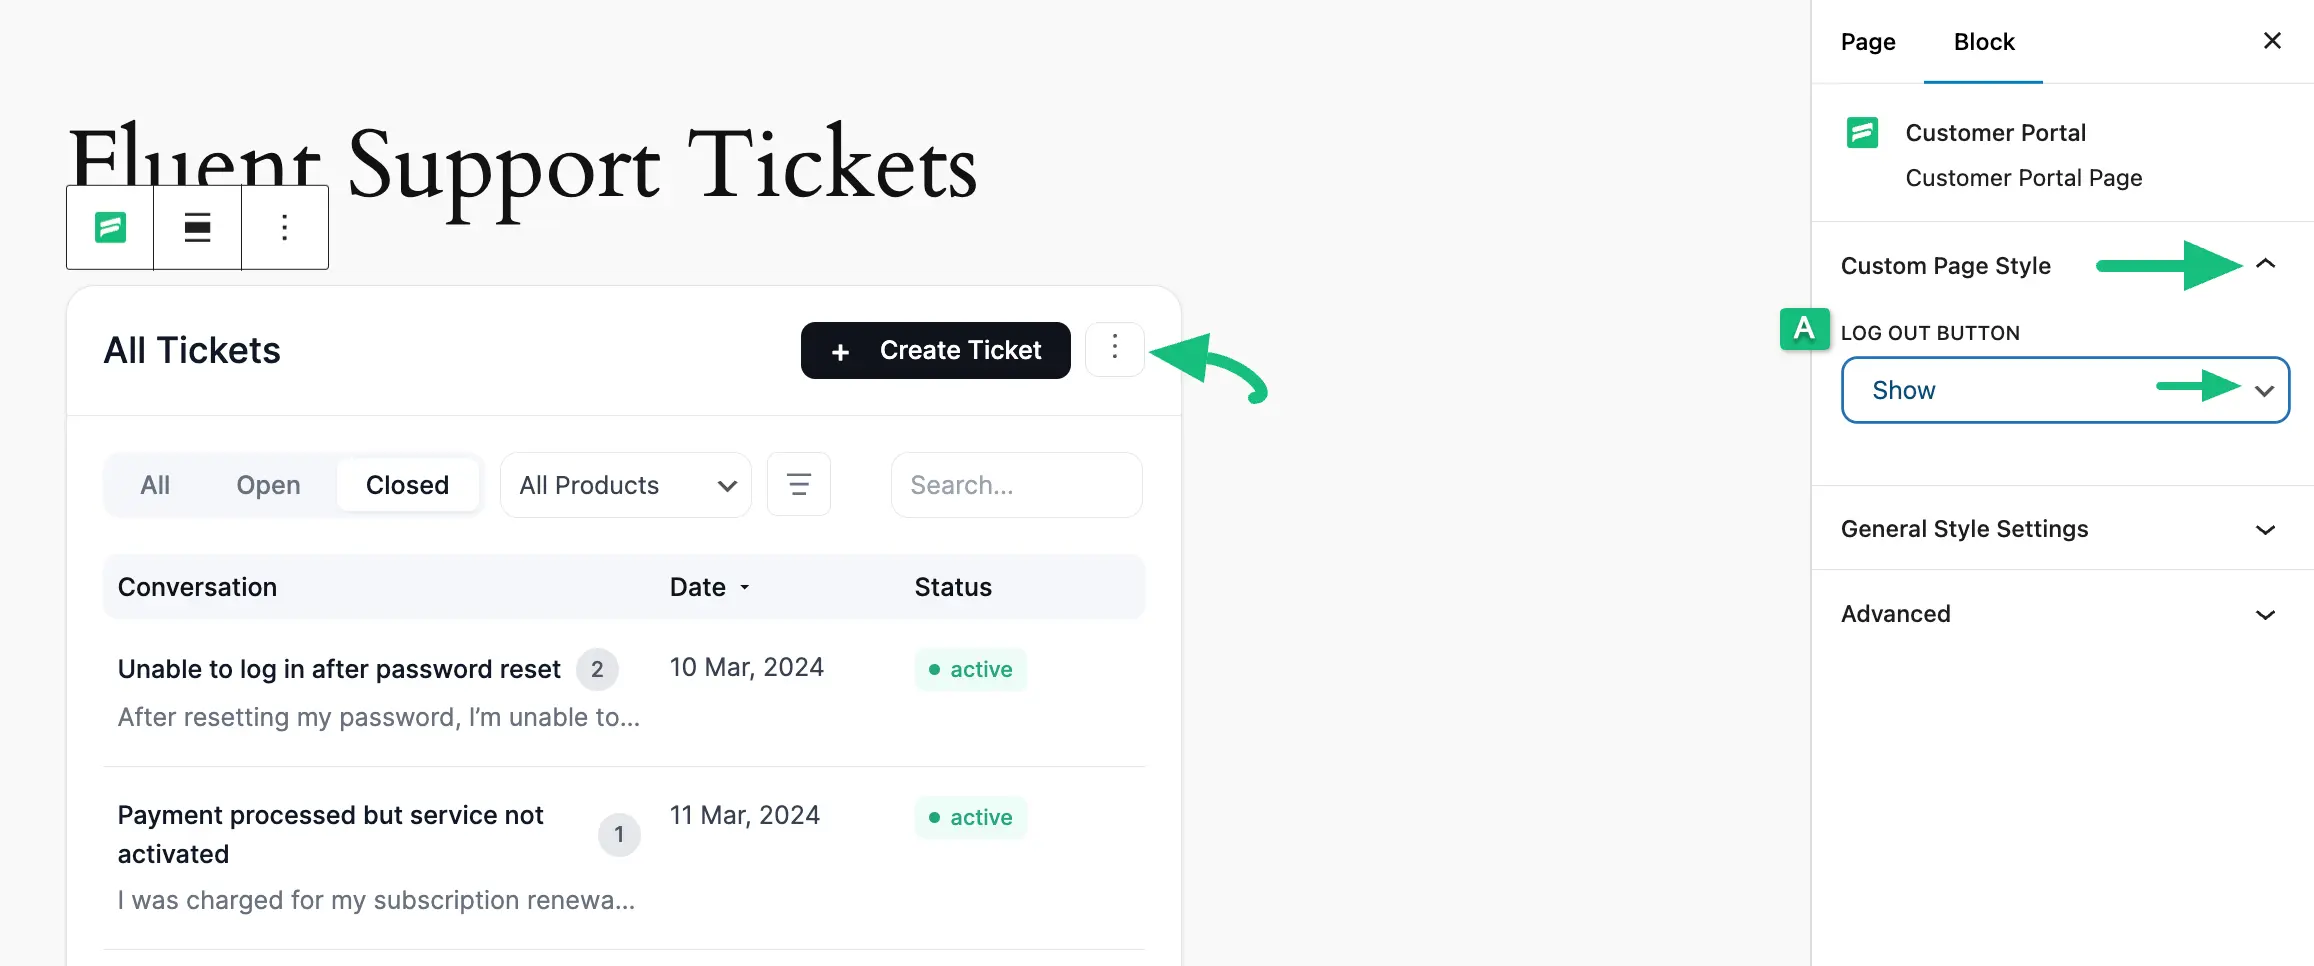
Once you click the Arrow Icon right next to the Custom Page Style, you will get the following settings option.
- Log Out Button: Here, you can see a Three-Dot Icon (which includes the Log Out option) next to the + Create Ticket button in the Customer Portal. Using this setting, you can make the button Visible or Hidden anytime by selecting Show or Hide from the dropdown menu.
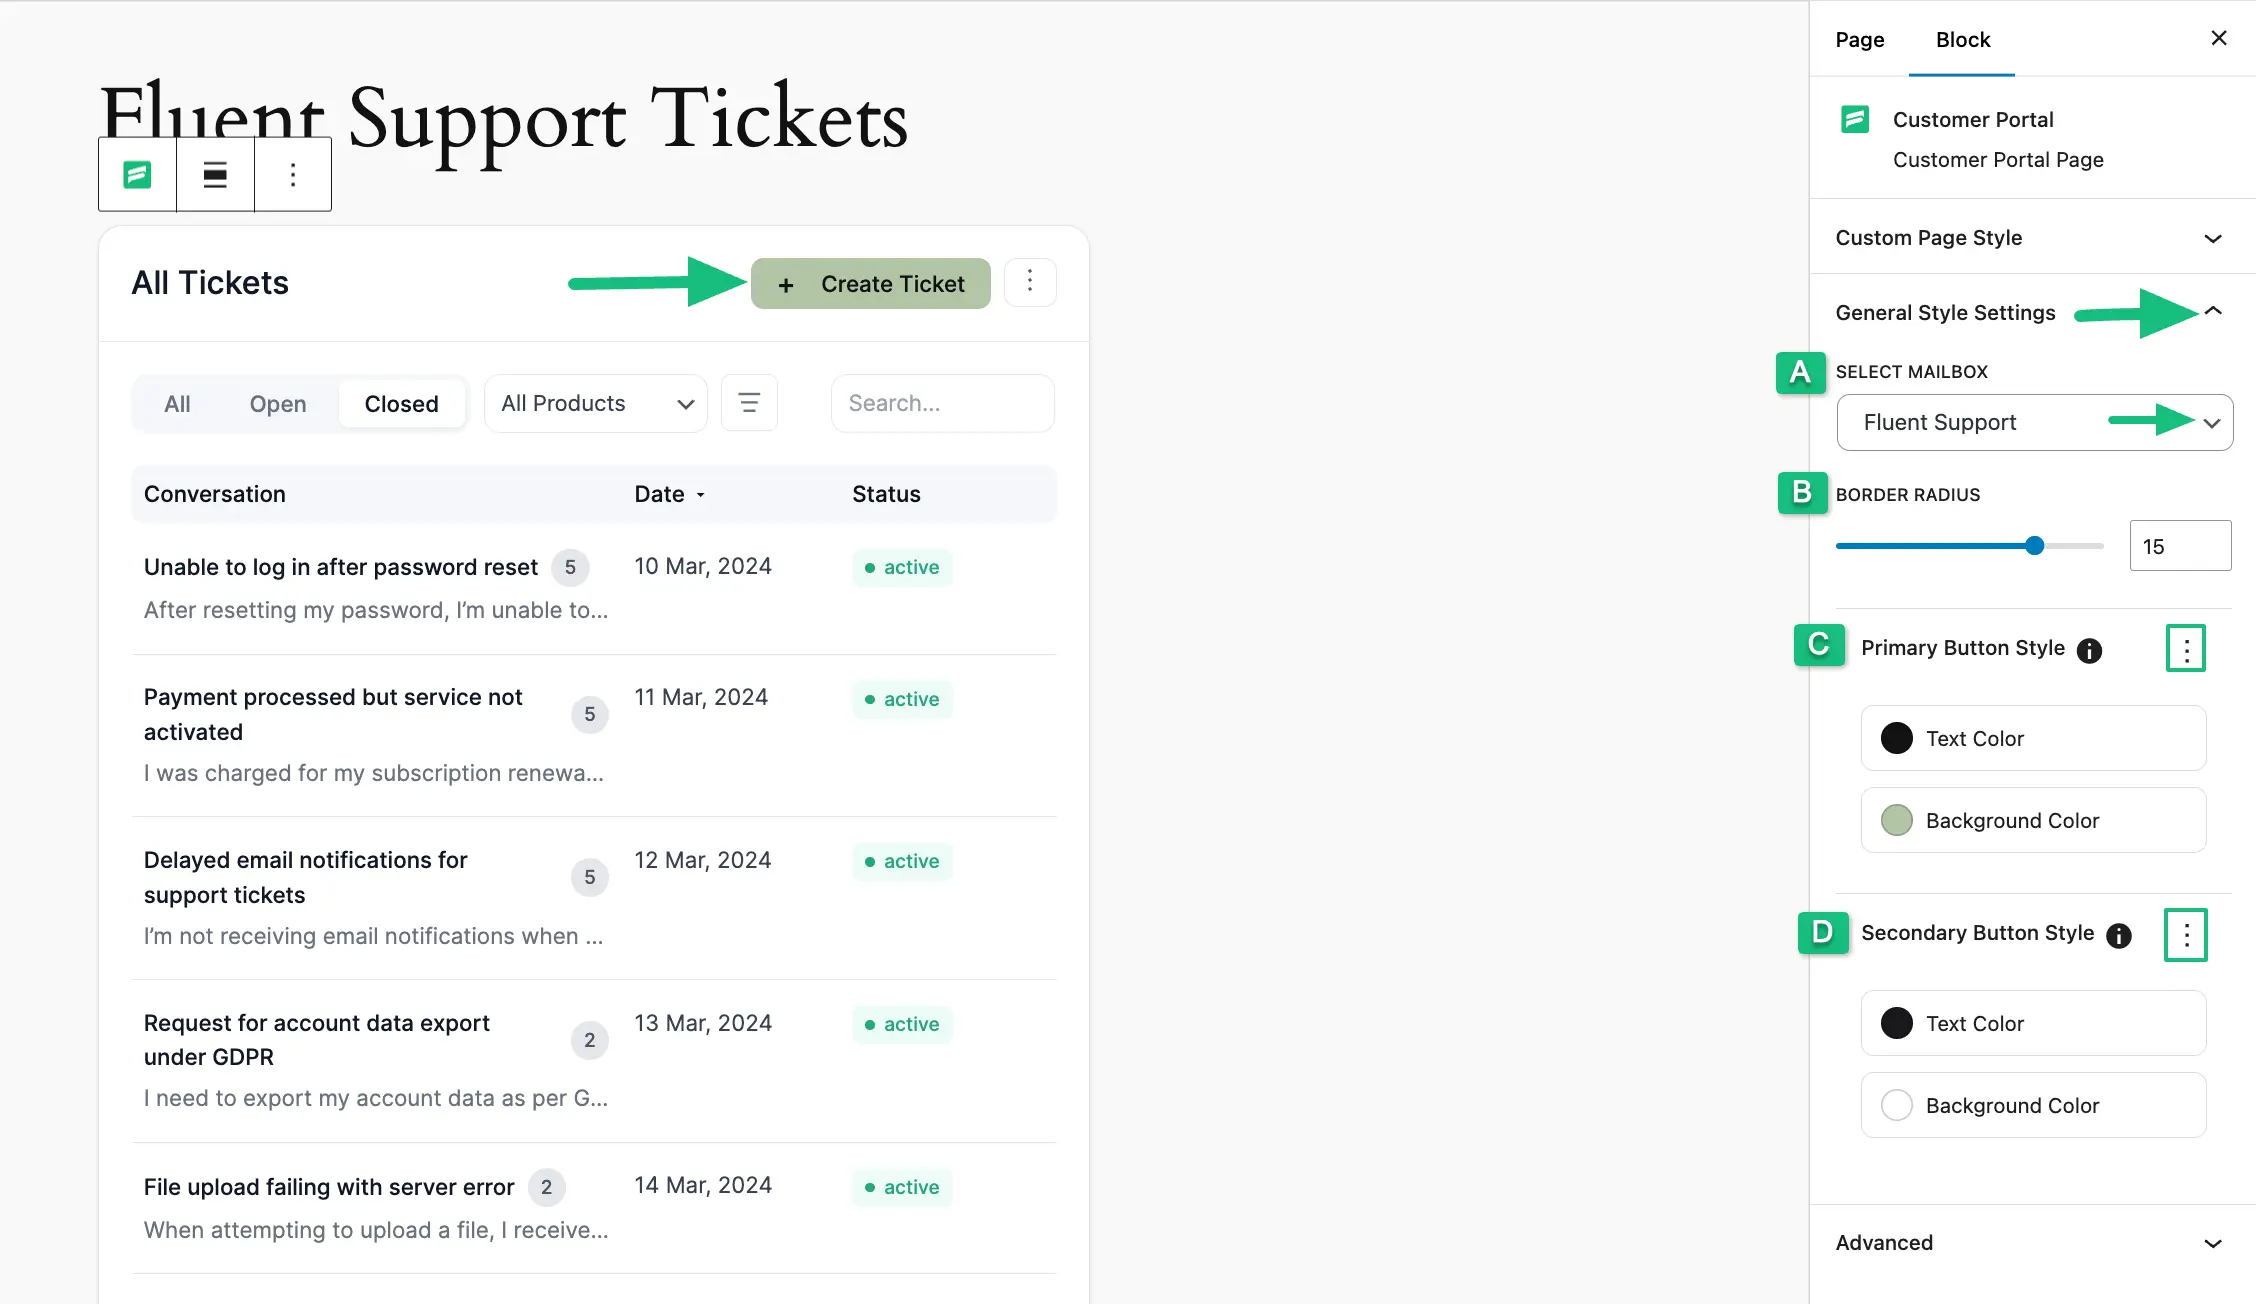
2. General Style Settings #
Once you click the Arrow Icon right next to the General Style Settings, you will get the following settings option.
A. Select MailBox: Here, you can specify the Business Inbox whose tickets you want to display in the customer portal. To learn more about Business Inbox, read this Documentation.
B. Border Radius: Using this option you can customize the border radius of the customer portal through the slider or by entering a specific value in the input box.
C. Primary Button Style: Now, you can customize the appearance of the Primary Button by changing its Text and Background color. You can also reset them anytime using the Three-dot Icon on the right side.
D. Secondary Button Style: Also, you can customize the appearance of the Secondary Button by changing its Text and Background color. You can reset them anytime using the Three-dot Icon on the right side.
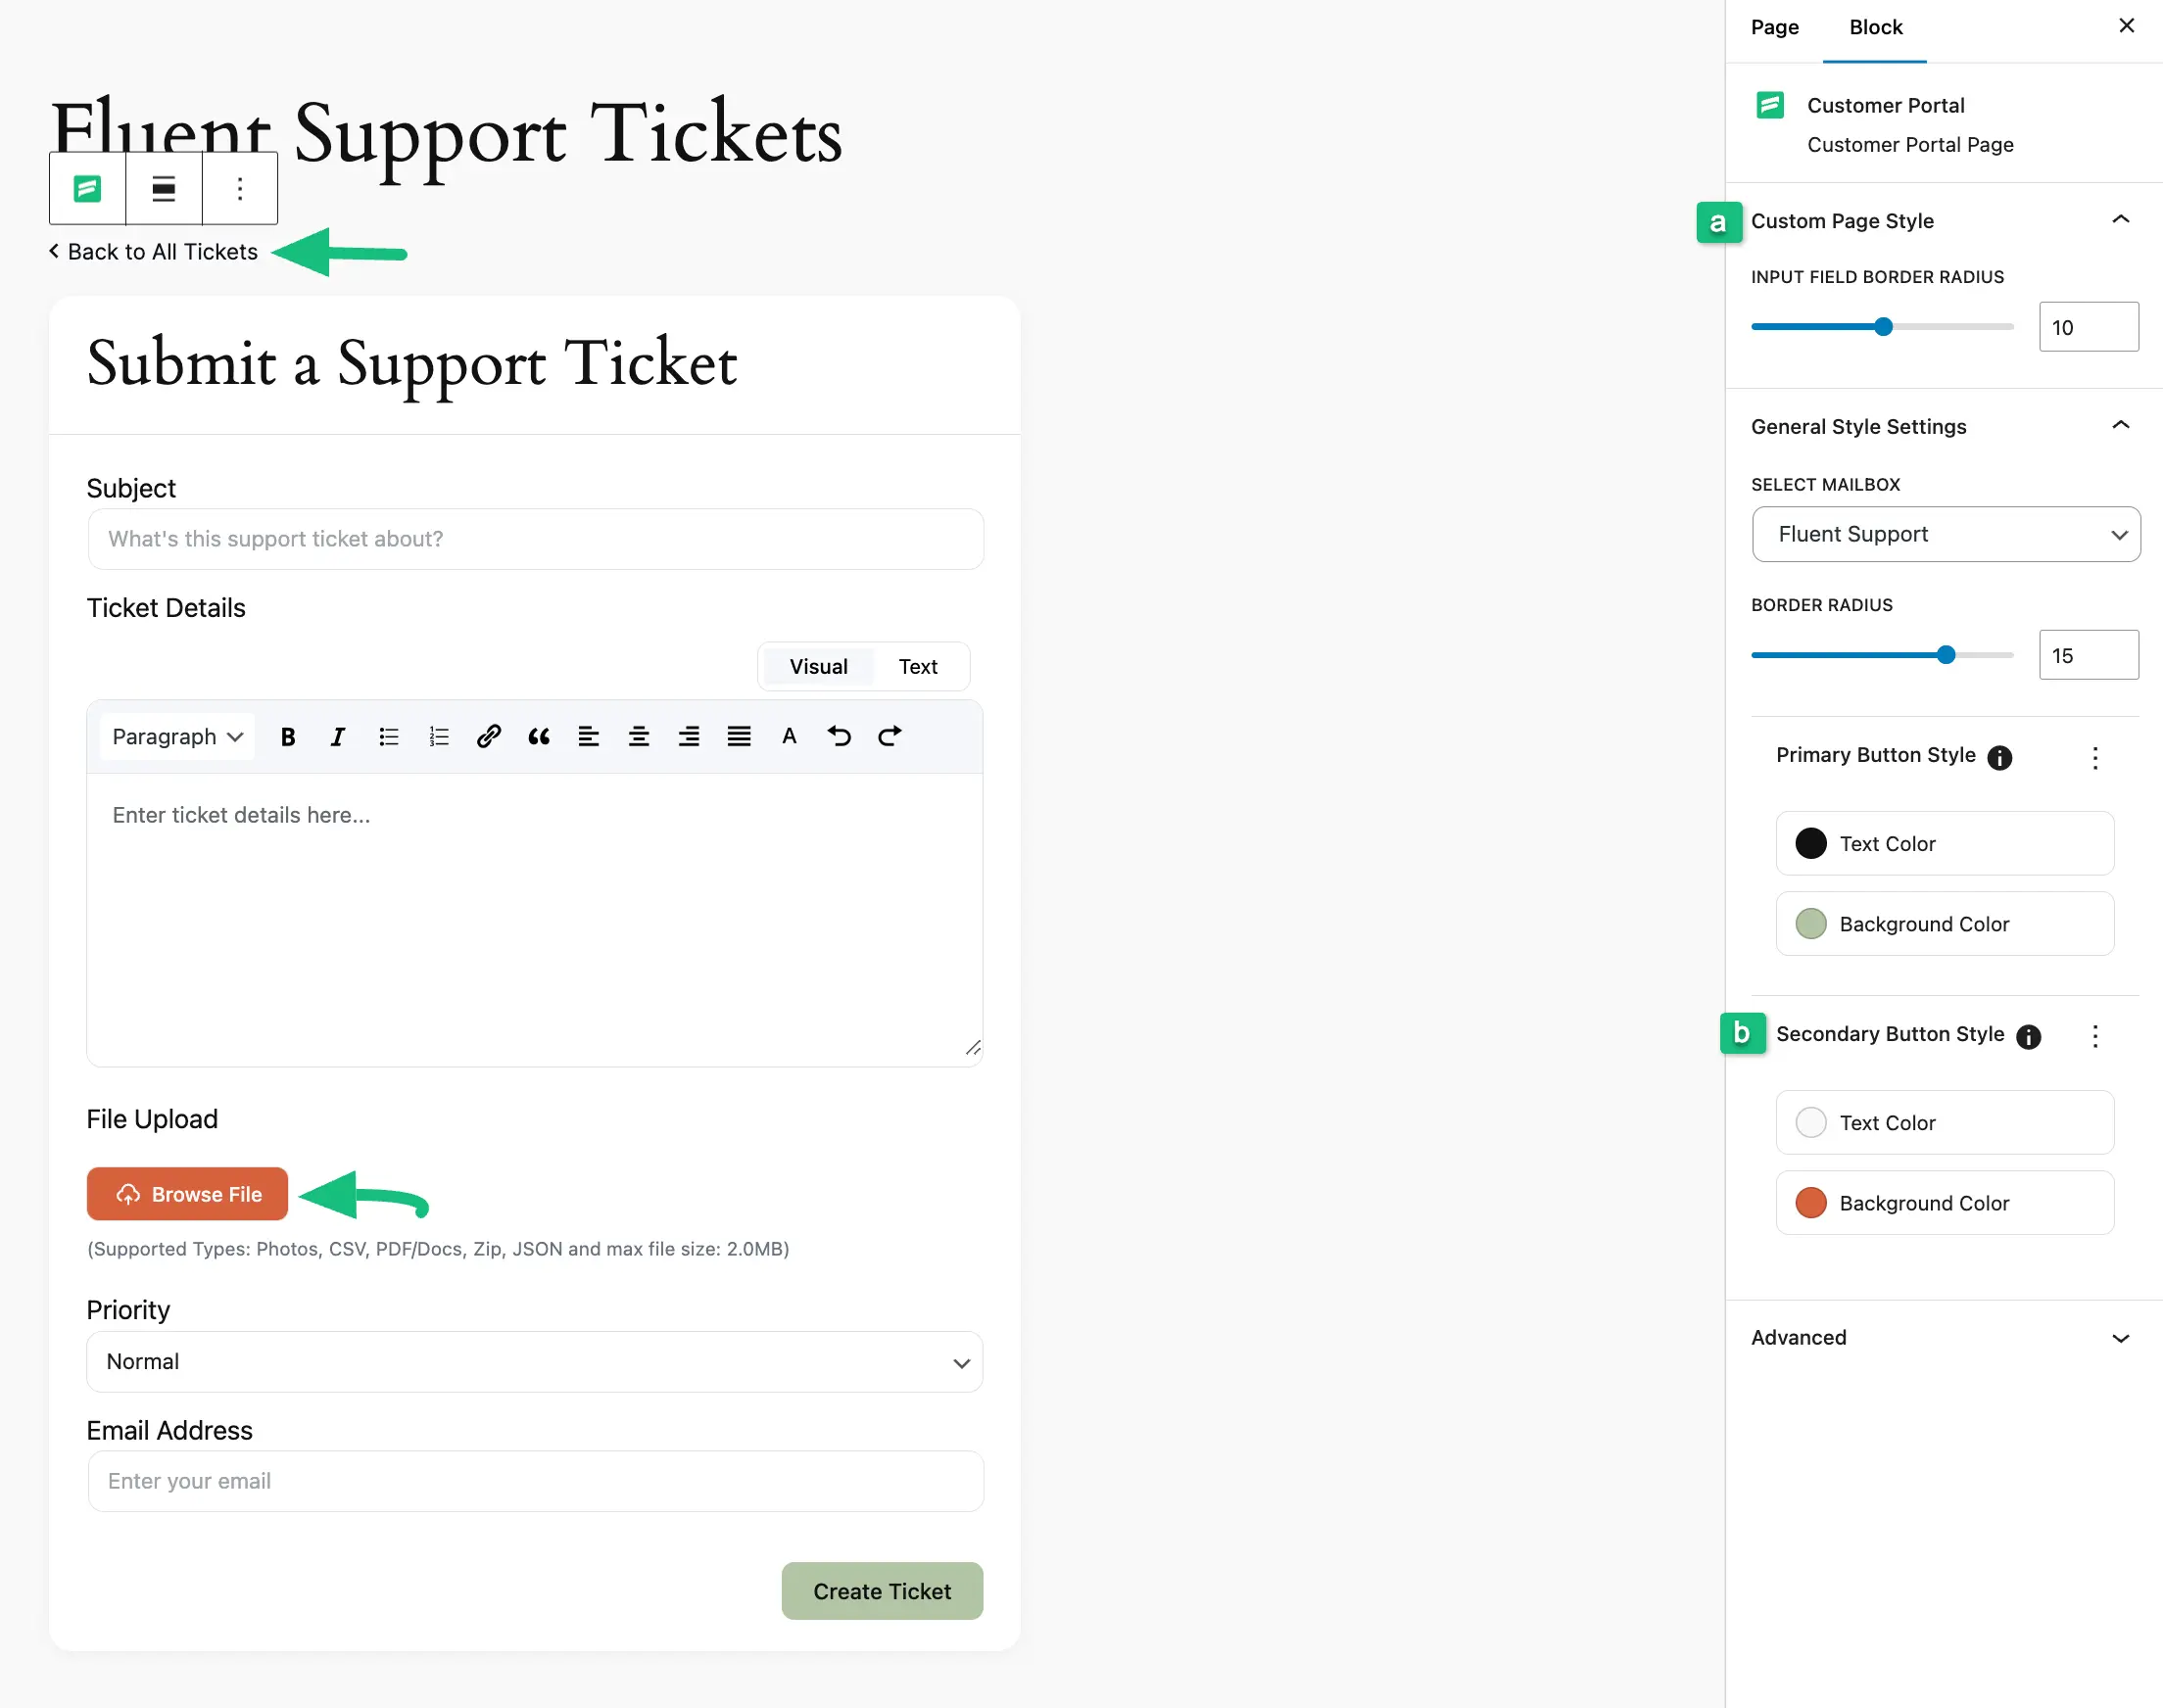
Customize the Ticket Portal #
Once you click the + Create Ticket button in the Customer Portal, you will be redirected to the Ticket Portal to submit your query to the support agents. You can also Customize the Ticket Portal using the following settings options.
a. Custom Page Style: Using this option you can customize the input fields’ border radius of the ticket portal through the slider or by entering a specific value in the input box.
b. Secondary Button Style: Also, you can customize the appearance of the Secondary Button by changing its Text and Background color. You can reset them anytime using the Three-dot Icon on the right side. For example, I made the Browse File button orange colour.
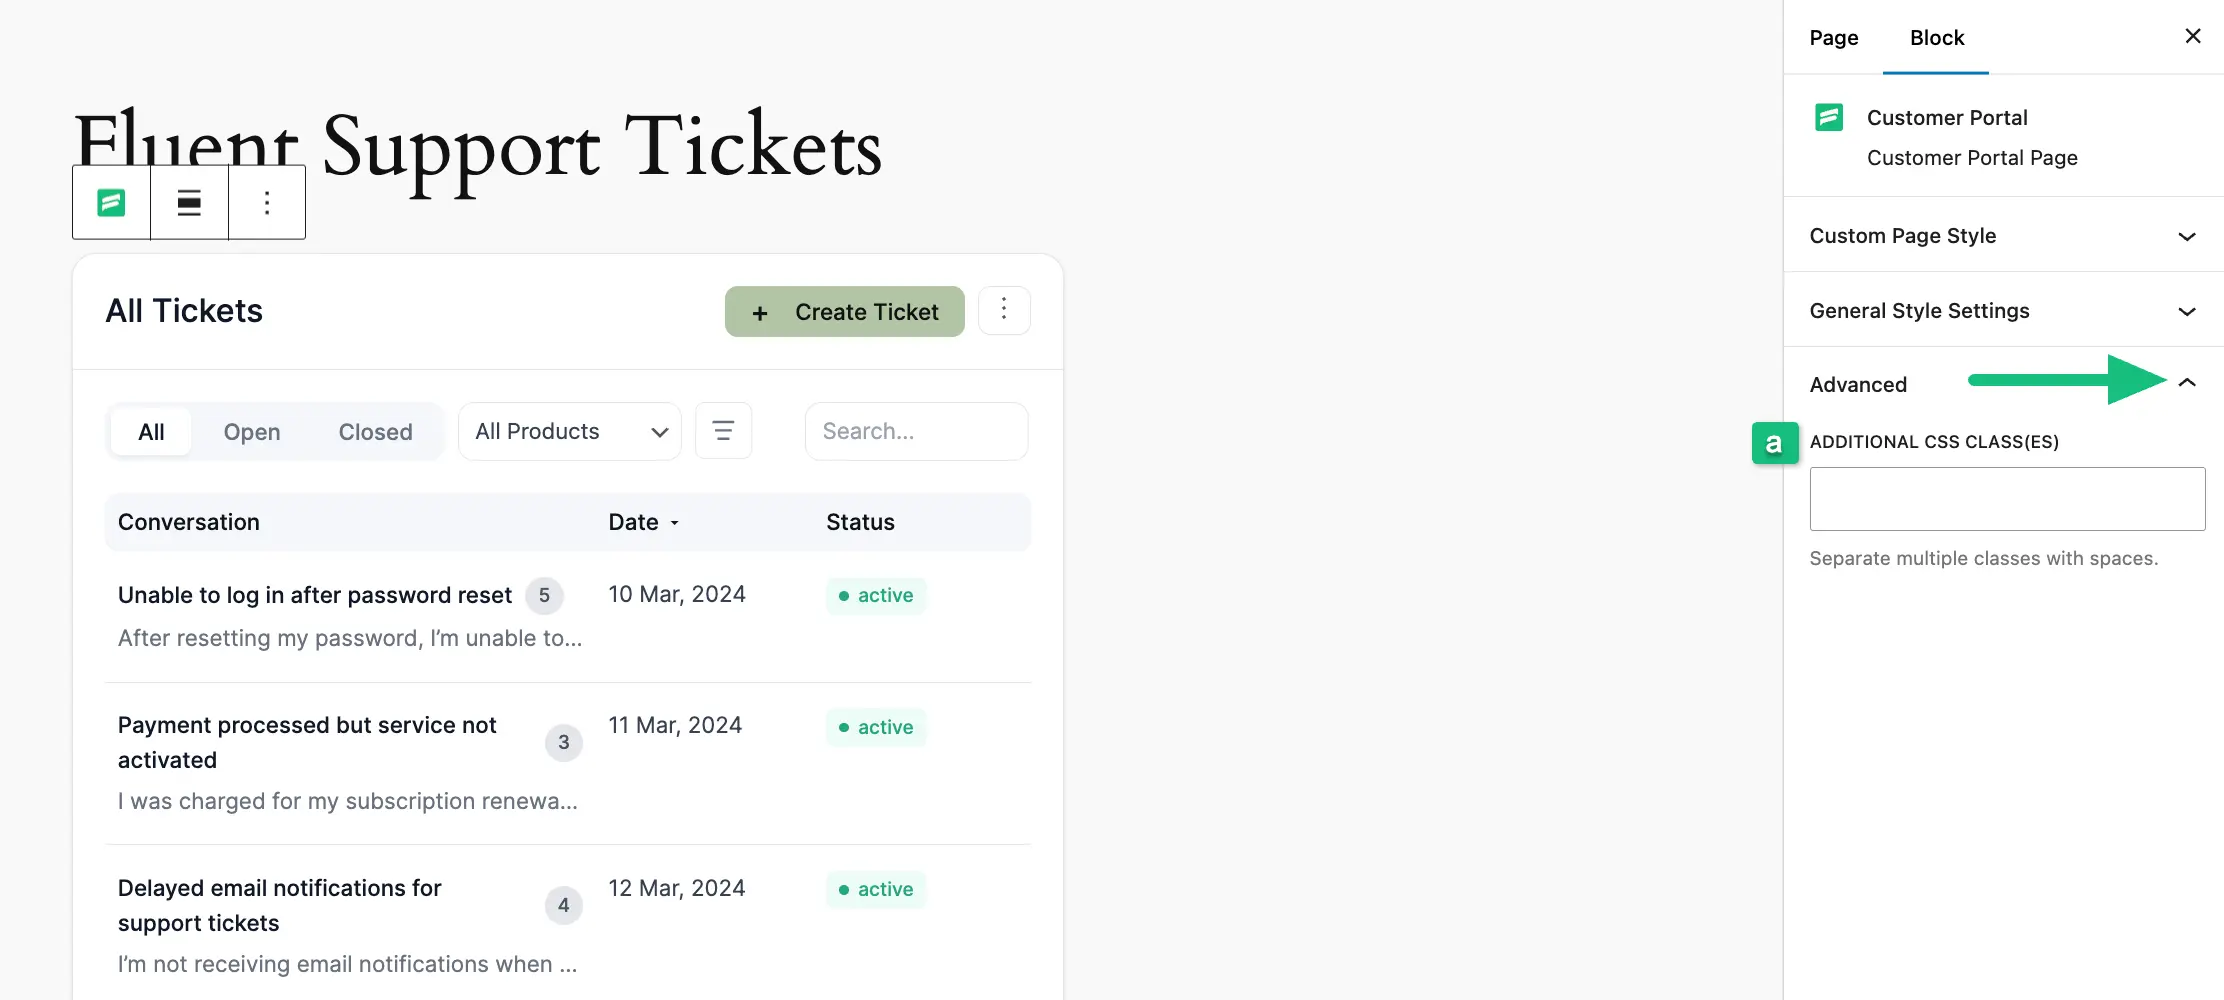
3. Advanced #
Once you click the Arrow Icon right next to the Advanced, you will get the following setting option.
a. Additional CSS Class(es): You can use this advanced field to make the design of this Customer Portal (Gutenberg block) more customized by providing additional CSS Class(es).
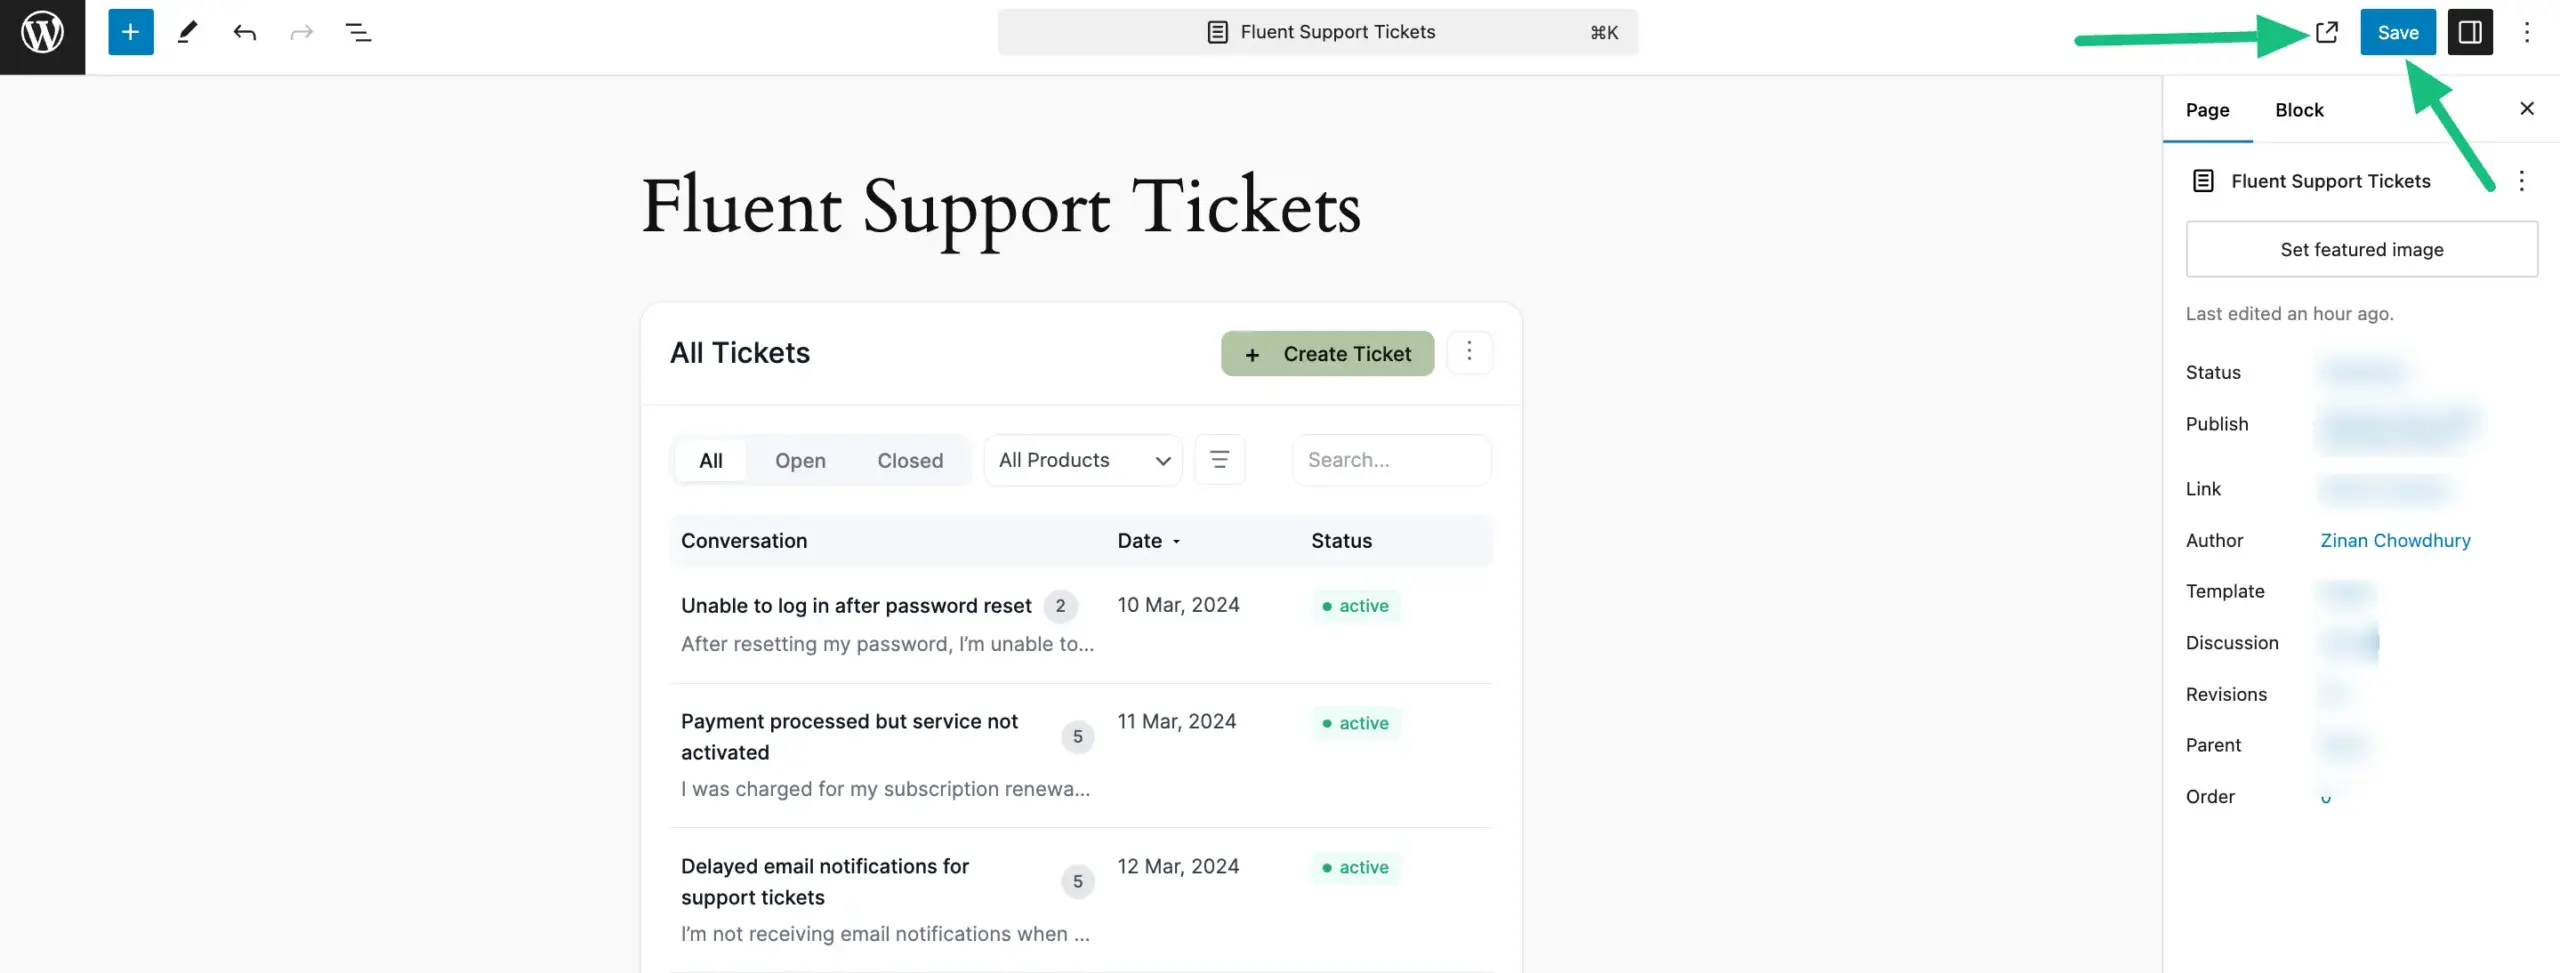
Once you complete the customization process, click the Save button (Publish button for new pages) in the top right corner to save all your changes. To see the preview, click the button beside the Save button.
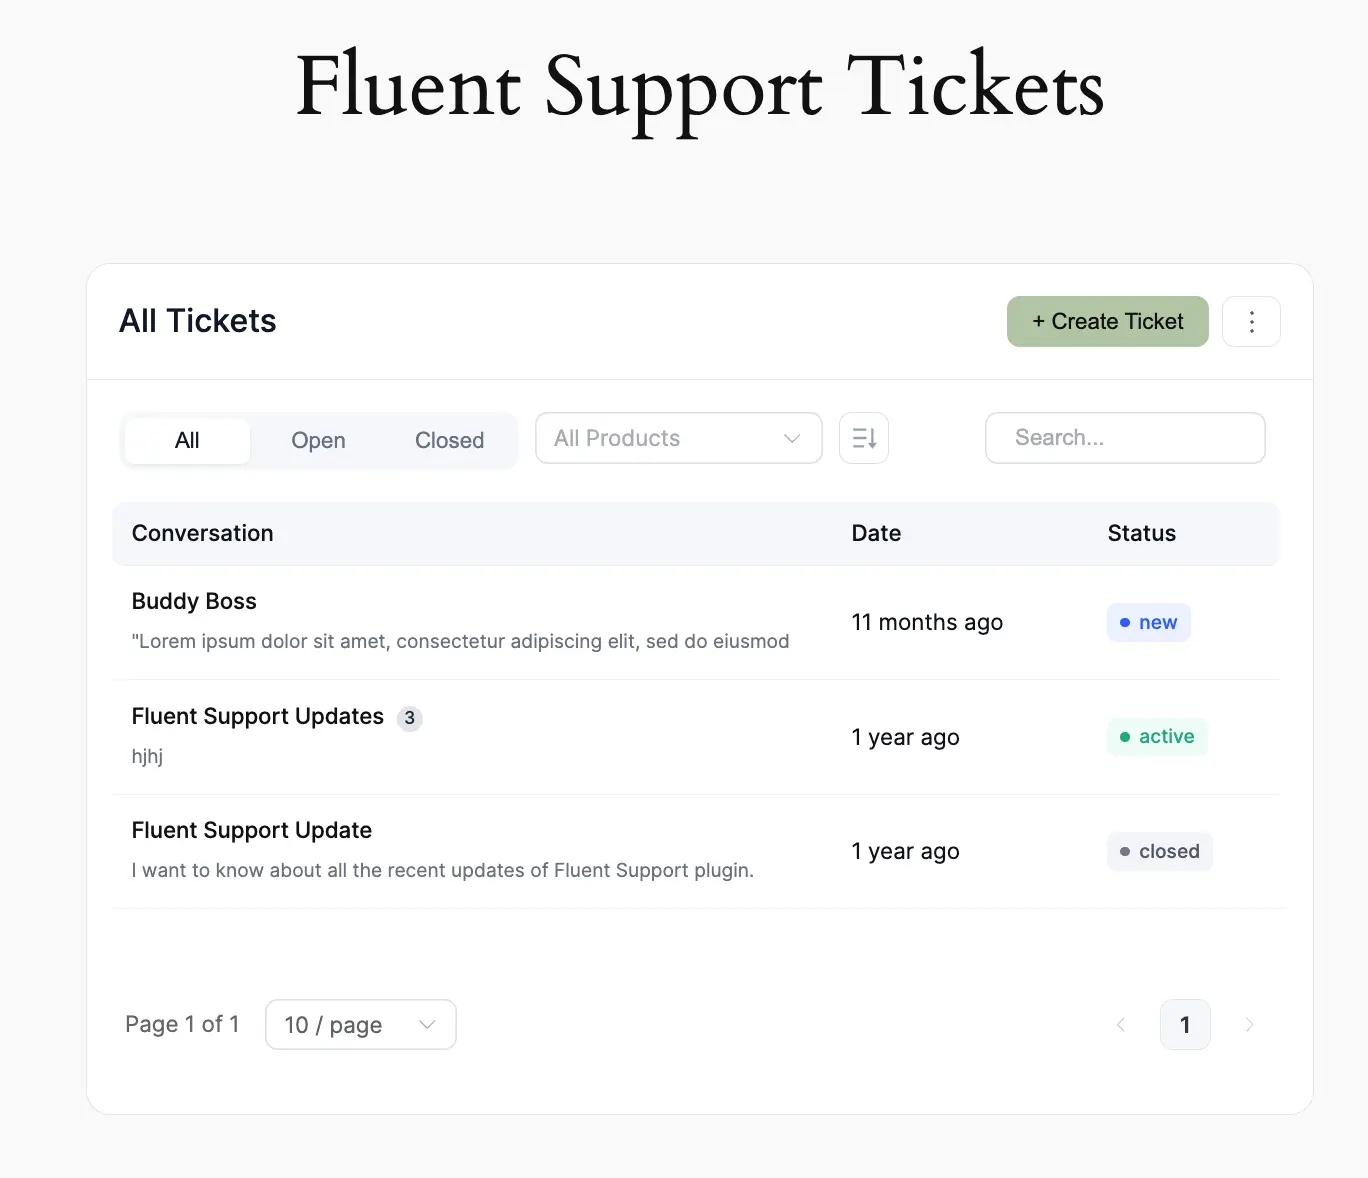
Preview of Customer Portal #
Here, you can see the preview of FluentSupport’s Customer Portal.
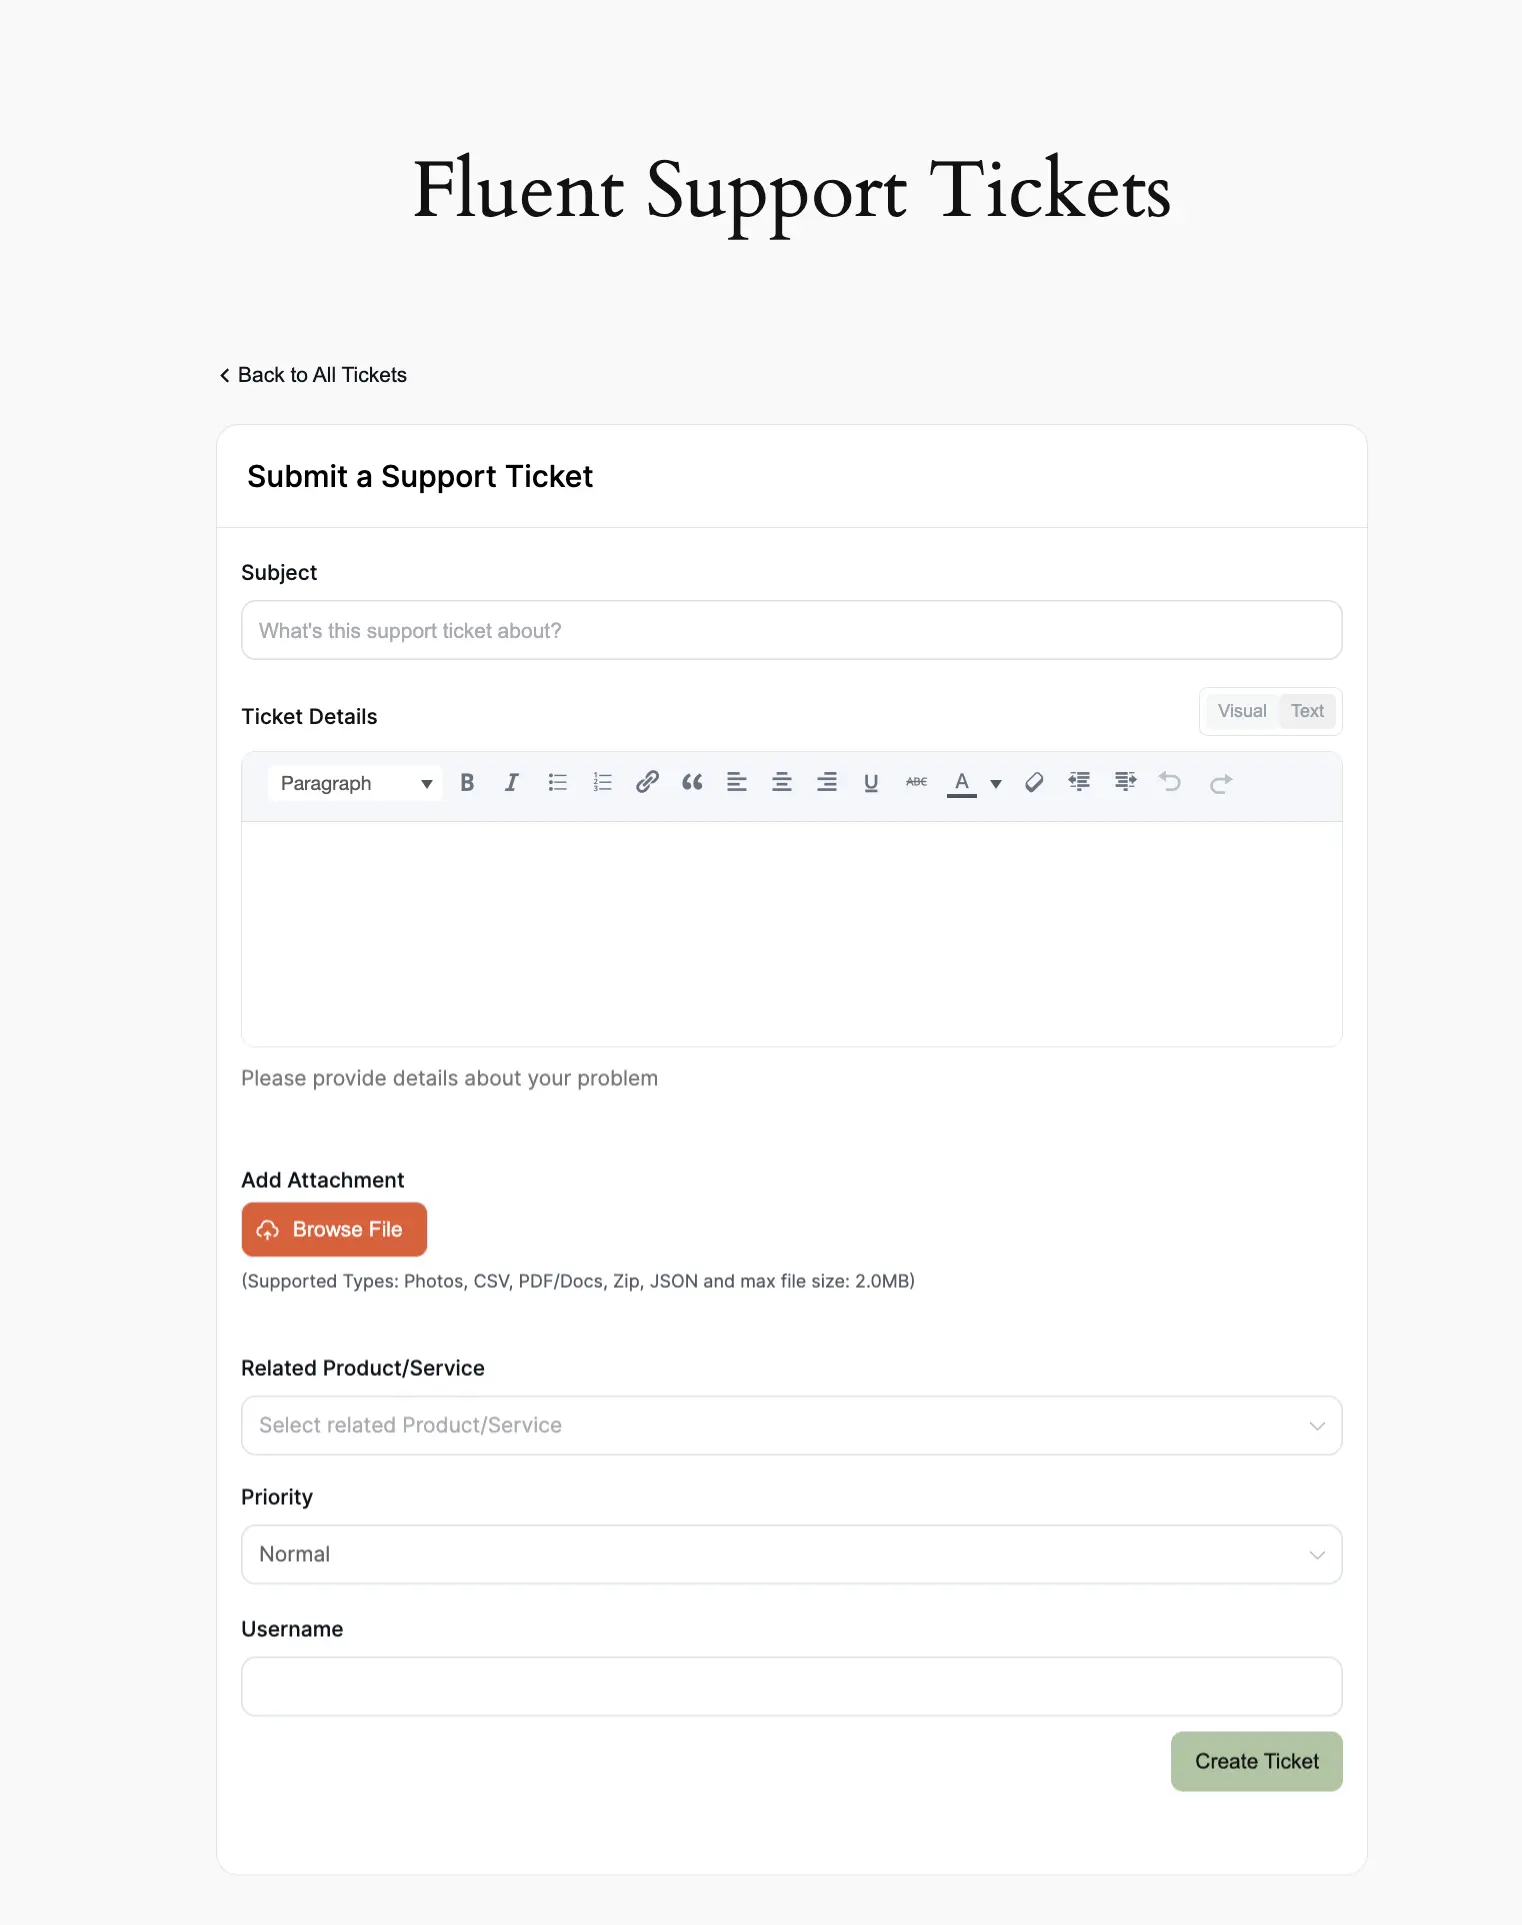
Preview of Ticket Portal #
Here, you can see the preview of FluentSupport’s Ticket Portal.
If you have any further questions, concerns, or suggestions, please do not hesitate to contact our @support team. Thank you.


