This article guides you on adding Multiple Business Inboxes using the Fluent Support plugins for your WordPress site to ensure your multiple business management is effortless. Follow the instructions accordingly to add Business Inboxes as many as you want.
How To Add Multiple Business Inboxes #
To learn how to add multiple business inboxes in Fluent Support, follow the steps with the screenshots below:
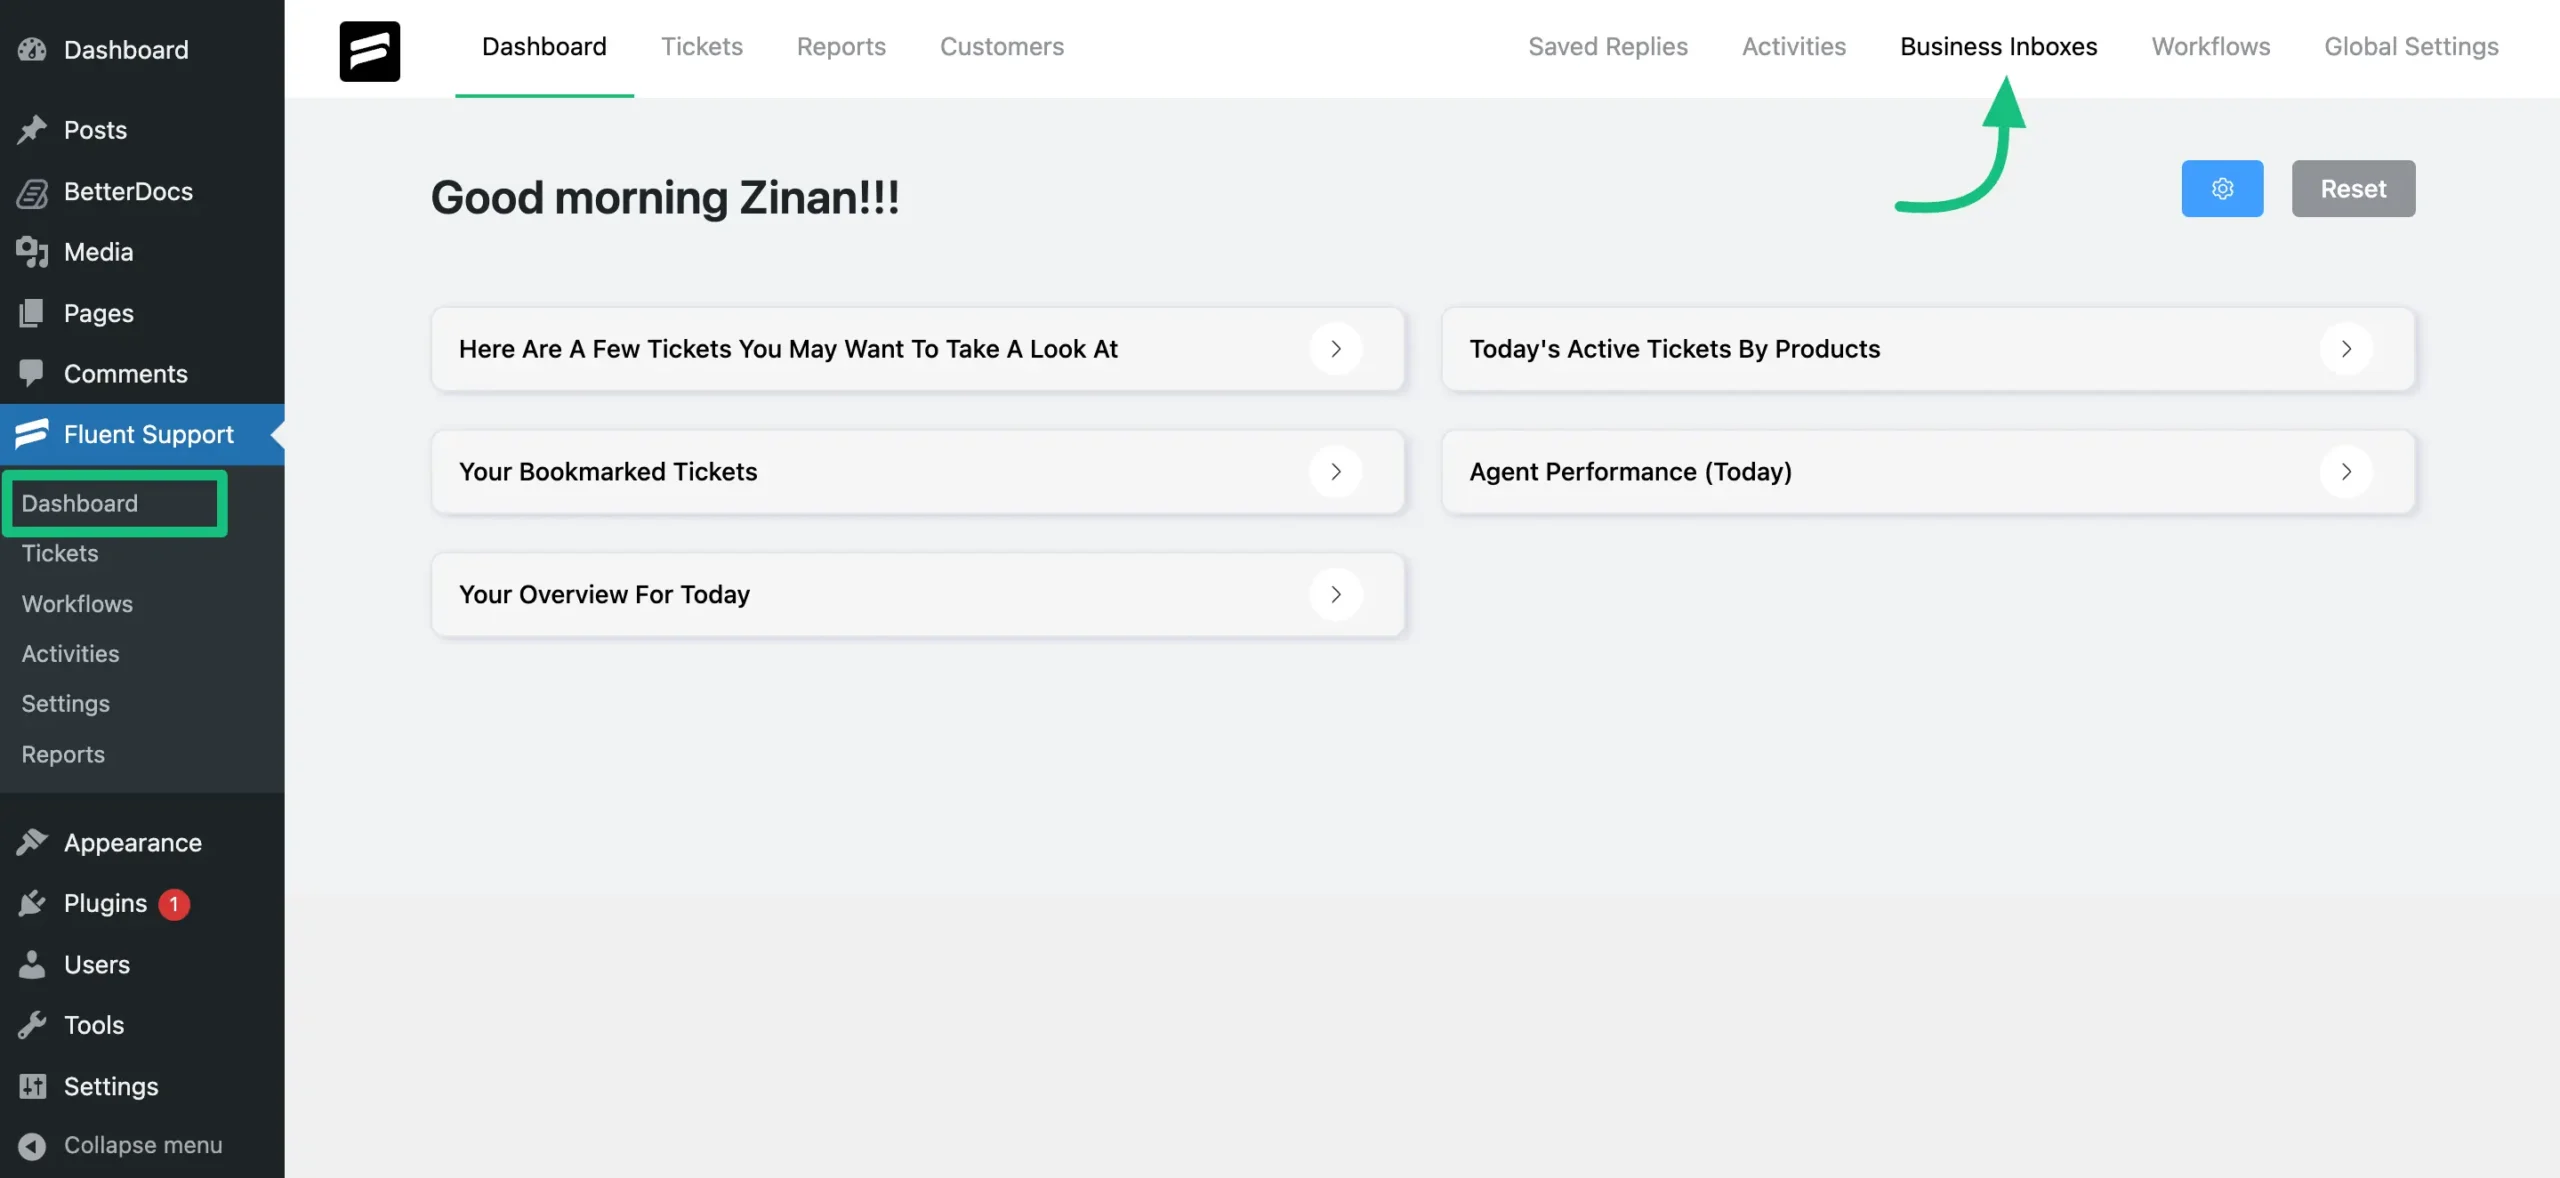
Go to the Fluent Support Dashboard & click on the Business Inboxes tab.
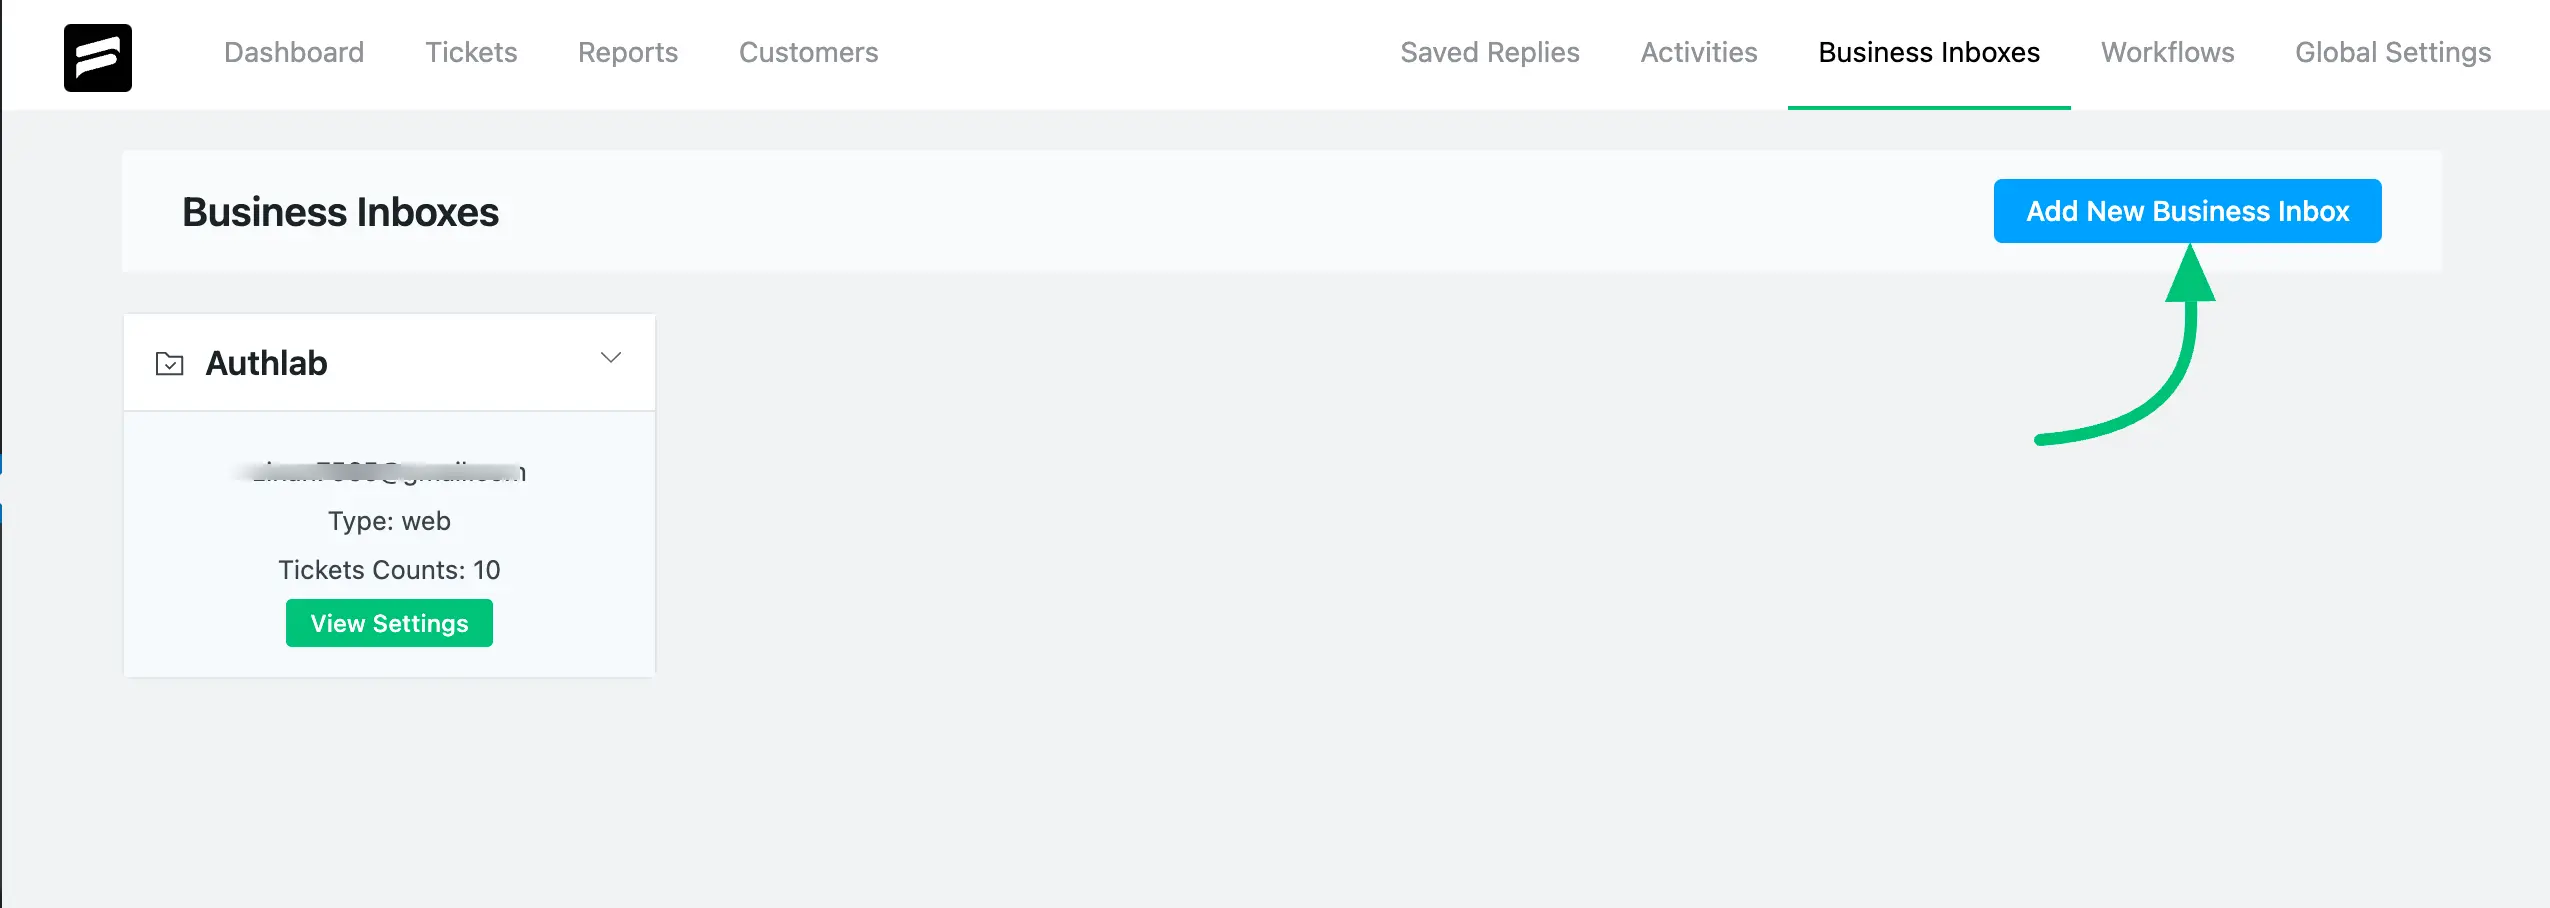
Click the Add New Business Inbox button and a pop-up box will appear.
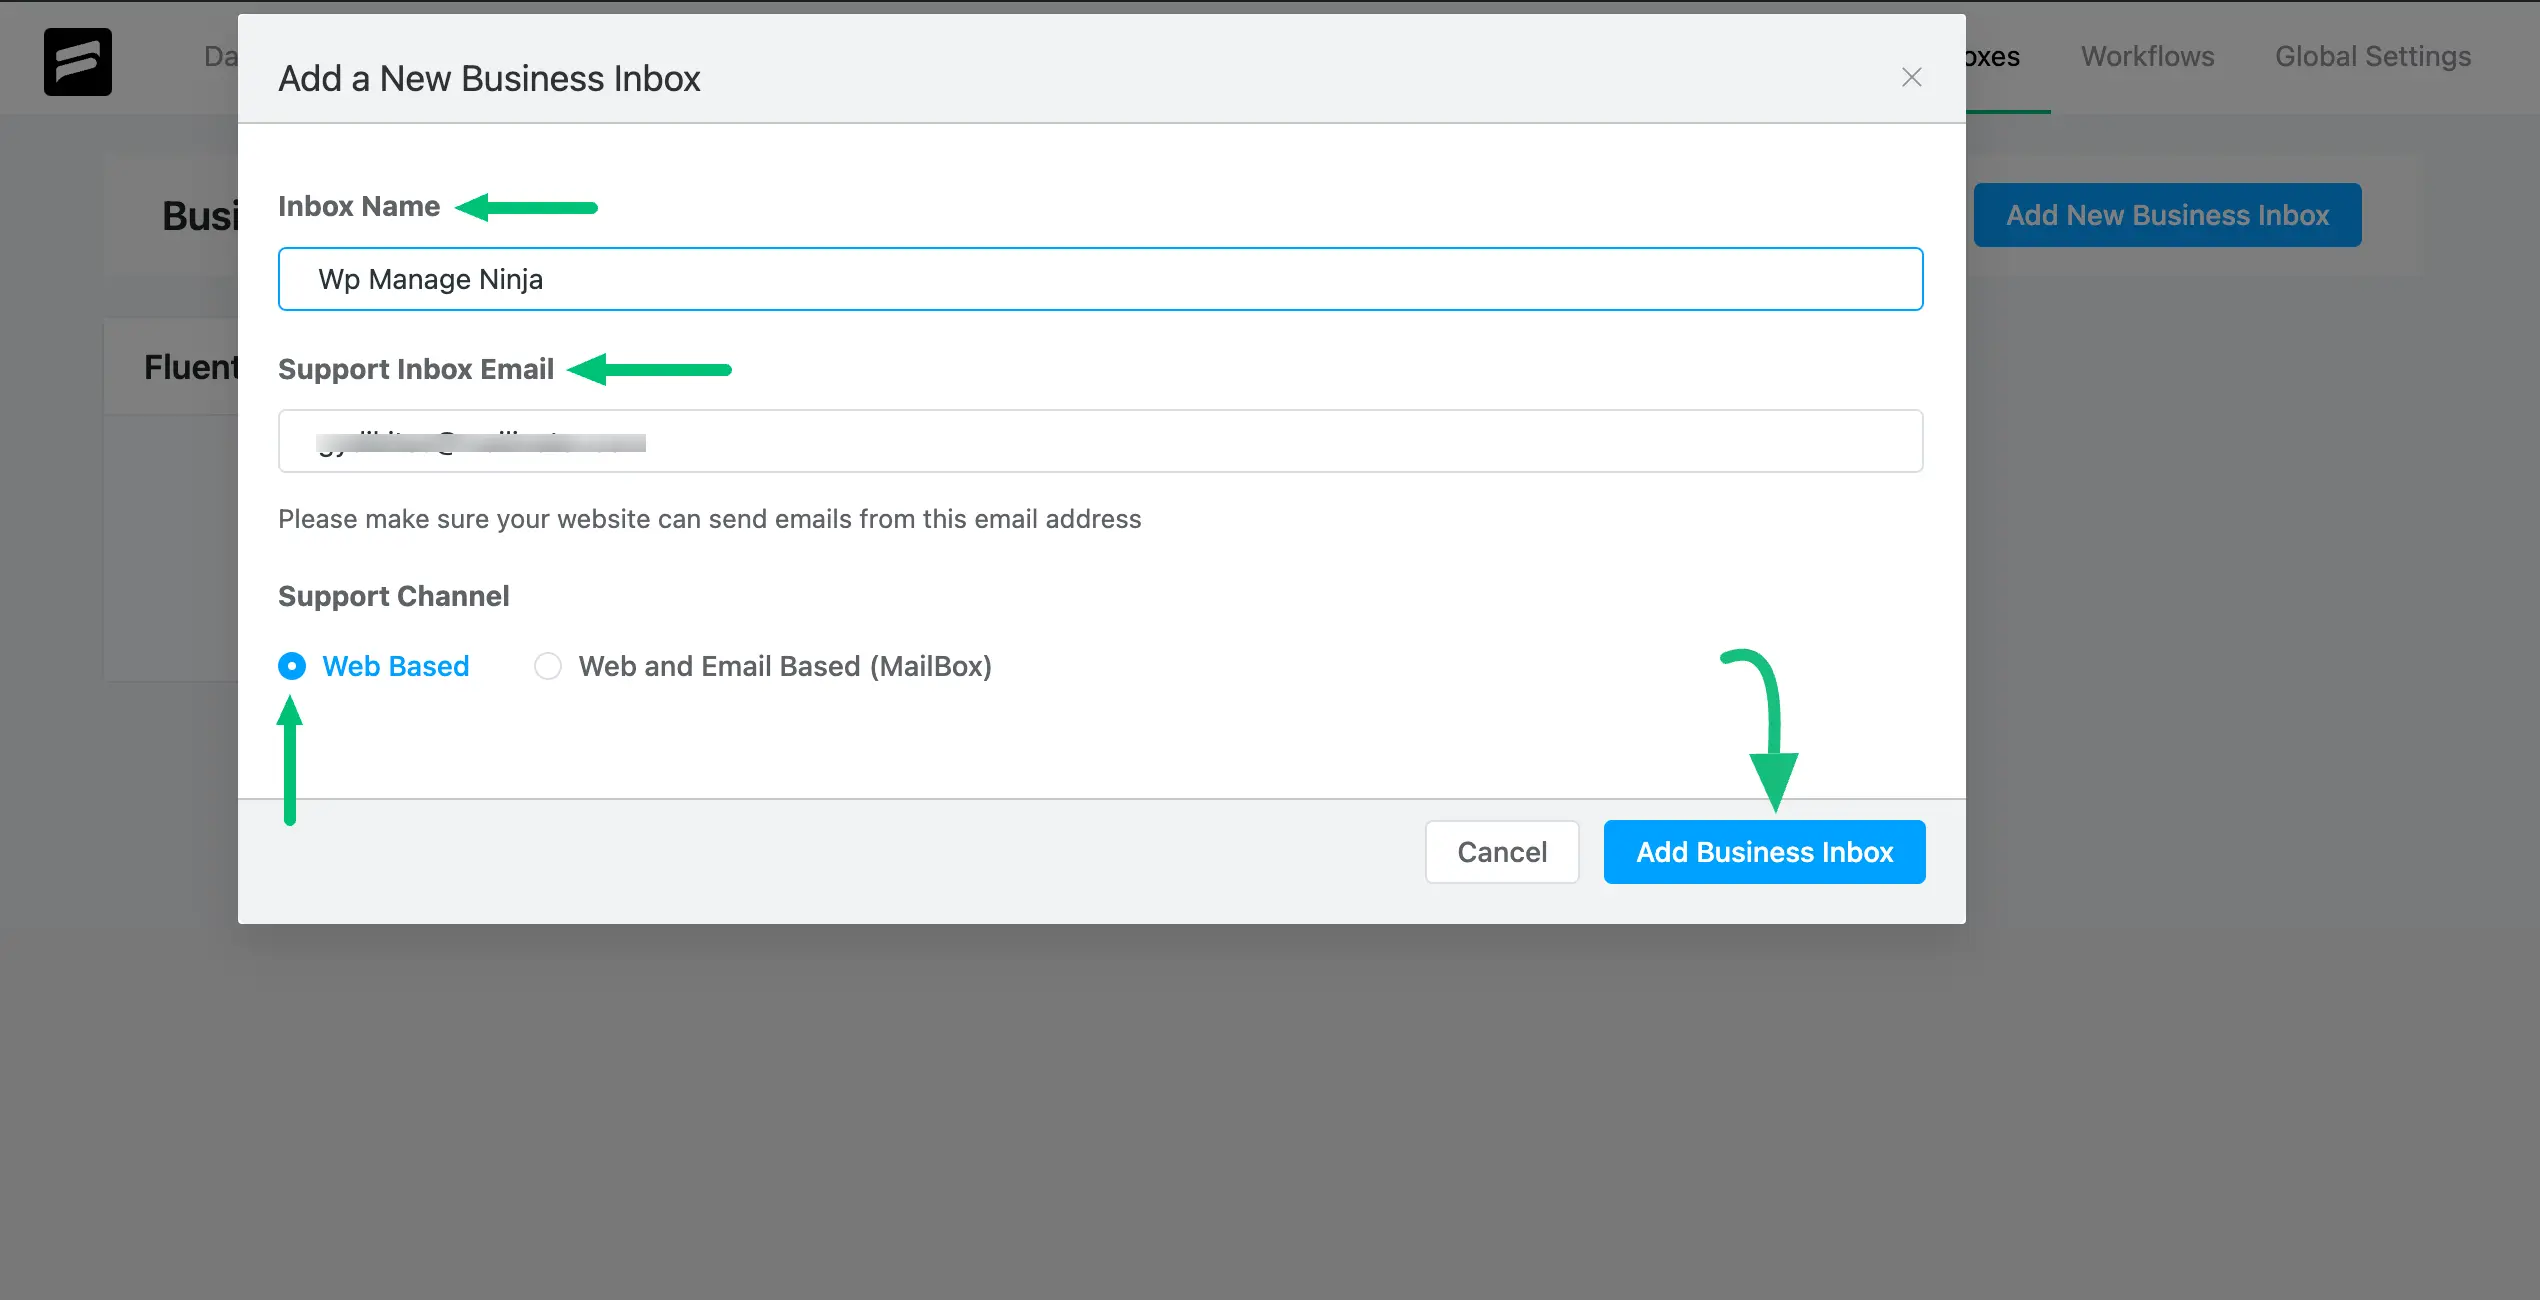
Add a relevant Inbox Name & Email (company name & business email) and select the Support Channel.
Keep the support channel Web-Based if you want to allow customers to create support tickets from the website only. To learn more, check this Documentation.
Or, choose Web and Email based (Mailbox) for email-based support ticket setup using email piping. For more details, check this Documentation.
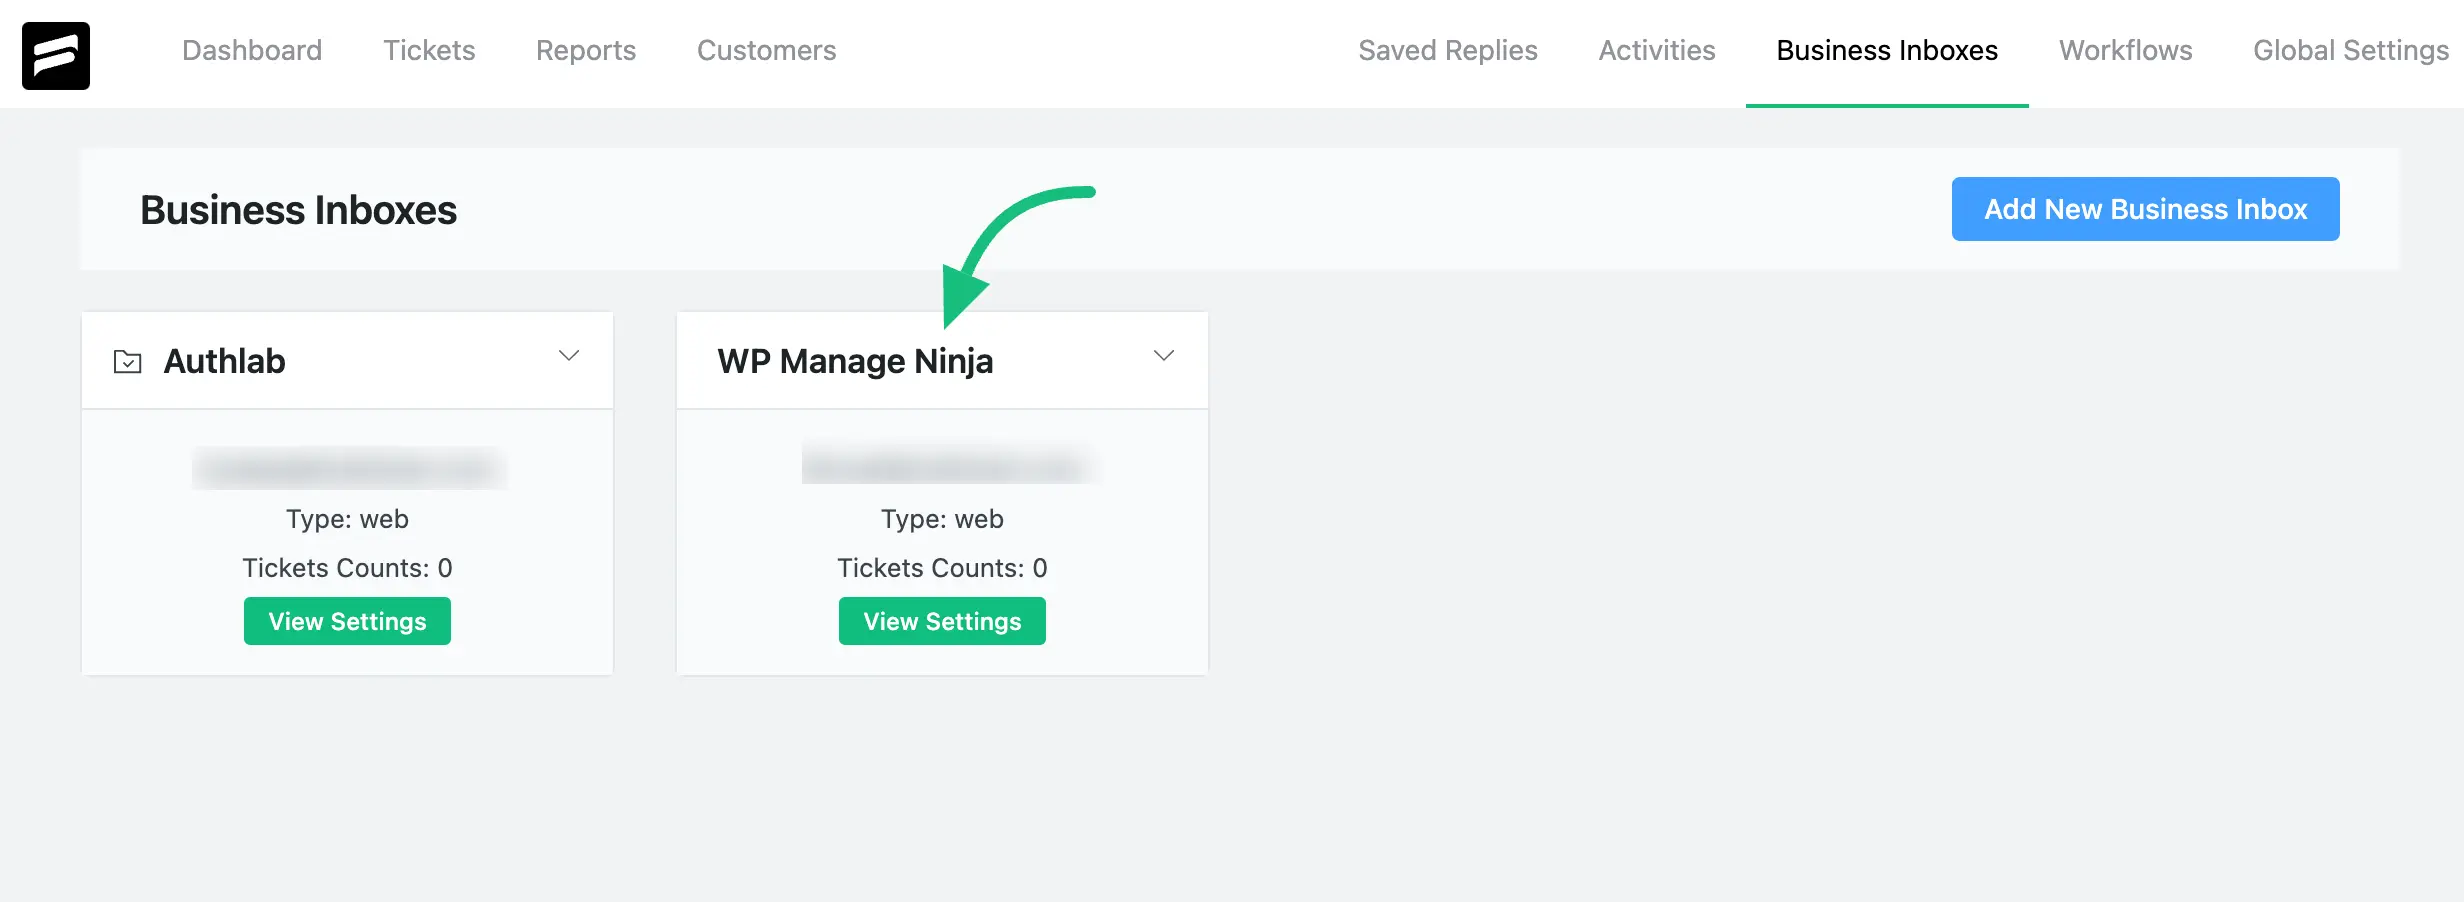
Once you are done, click the Add Business Inbox and your new business inbox will be added.
This way, you can add Multiple Business Inboxes for your multiple businesses.
To ensure your website can deliver emails in the easiest, fastest, and most secure way from the email address that you use under the Support Inbox Email, we recommend using the FluentSMTP plugin. To learn the basic use of the FluentSMTP plugin, check this Documentation.
Setup Support Portal For A Specific Business Inbox #
To easily manage multiple business inboxes, you can easily set up a Support Portal for your specific Business Inbox using a Shortcode that will direct support tickets from any page to the right inbox and create a personalized support portal for your business needs.
To learn the whole process, follow the steps with the screenshots below —
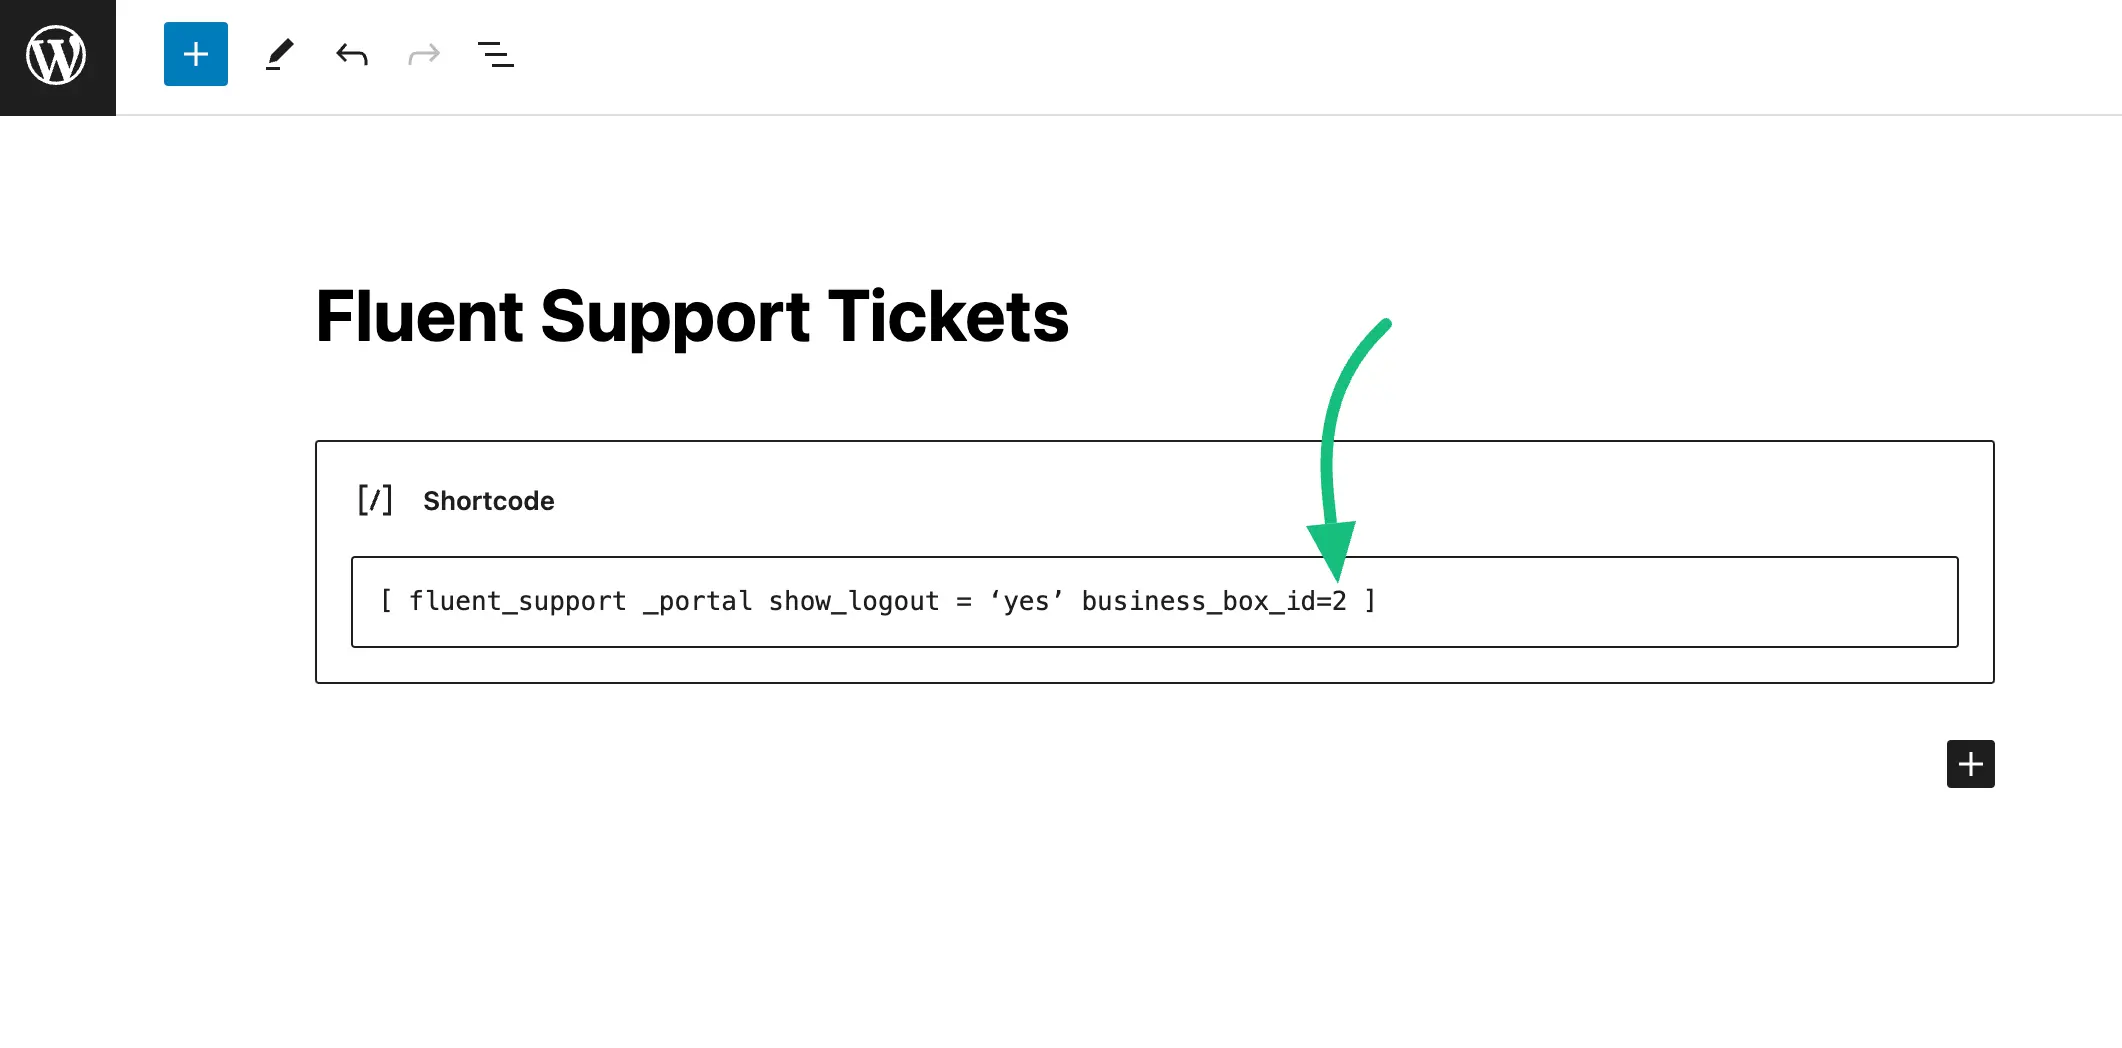
Go to the page where you want to embed a portal and paste the below shortcode.
Shortcode: [ fluent_support _portal show_logout = ‘yes’ business_box_id=2 ]
Remember, instead of 2 (business box ID), use your own Business Box ID from your chosen business inbox.
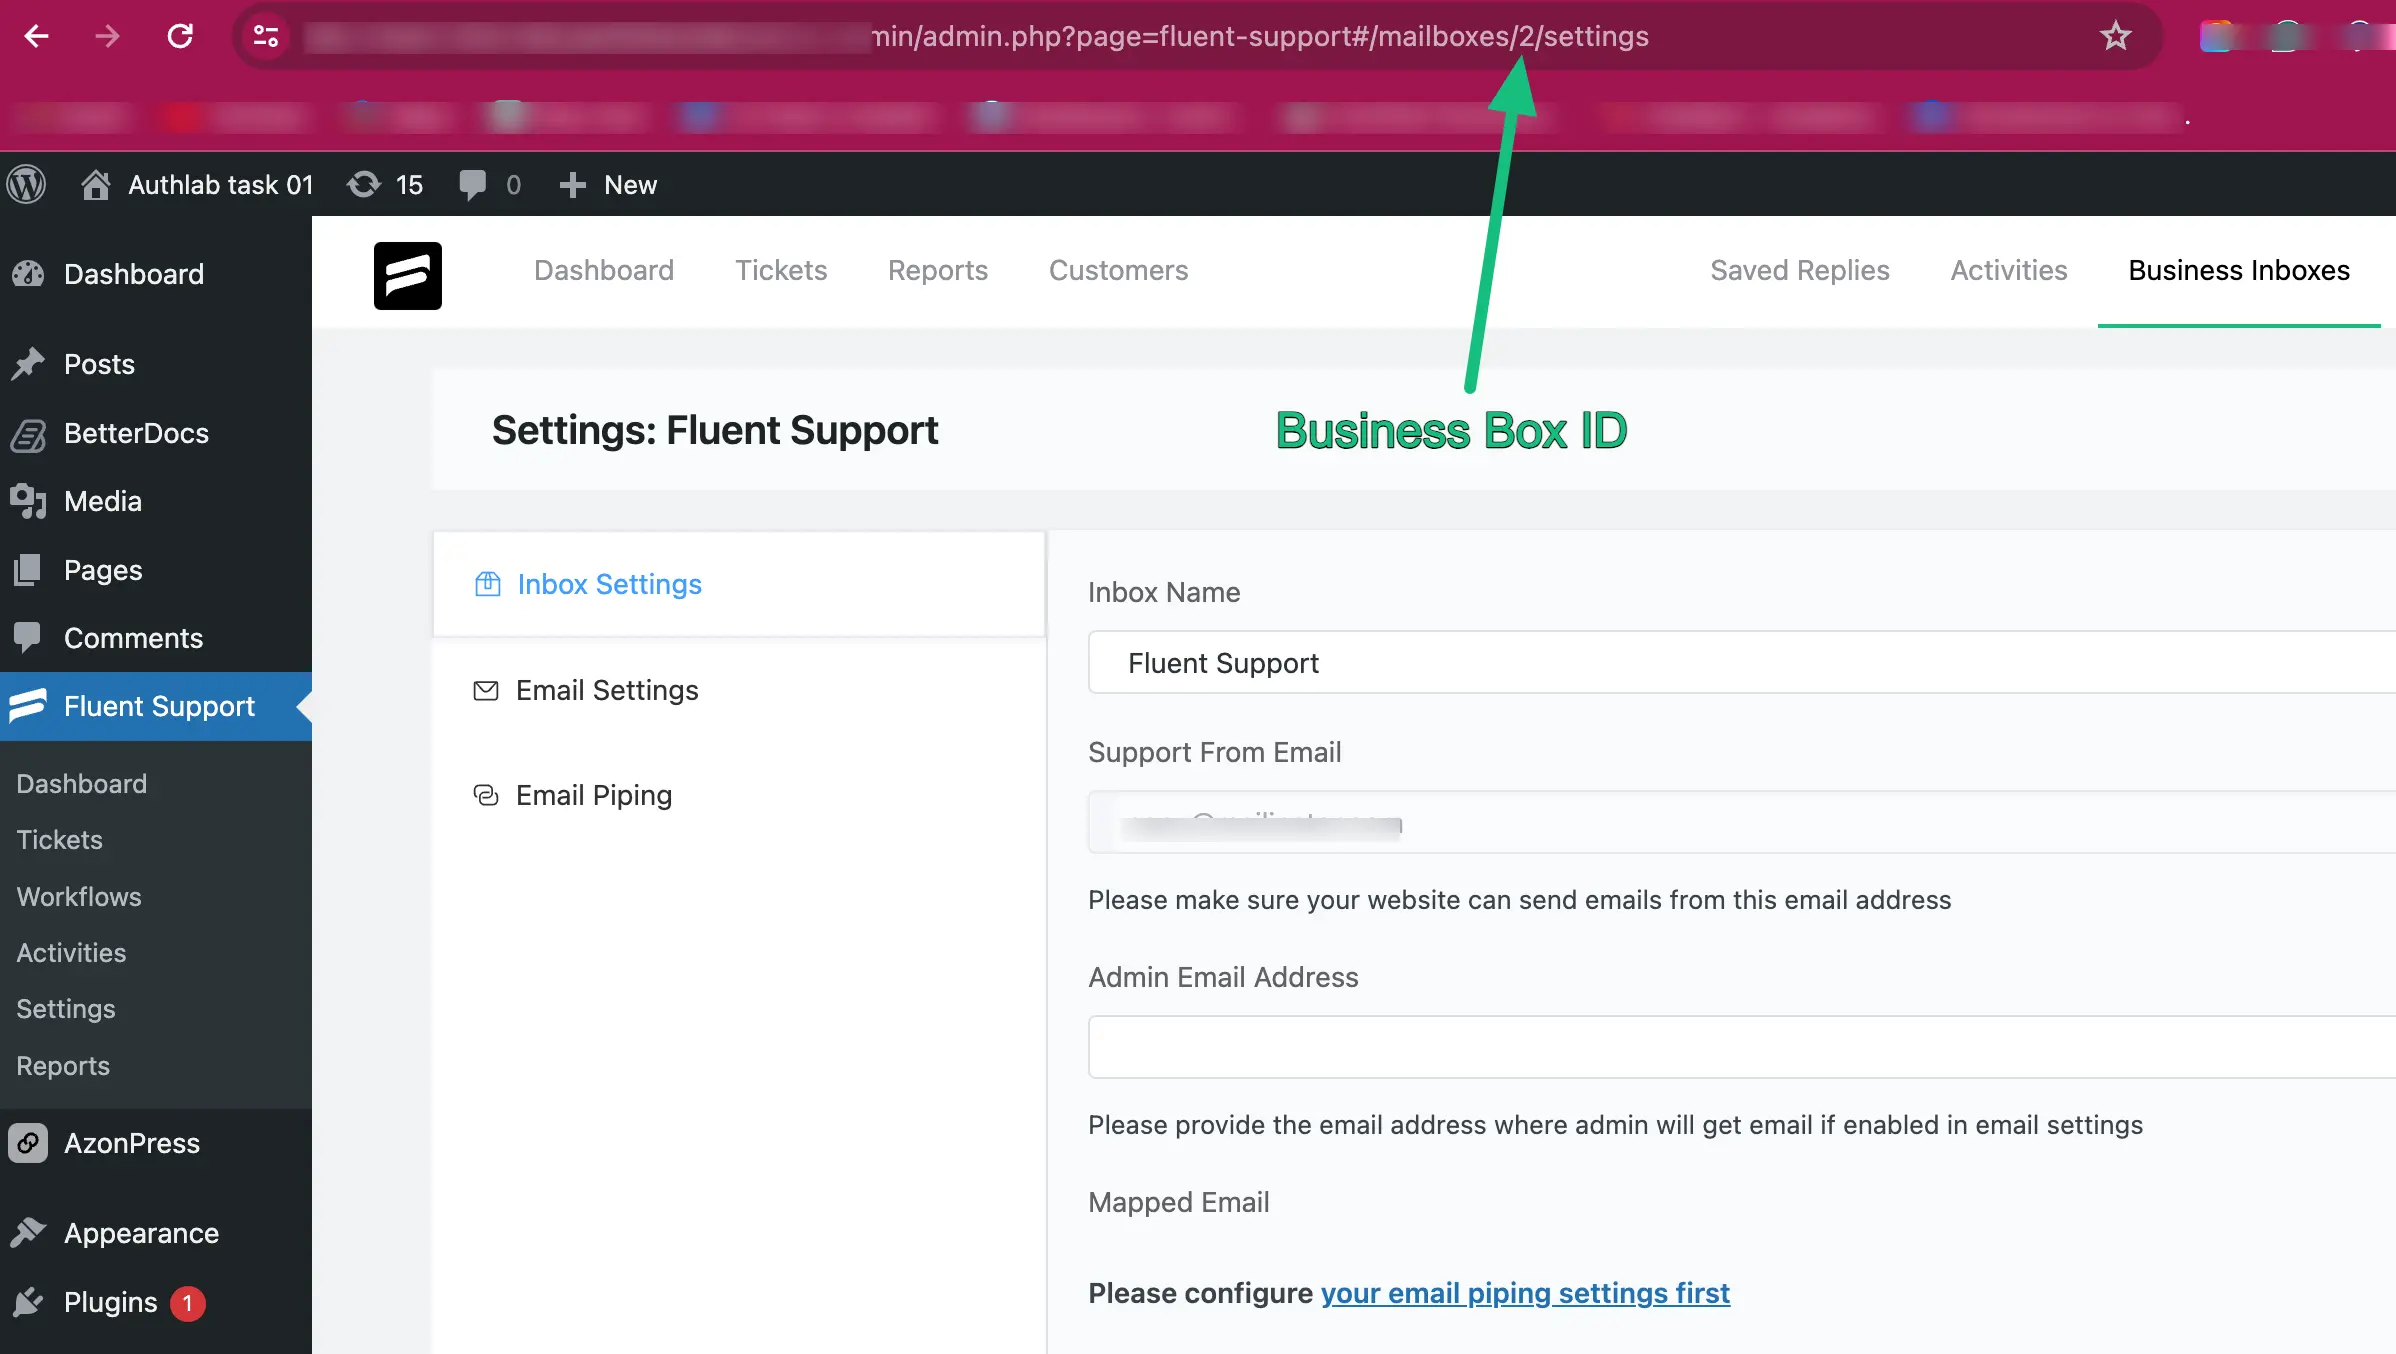
To find the Business Box ID, go to Business Inboxes from Fluent Support Dashboard, and click on the View Settings of your desired business inbox.

Now, you will find the business box ID in the URL of that business box as shown below. Copy the Business Box ID (number) from here.
And, use the ID in your Shortcode and place it anywhere on your website as per your requirements as I have used it below —
This service is especially helpful for Web-Based Business Inboxes.
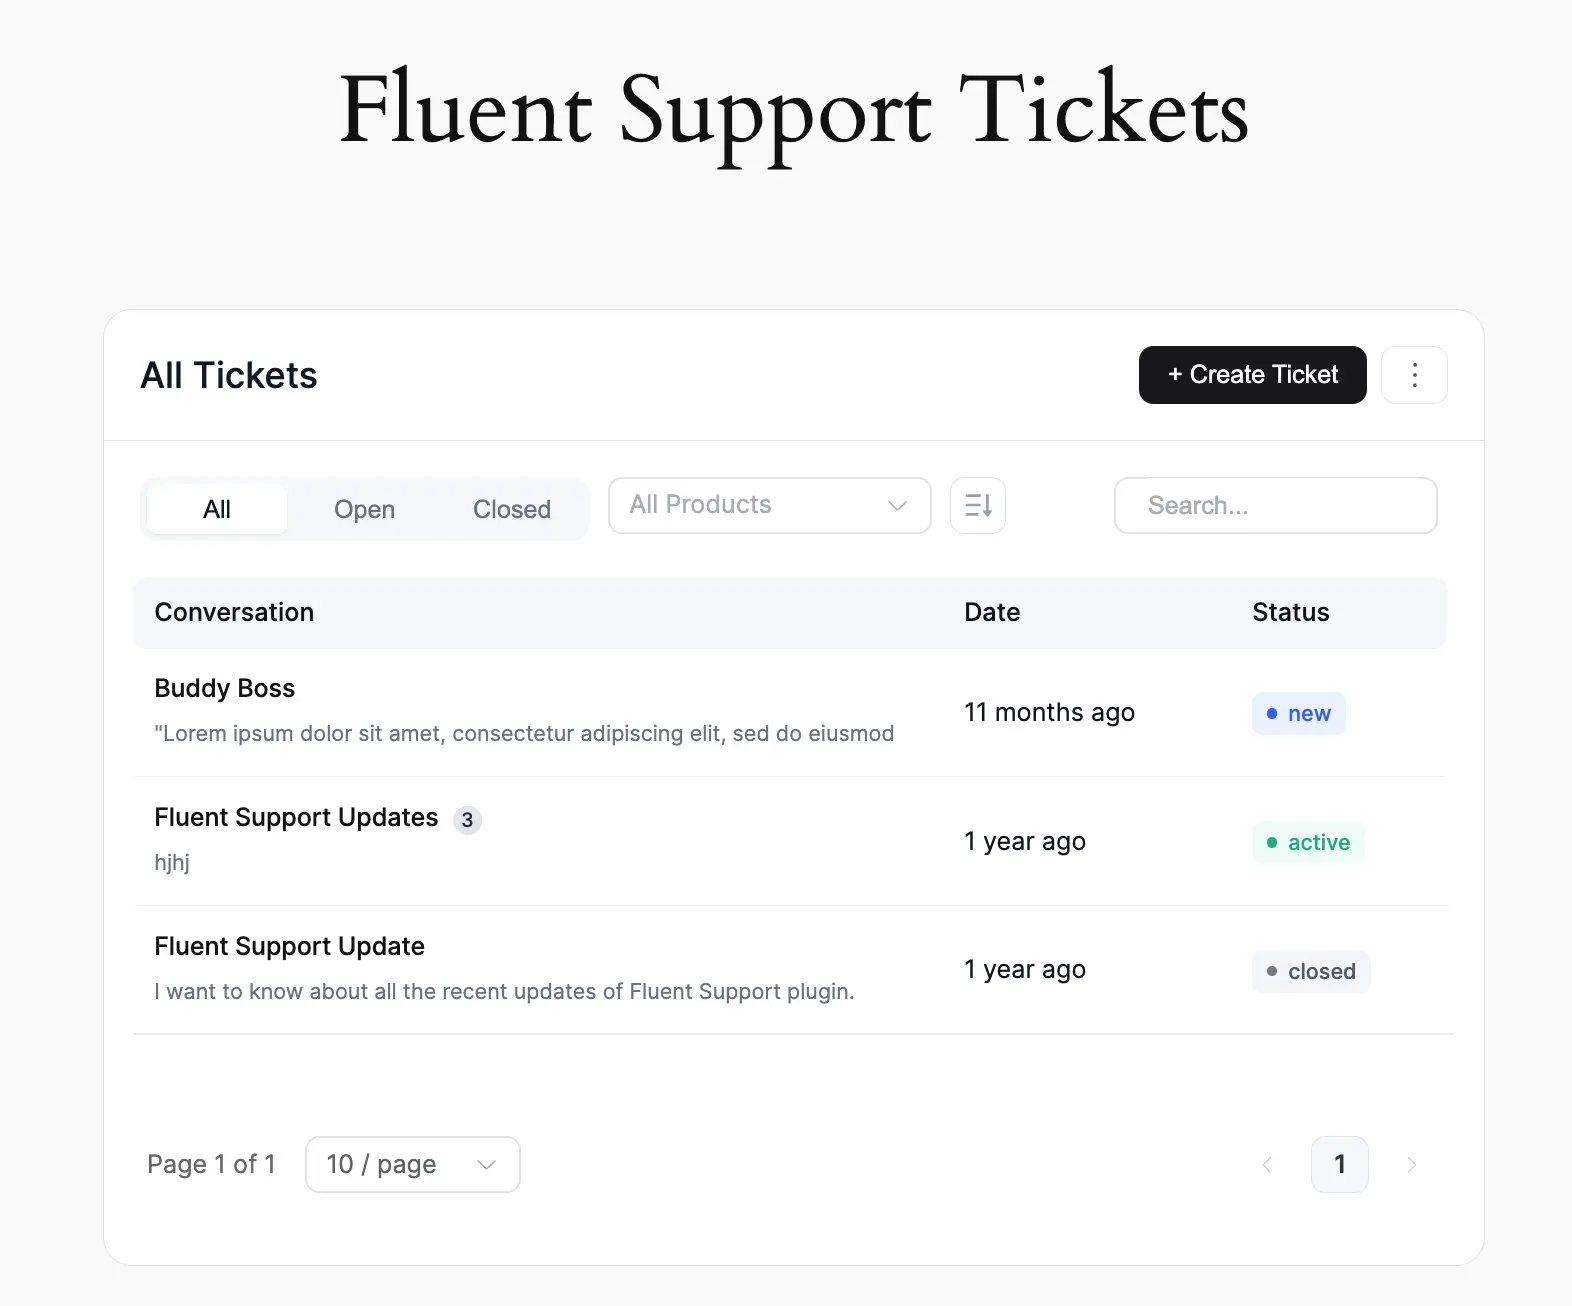
Here you can see the preview of the Customer Support Portal in the screenshot below.
If you have any further questions, concerns, or suggestions, please do not hesitate to contact our @support team. Thank you.


