This article will guide you through the process required to create the Saved (Templated) Replies i.e., create specific replies for tickets and save it as a template to save time by avoiding the redundancy of repeatedly typing similar replies. And, the “Saved Replies” feature allows you to do it easily using Fluent Support.
Saved Replies #
To create Templated replies using the “Saved Replies” feature, follow the steps with the screenshots & GIF below —
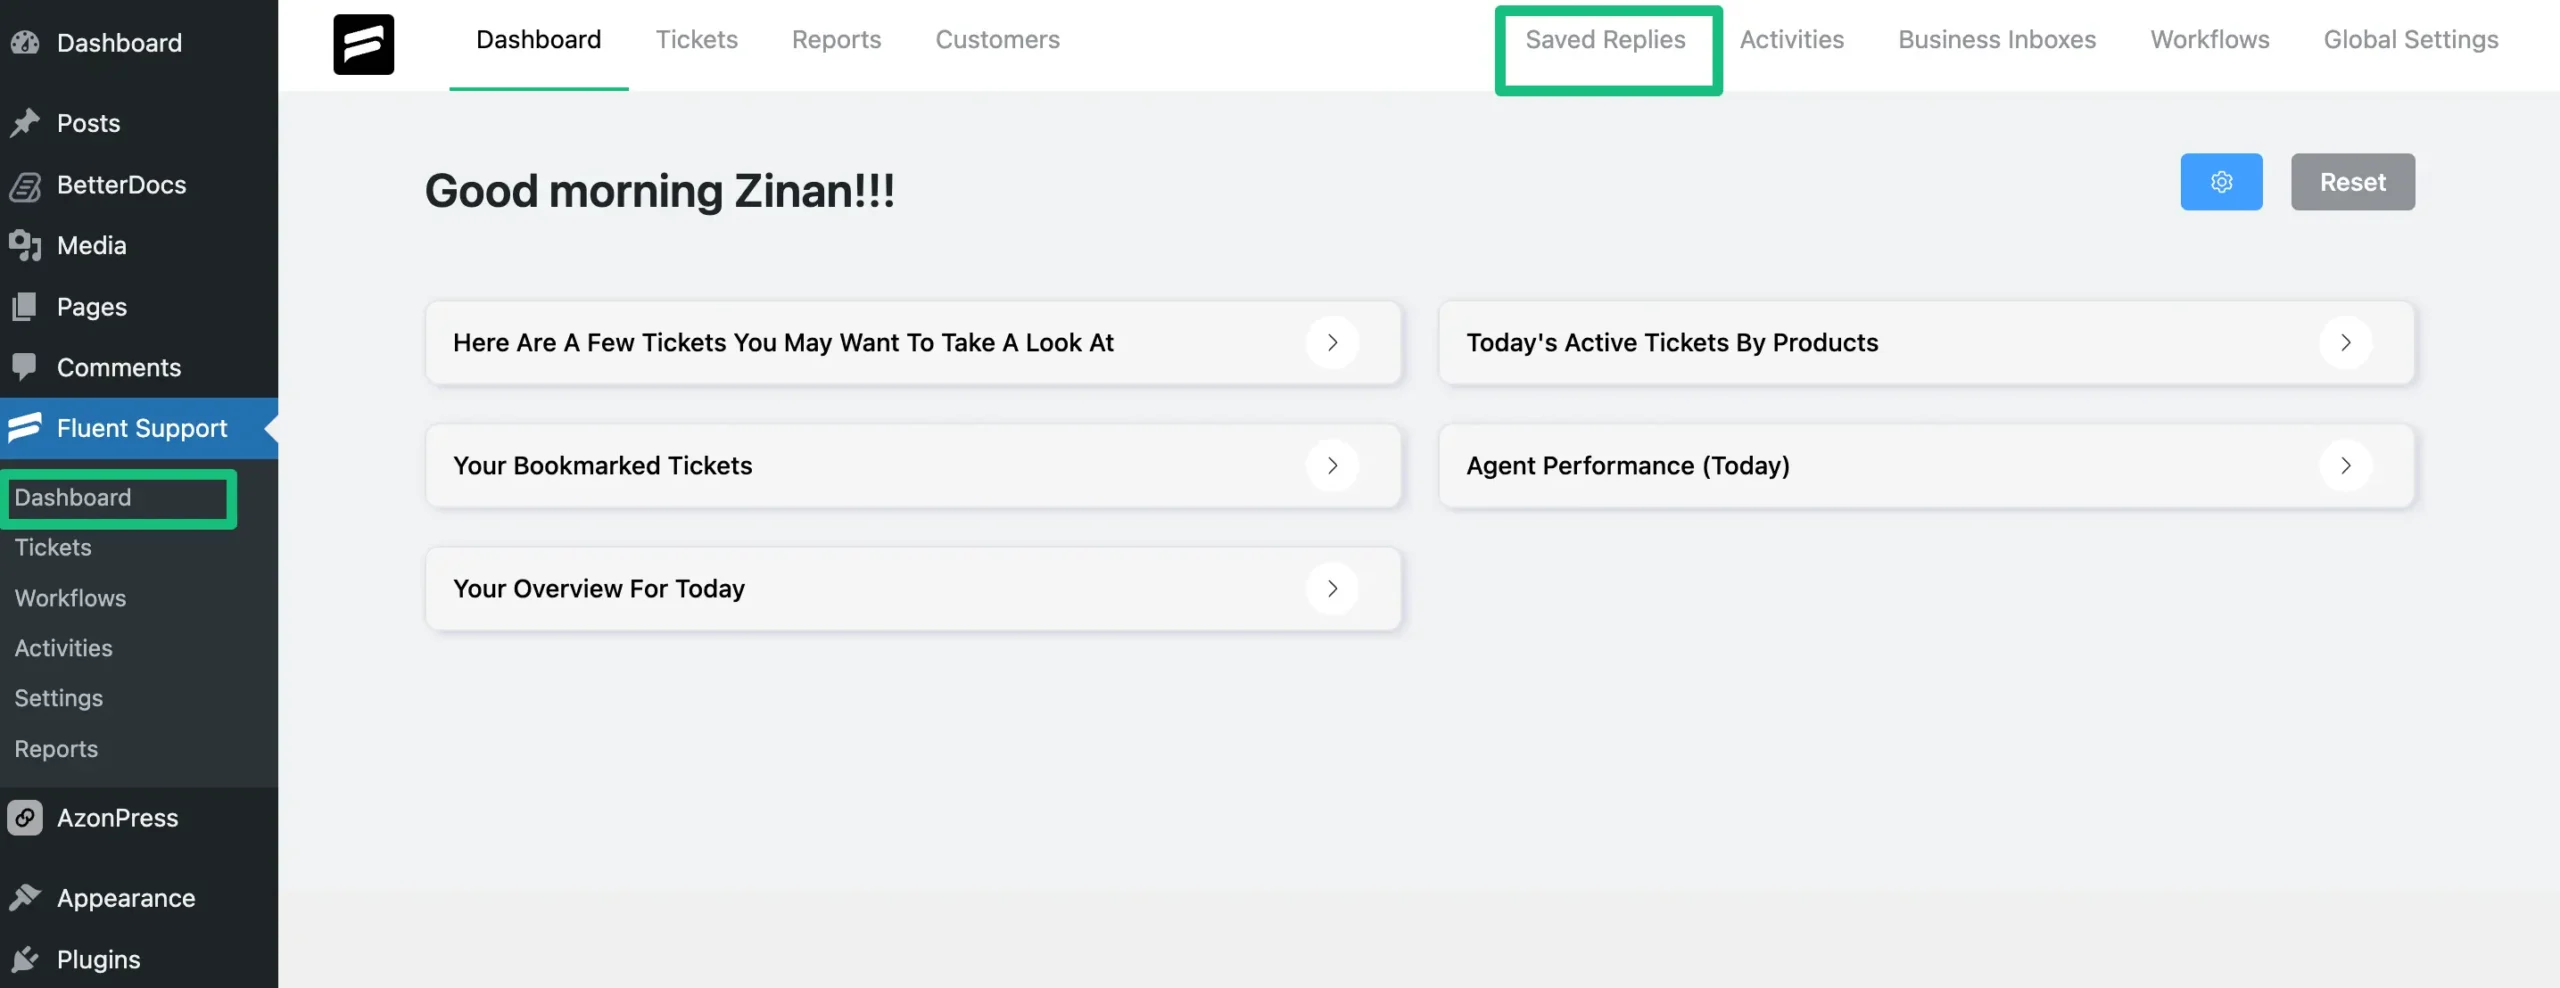
First, go to the Fluent Support Dashboard & click on the Saved Replies.
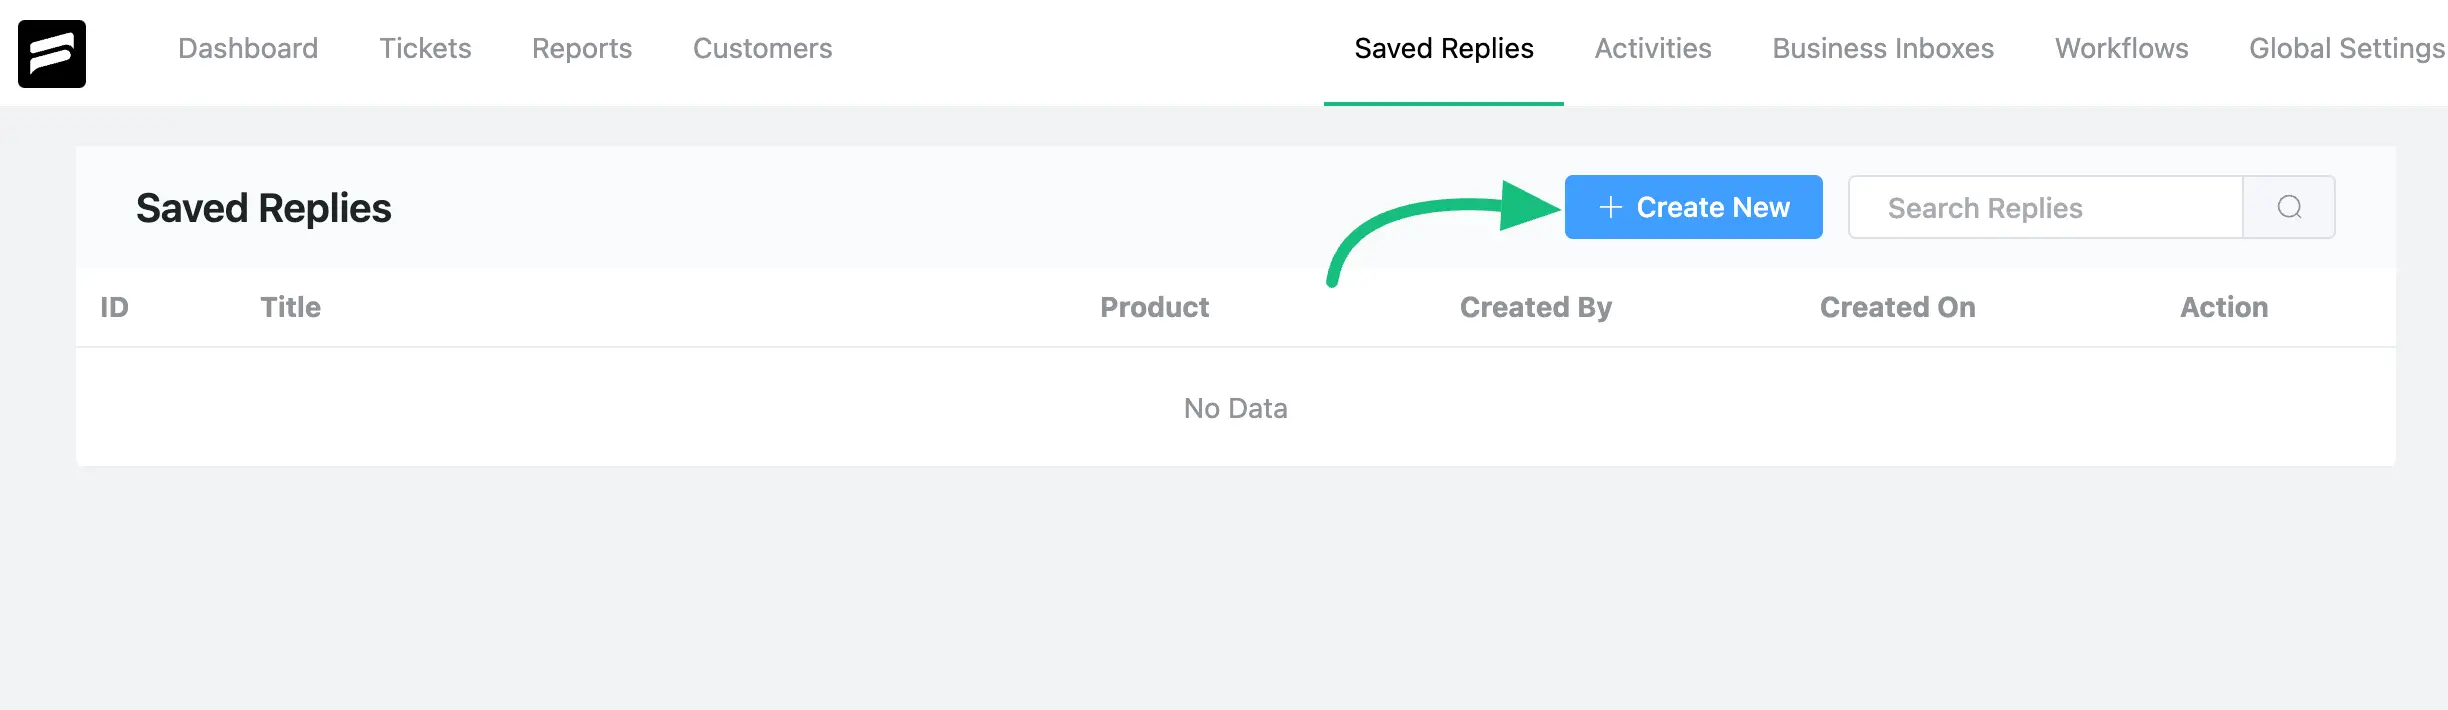
To create a new reply that will be saved as a template, click on + Create New and a pop-up page will appear.
Add the reply Title and Content and choose your preferred Product from the dropdown. Once you’re done, click Save to save the reply.

Also, you can Edit/Delete the existing Saved Relies by clicking the Pencil/Trash icons placed on the right-hand side under the Actions column.
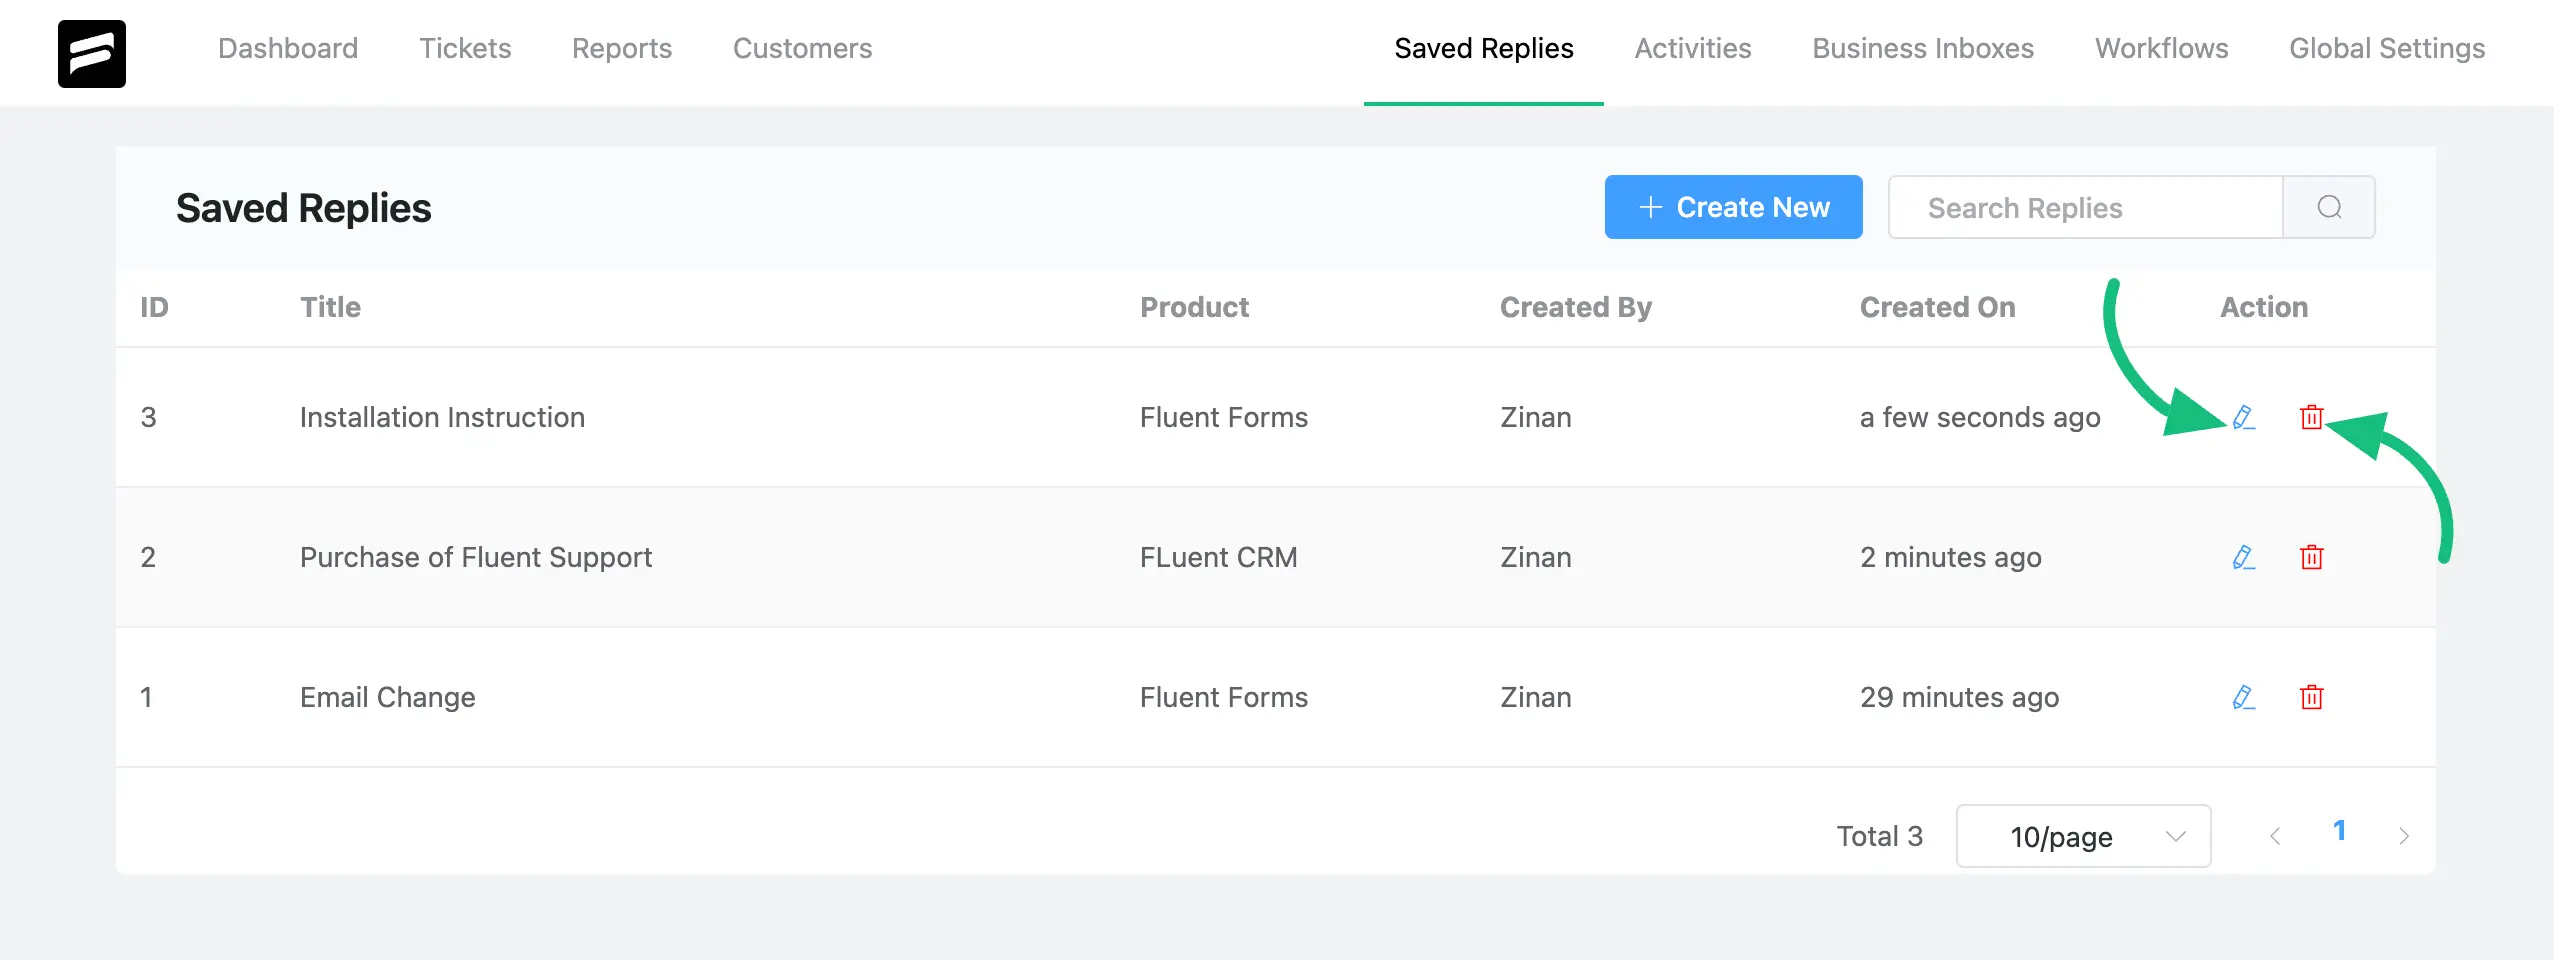
For instance, I edited the Title from ‘Purchase of Fluent Support’ to ‘Purchase of Fluent Support PRO Add-On’. Similarly, you can Edit/Delete any of your products according to your needs.
This way, you can create as many Saved Replies as you want to save your time and energy regarding responses to your tickets! If you have any further questions, concerns, or suggestions, please do not hesitate to contact our @support team. Thank you.


