Fluent Support allows users to integrate with Google ReCaptcha to protect their websites from spam. This article will guide you through integrating Google ReCapcha with Fluent Support.
Accessing Google ReCapcha Console #
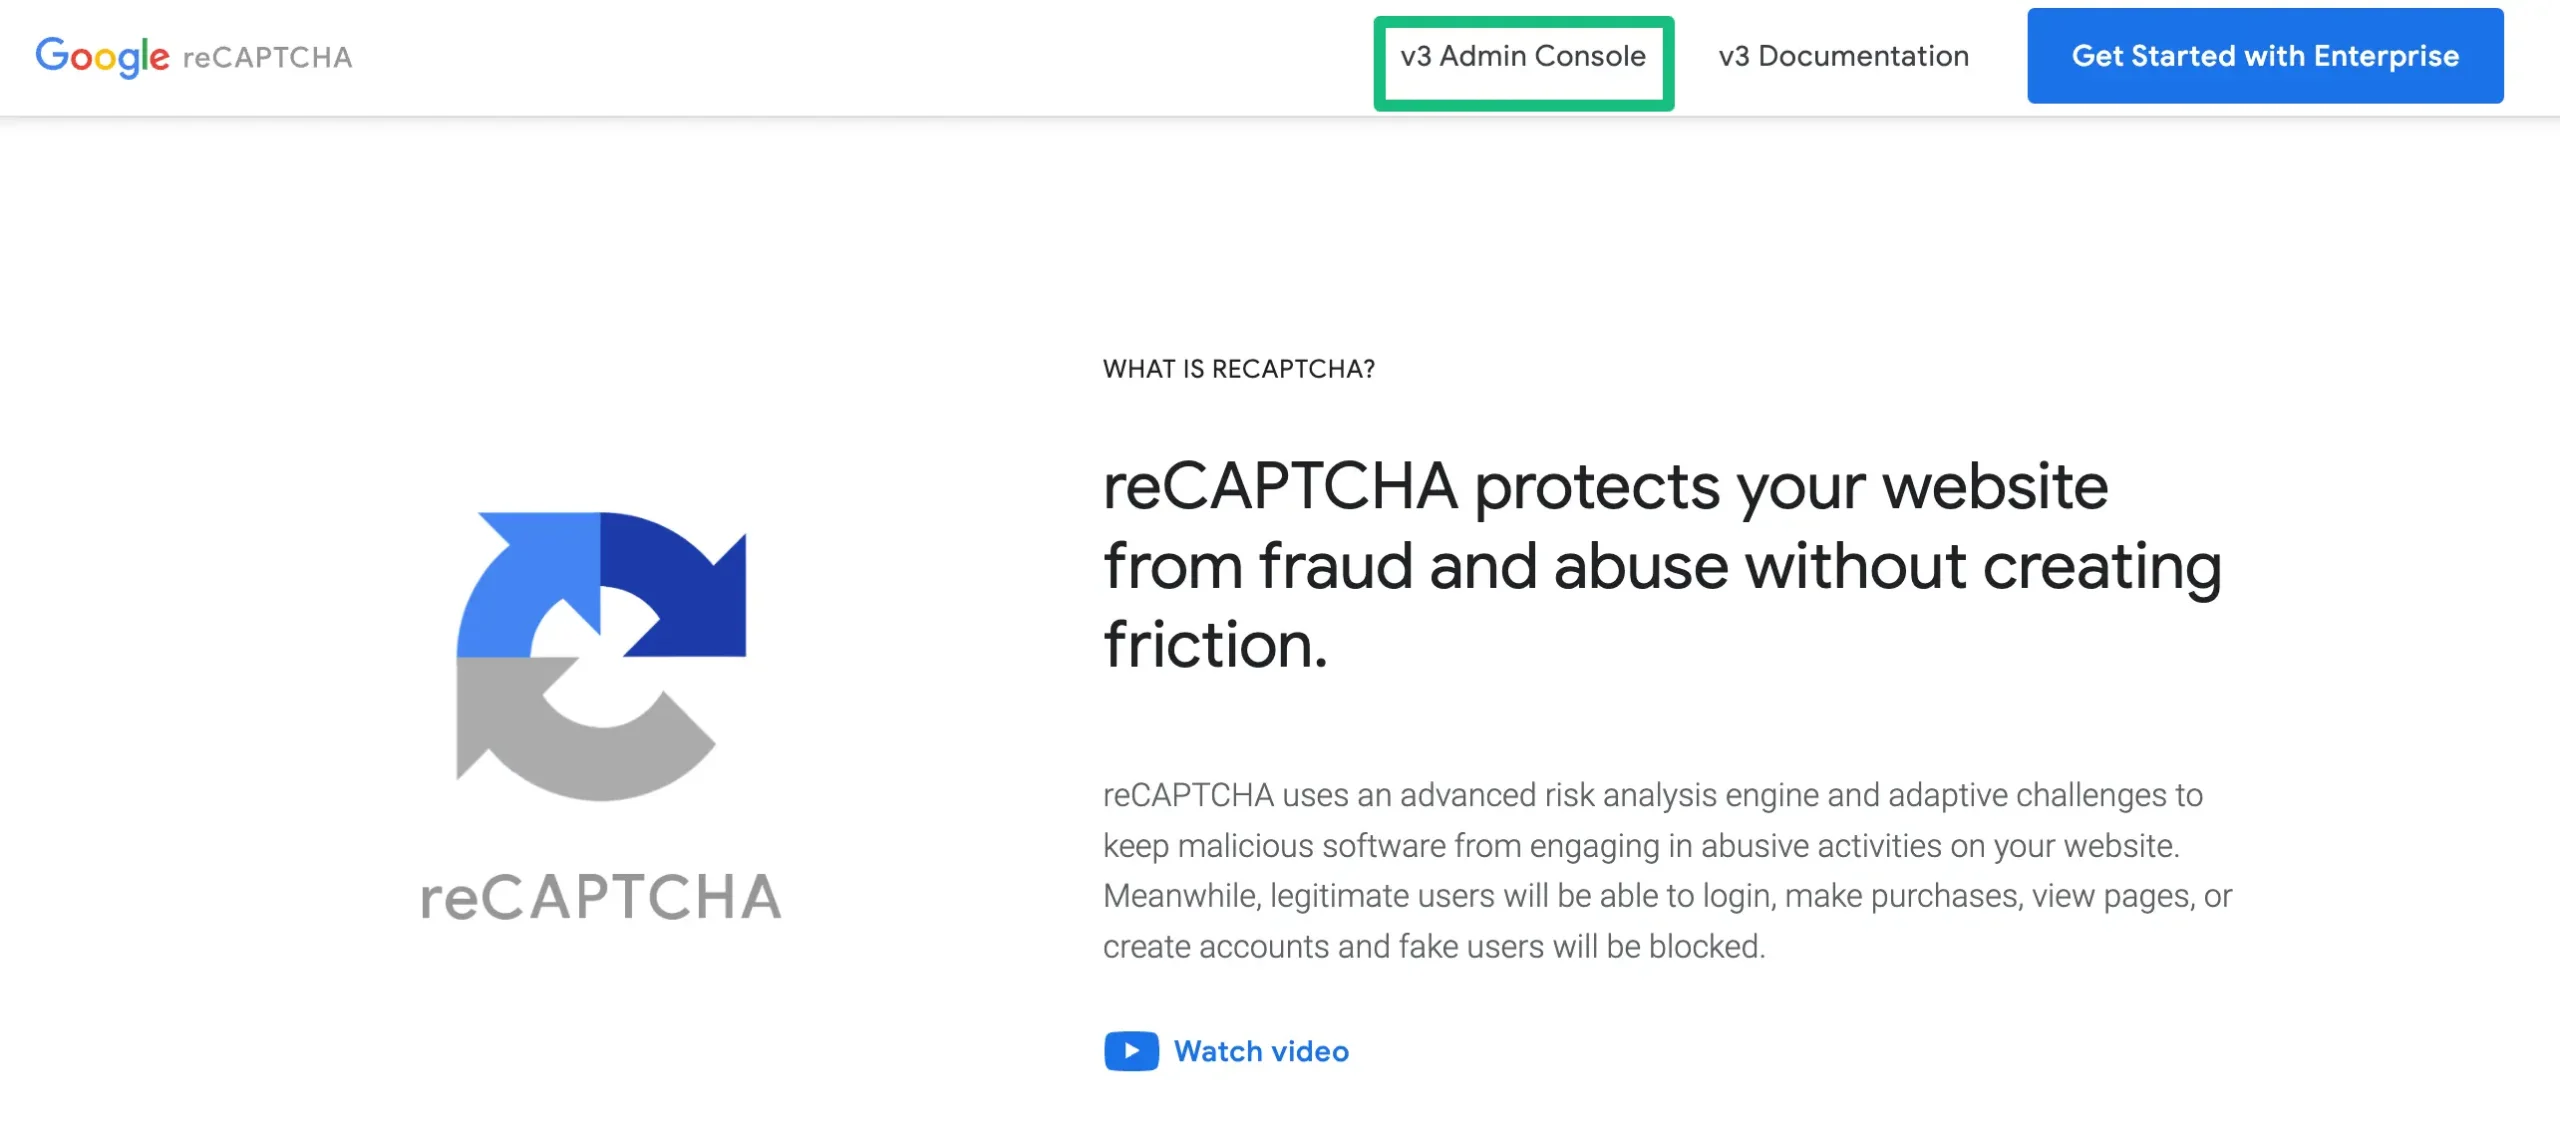
Visit the Google reCAPCHA website and click on the v3 Admin Console. It will take you to the “Register a new site” page where you can choose how to add reCaptcha to your website.
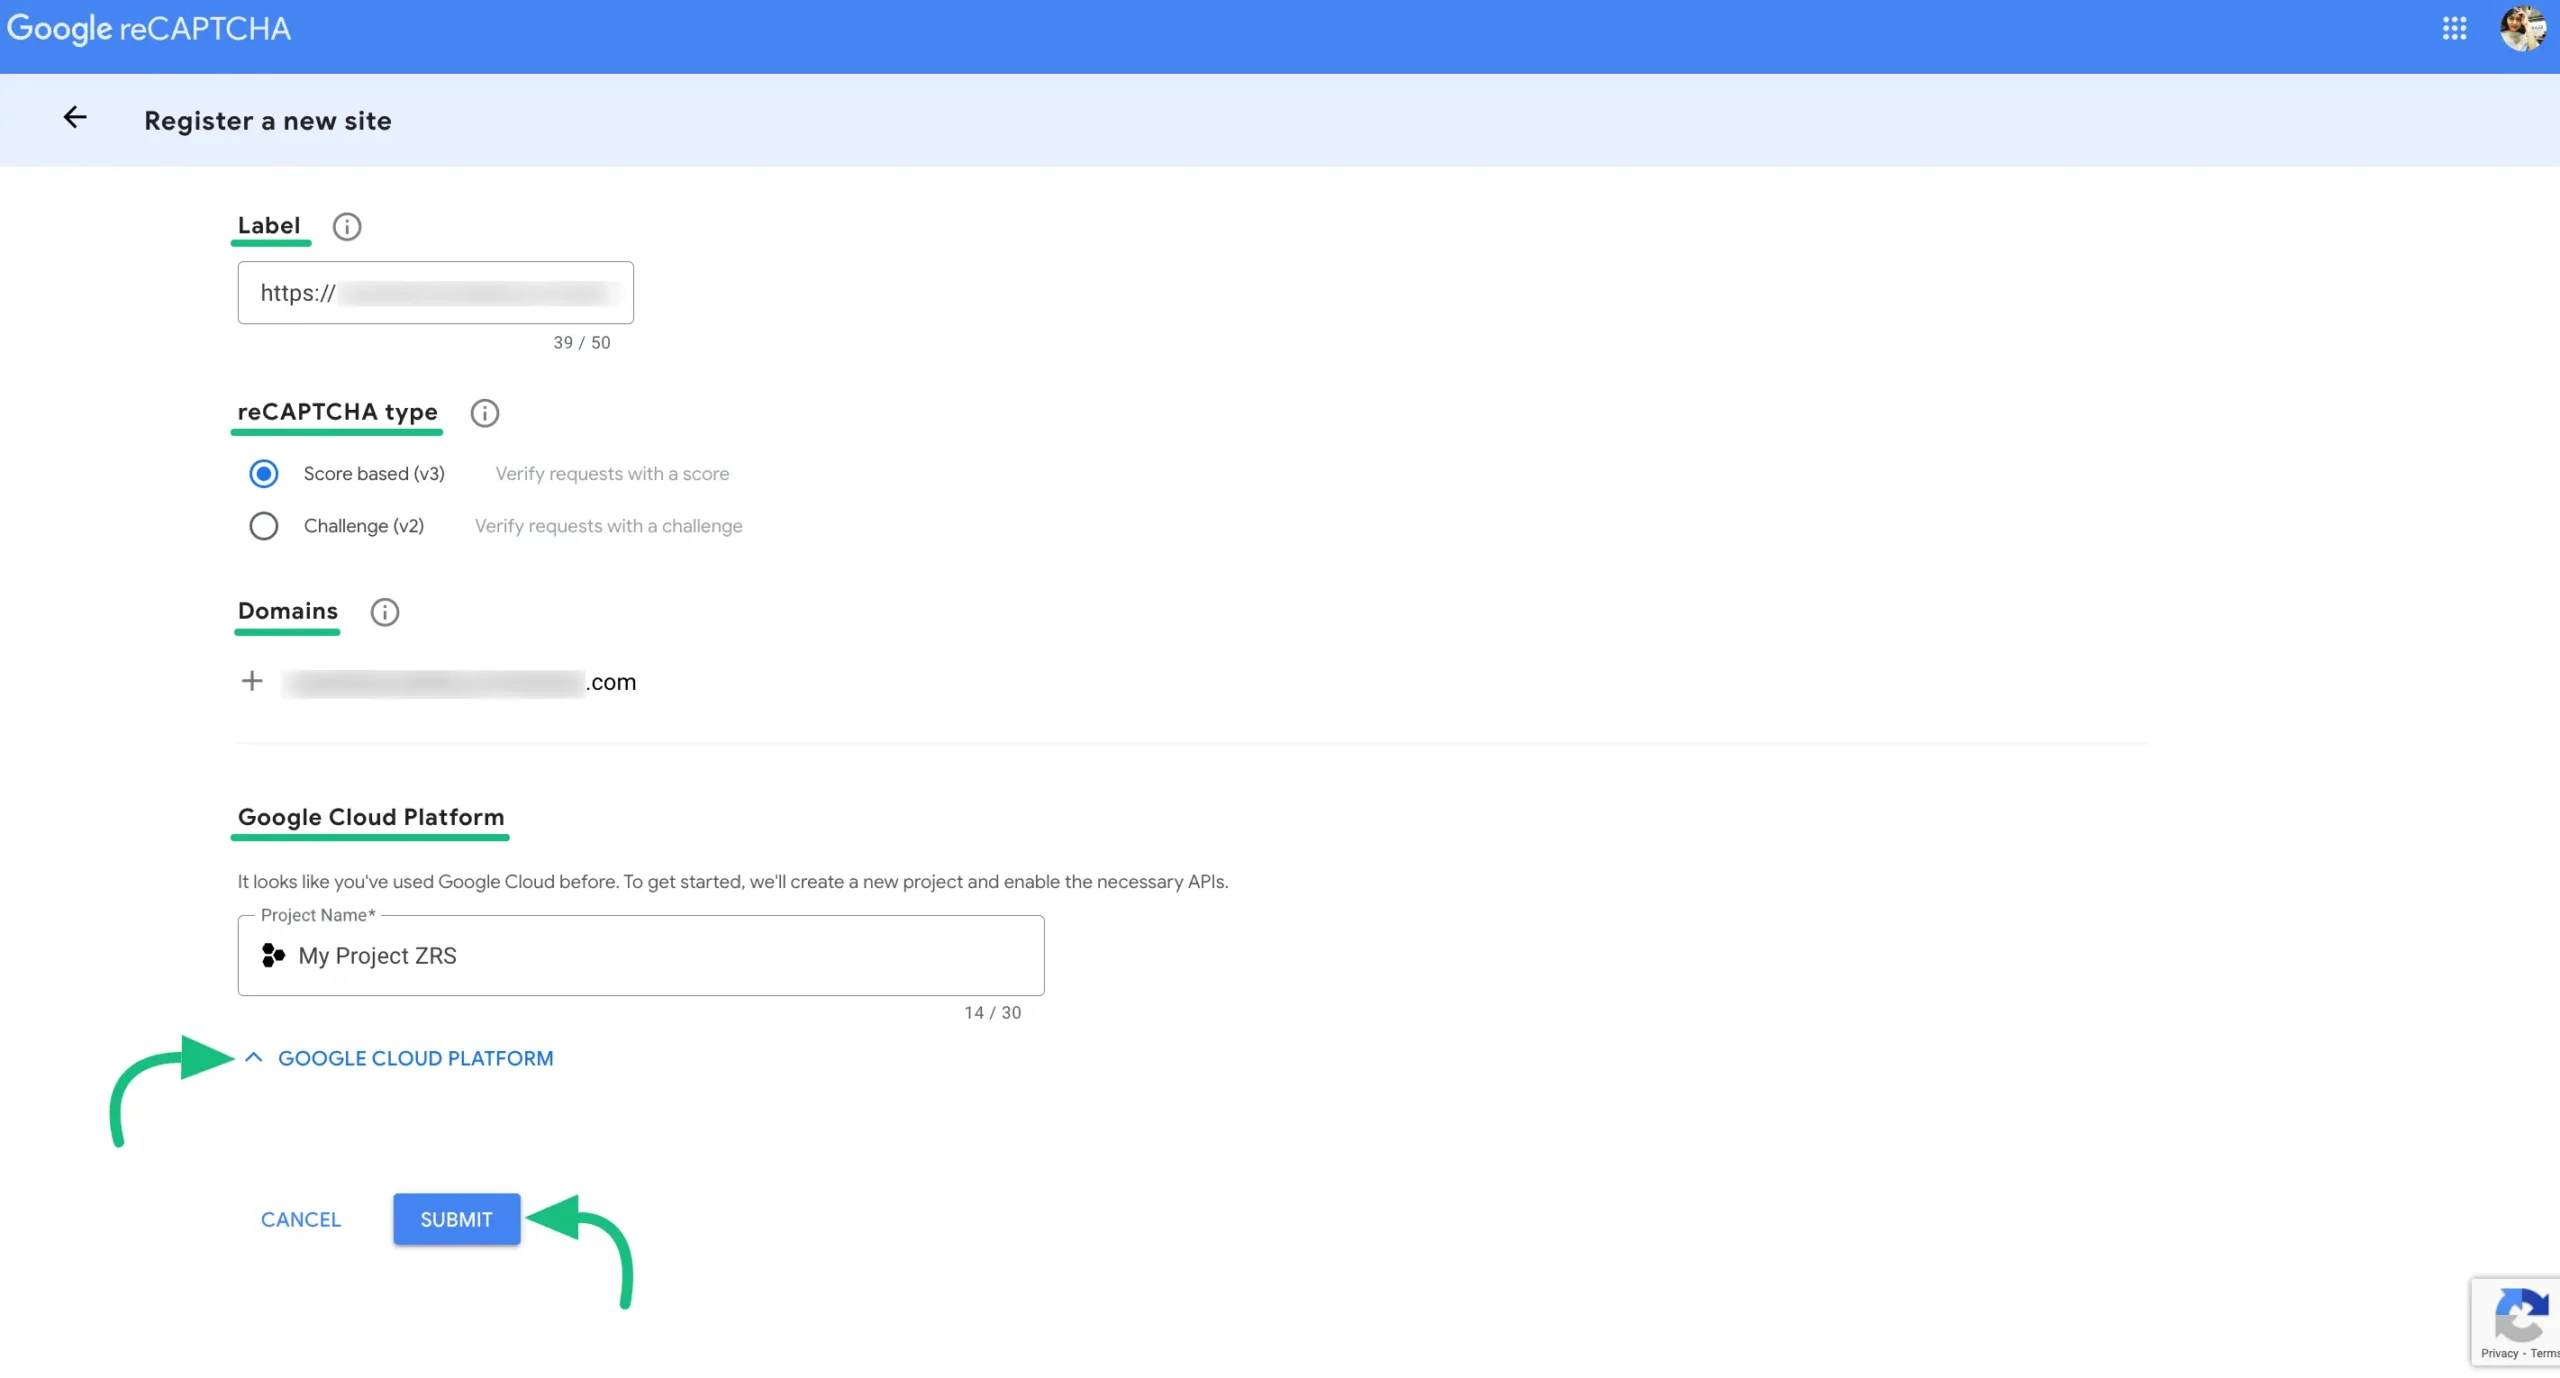
First, add your Label & Domain name, select the Score-based (v3) or Challenge (v2) version, set Google Cloud Project (optional), and finally click the Submit button.
- Label: Use your Site URL that will make it easy to identify the site in the future.
- Domains: Avoid using “https://” or “/” in your domain name as it won’t work, but you are free to use .com if needed.
- Google Cloud Platform: You can also choose a Google Cloud Project where you want to create this reCAPTCHA.
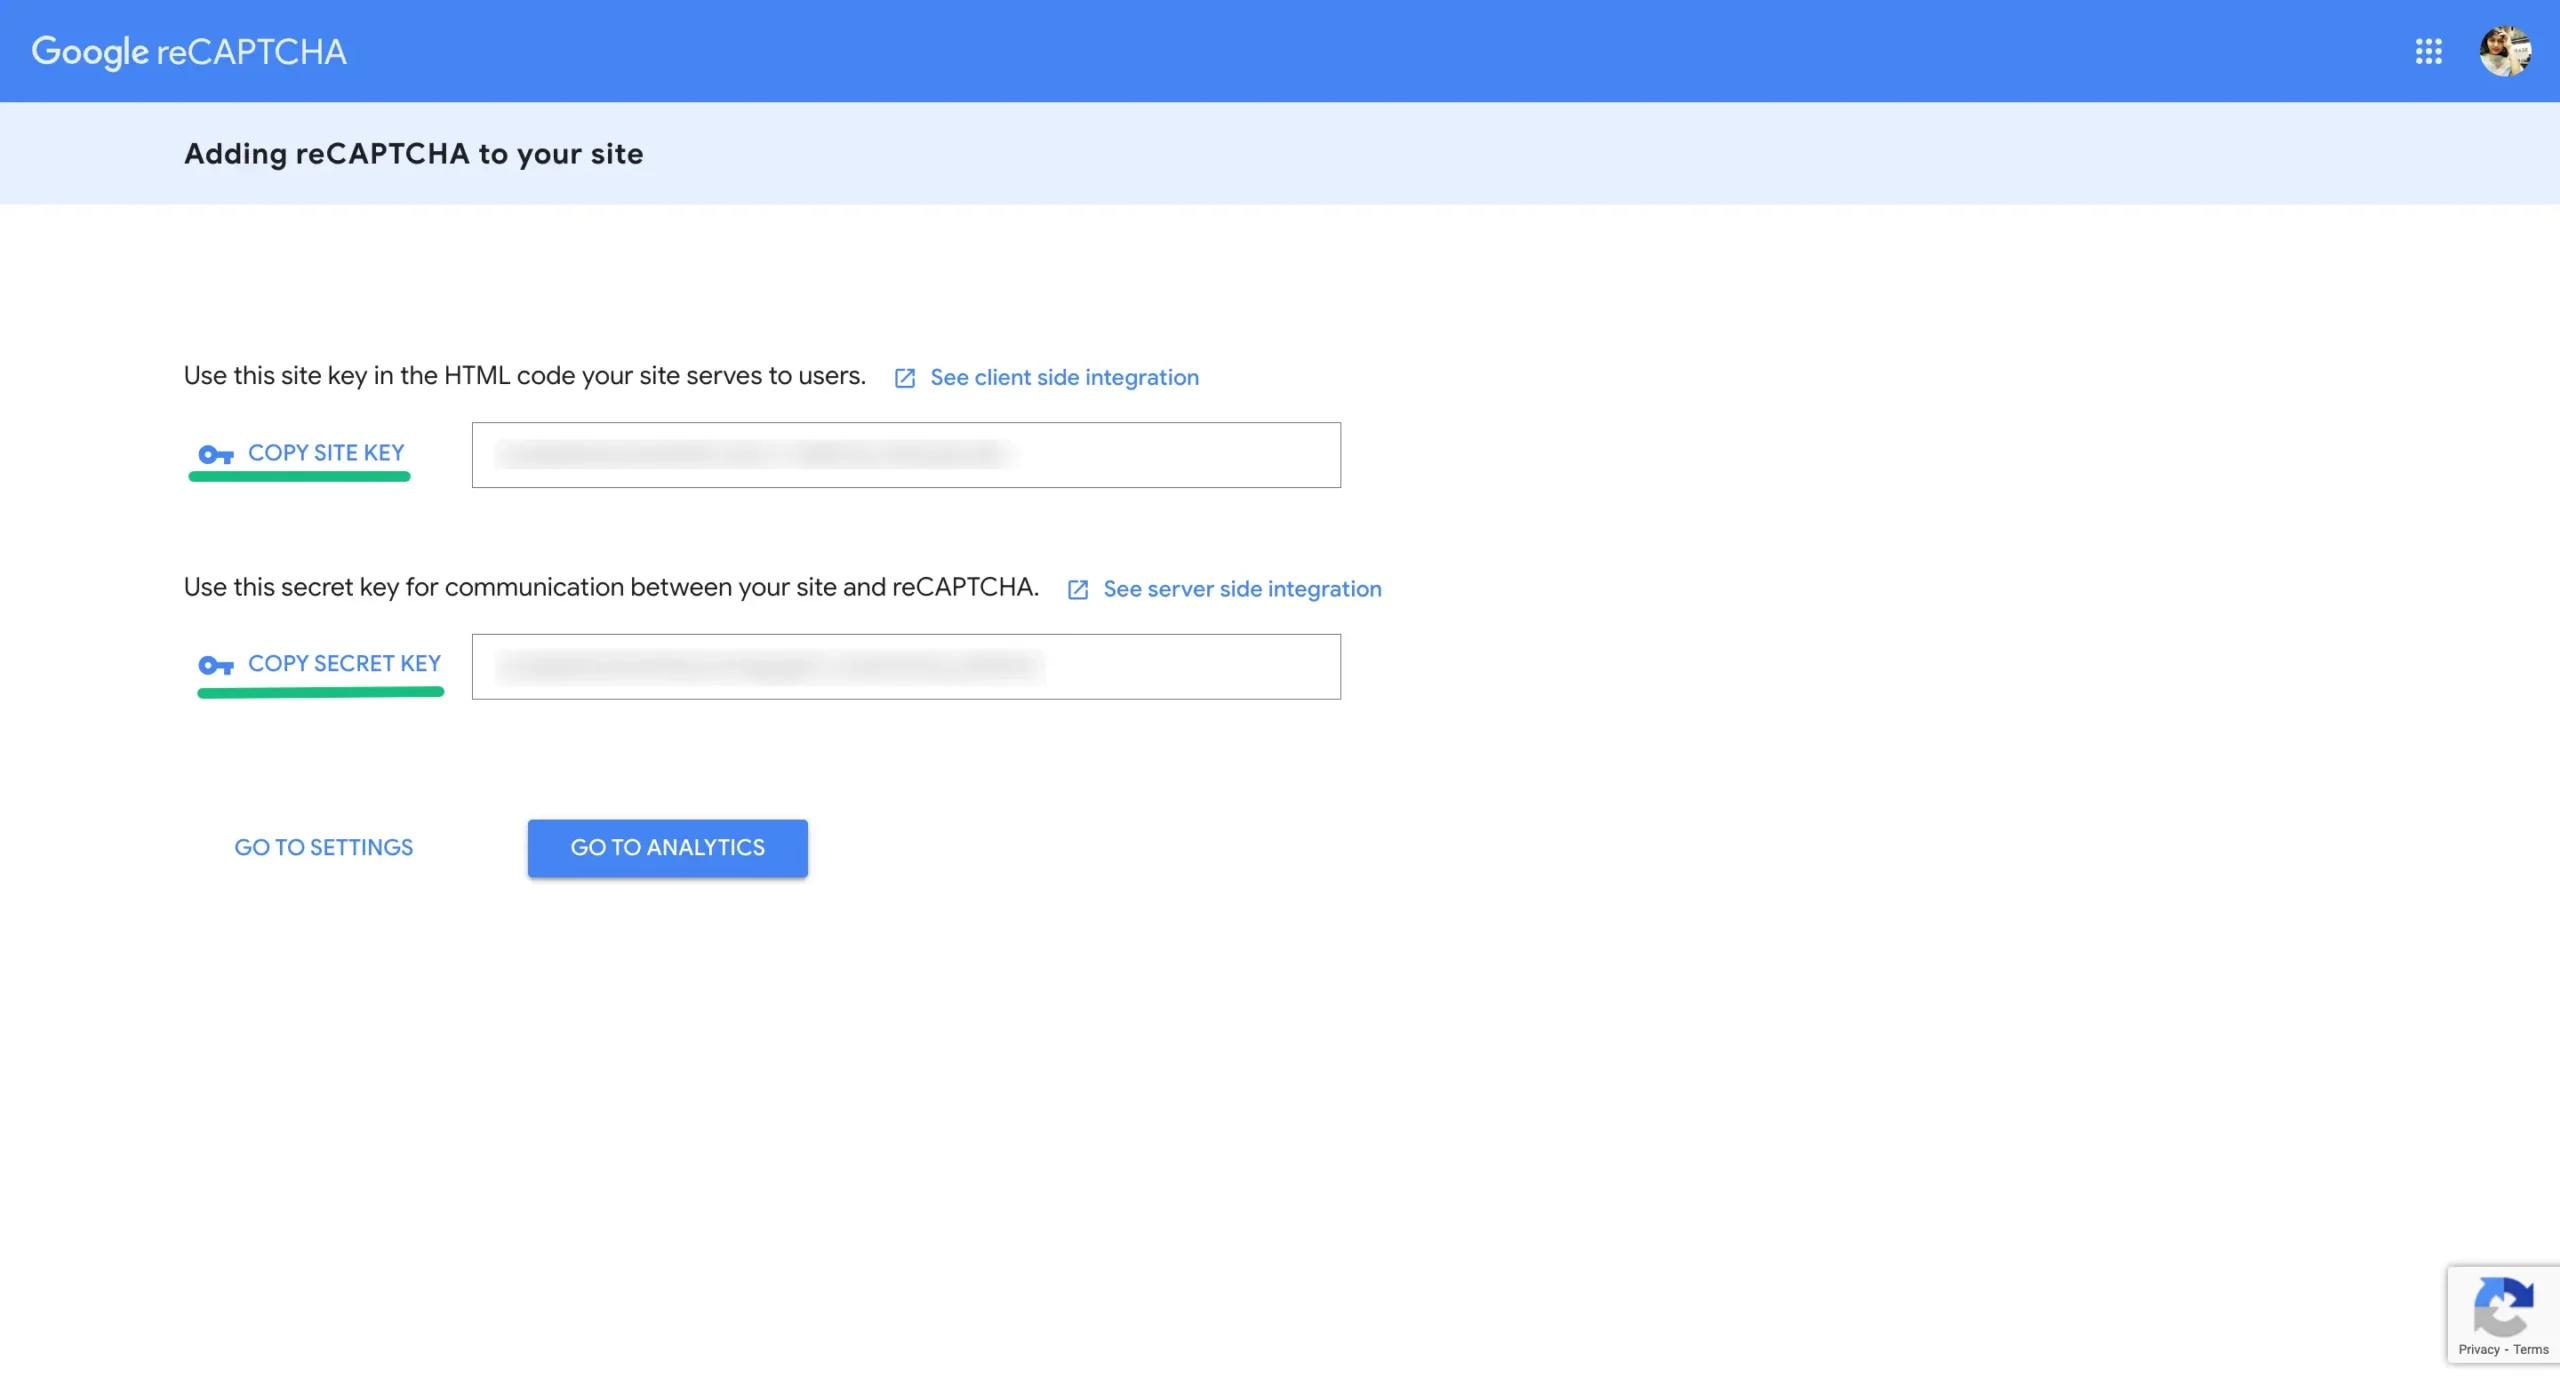
Now you will get a Copy Site Key and a Copy Secret Key. Copy these keys to use later for integration.
Configure reCAPCHA into Fluent Support #
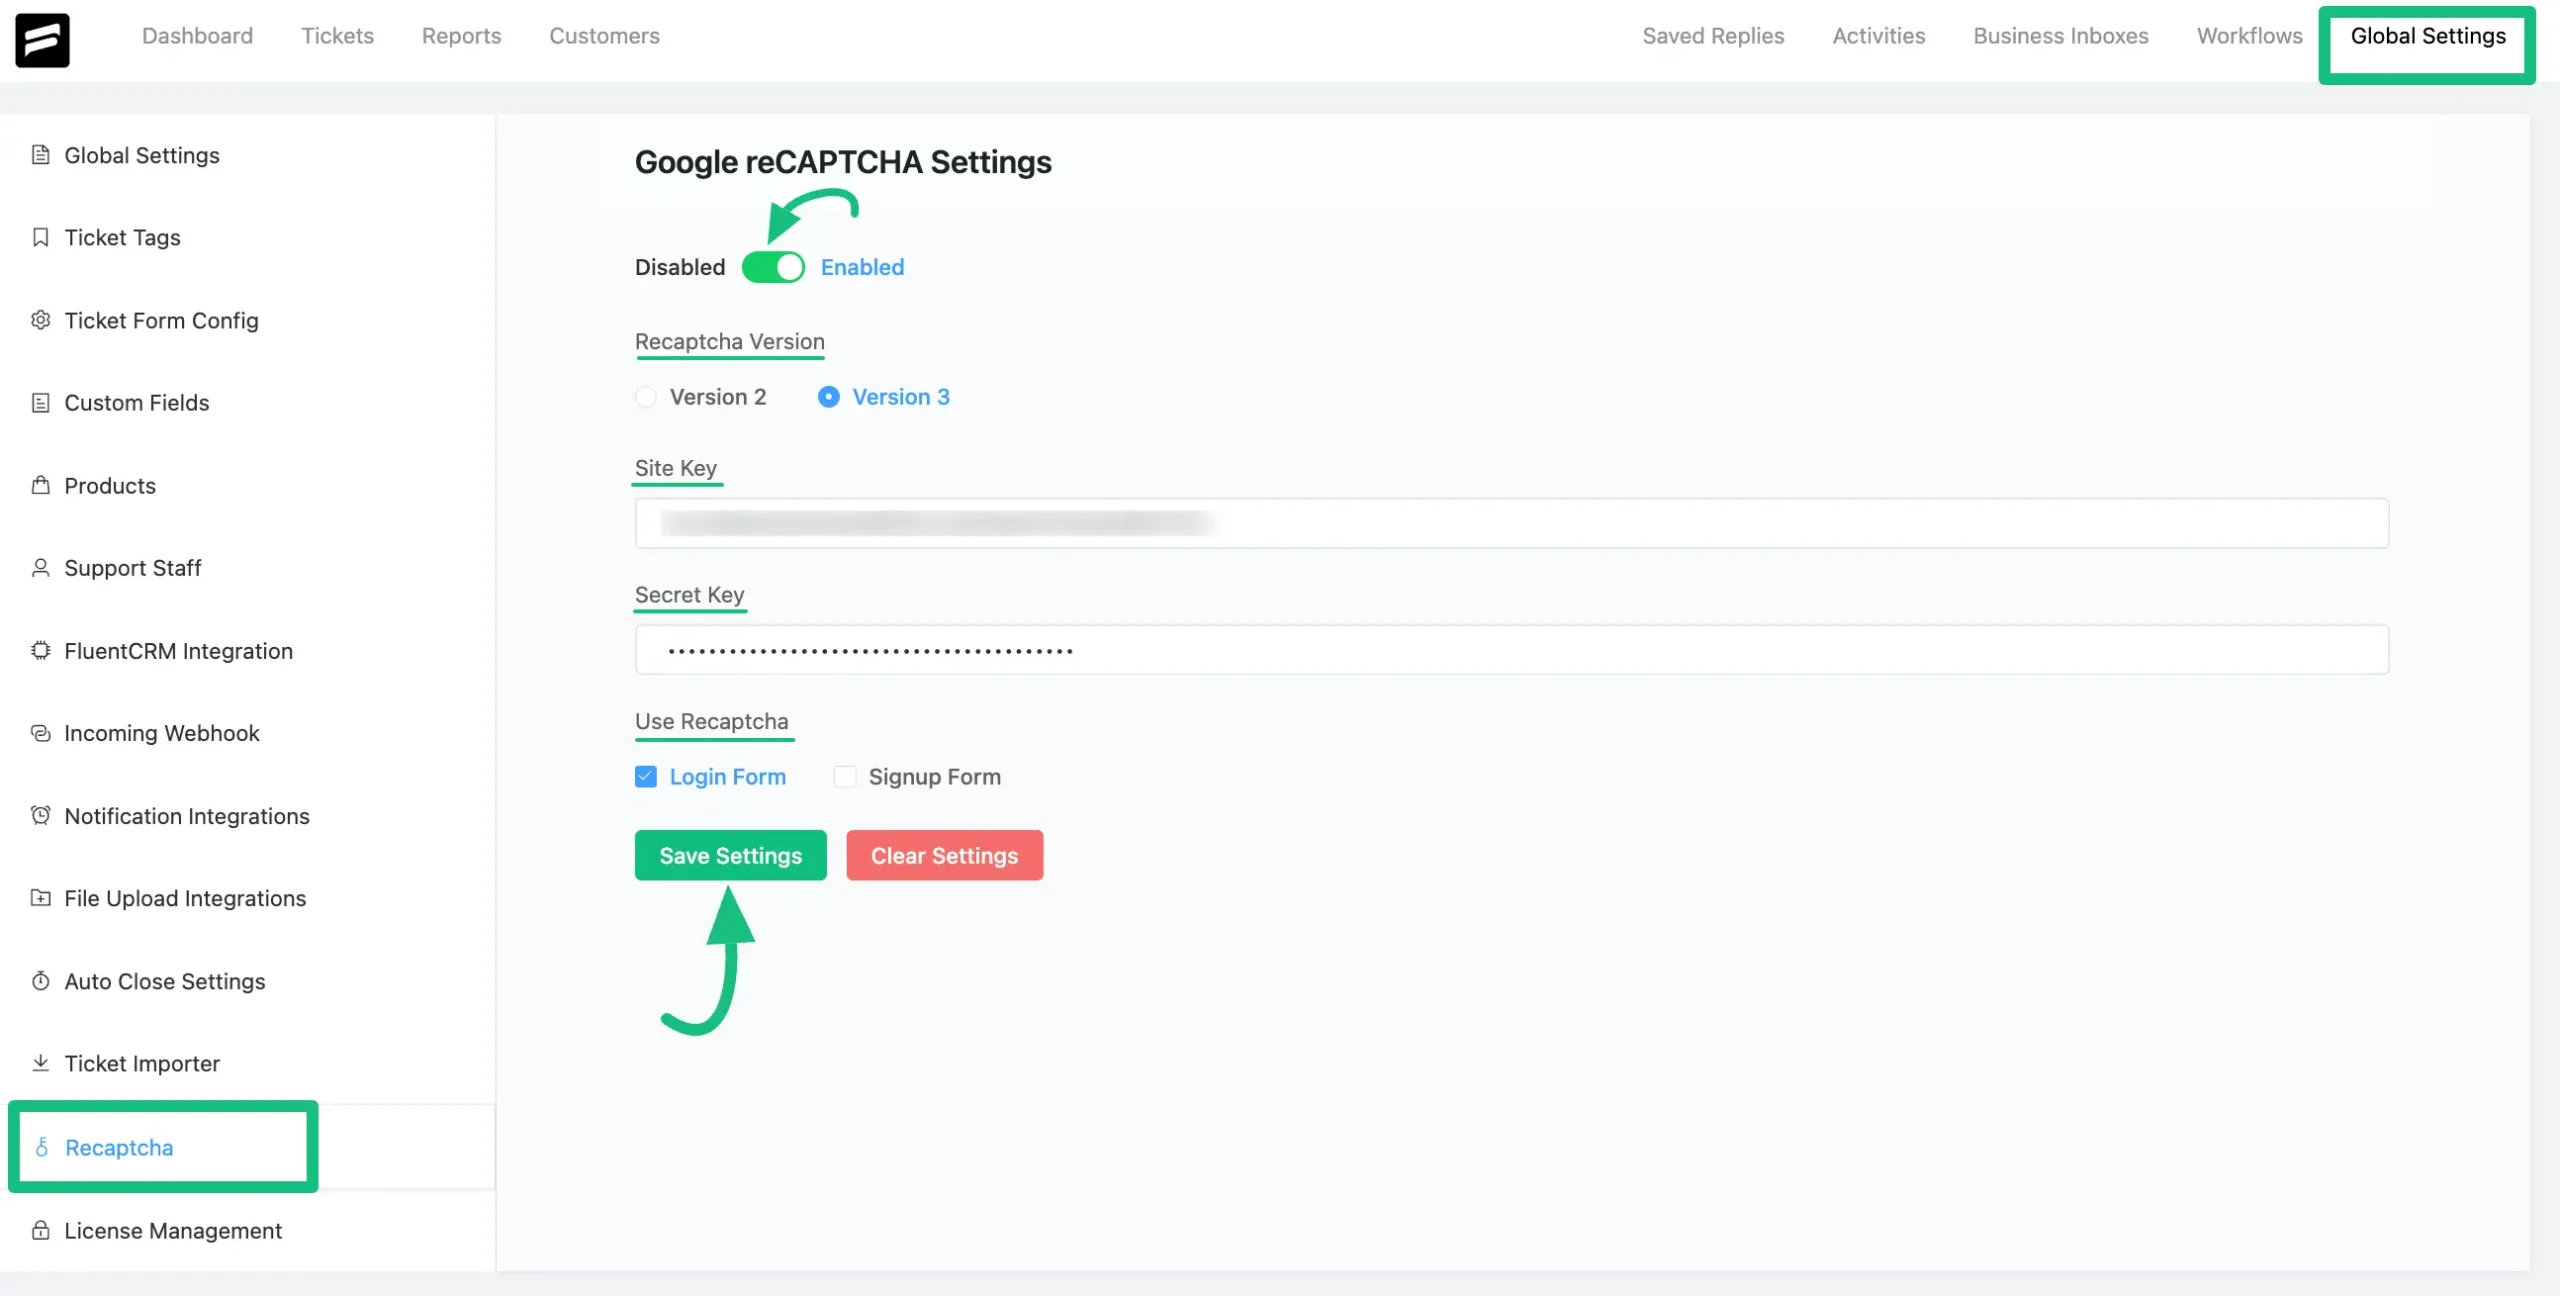
Go to Global Settings from your Fluent Support Dashboard, click on Recapcha from the left menu, and press the Enable option.
Now, select ReCaptcha Version (V2 or V3), paste the keys you’ve copied before under the Site key and Secret key fields, and choose where to use it (Login or Signup Form).
Finally, click on the Save Settings.
This is how you can integrate your Fluent support with reCAPCHA!
If you have any further questions, concerns, or suggestions, please do not hesitate to contact our @support team. Thank you.


