This article will guide you through the process required to Attach Files to the Support Portal Page in Fluent Support. To learn all the File Attachment Regulations that are accepted for uploading while submitting/replying to any ticket, follow the article accordingly.
File Attachment Regulations #
To learn about all the Regulations of accepted files, follow the steps with screenshots below —
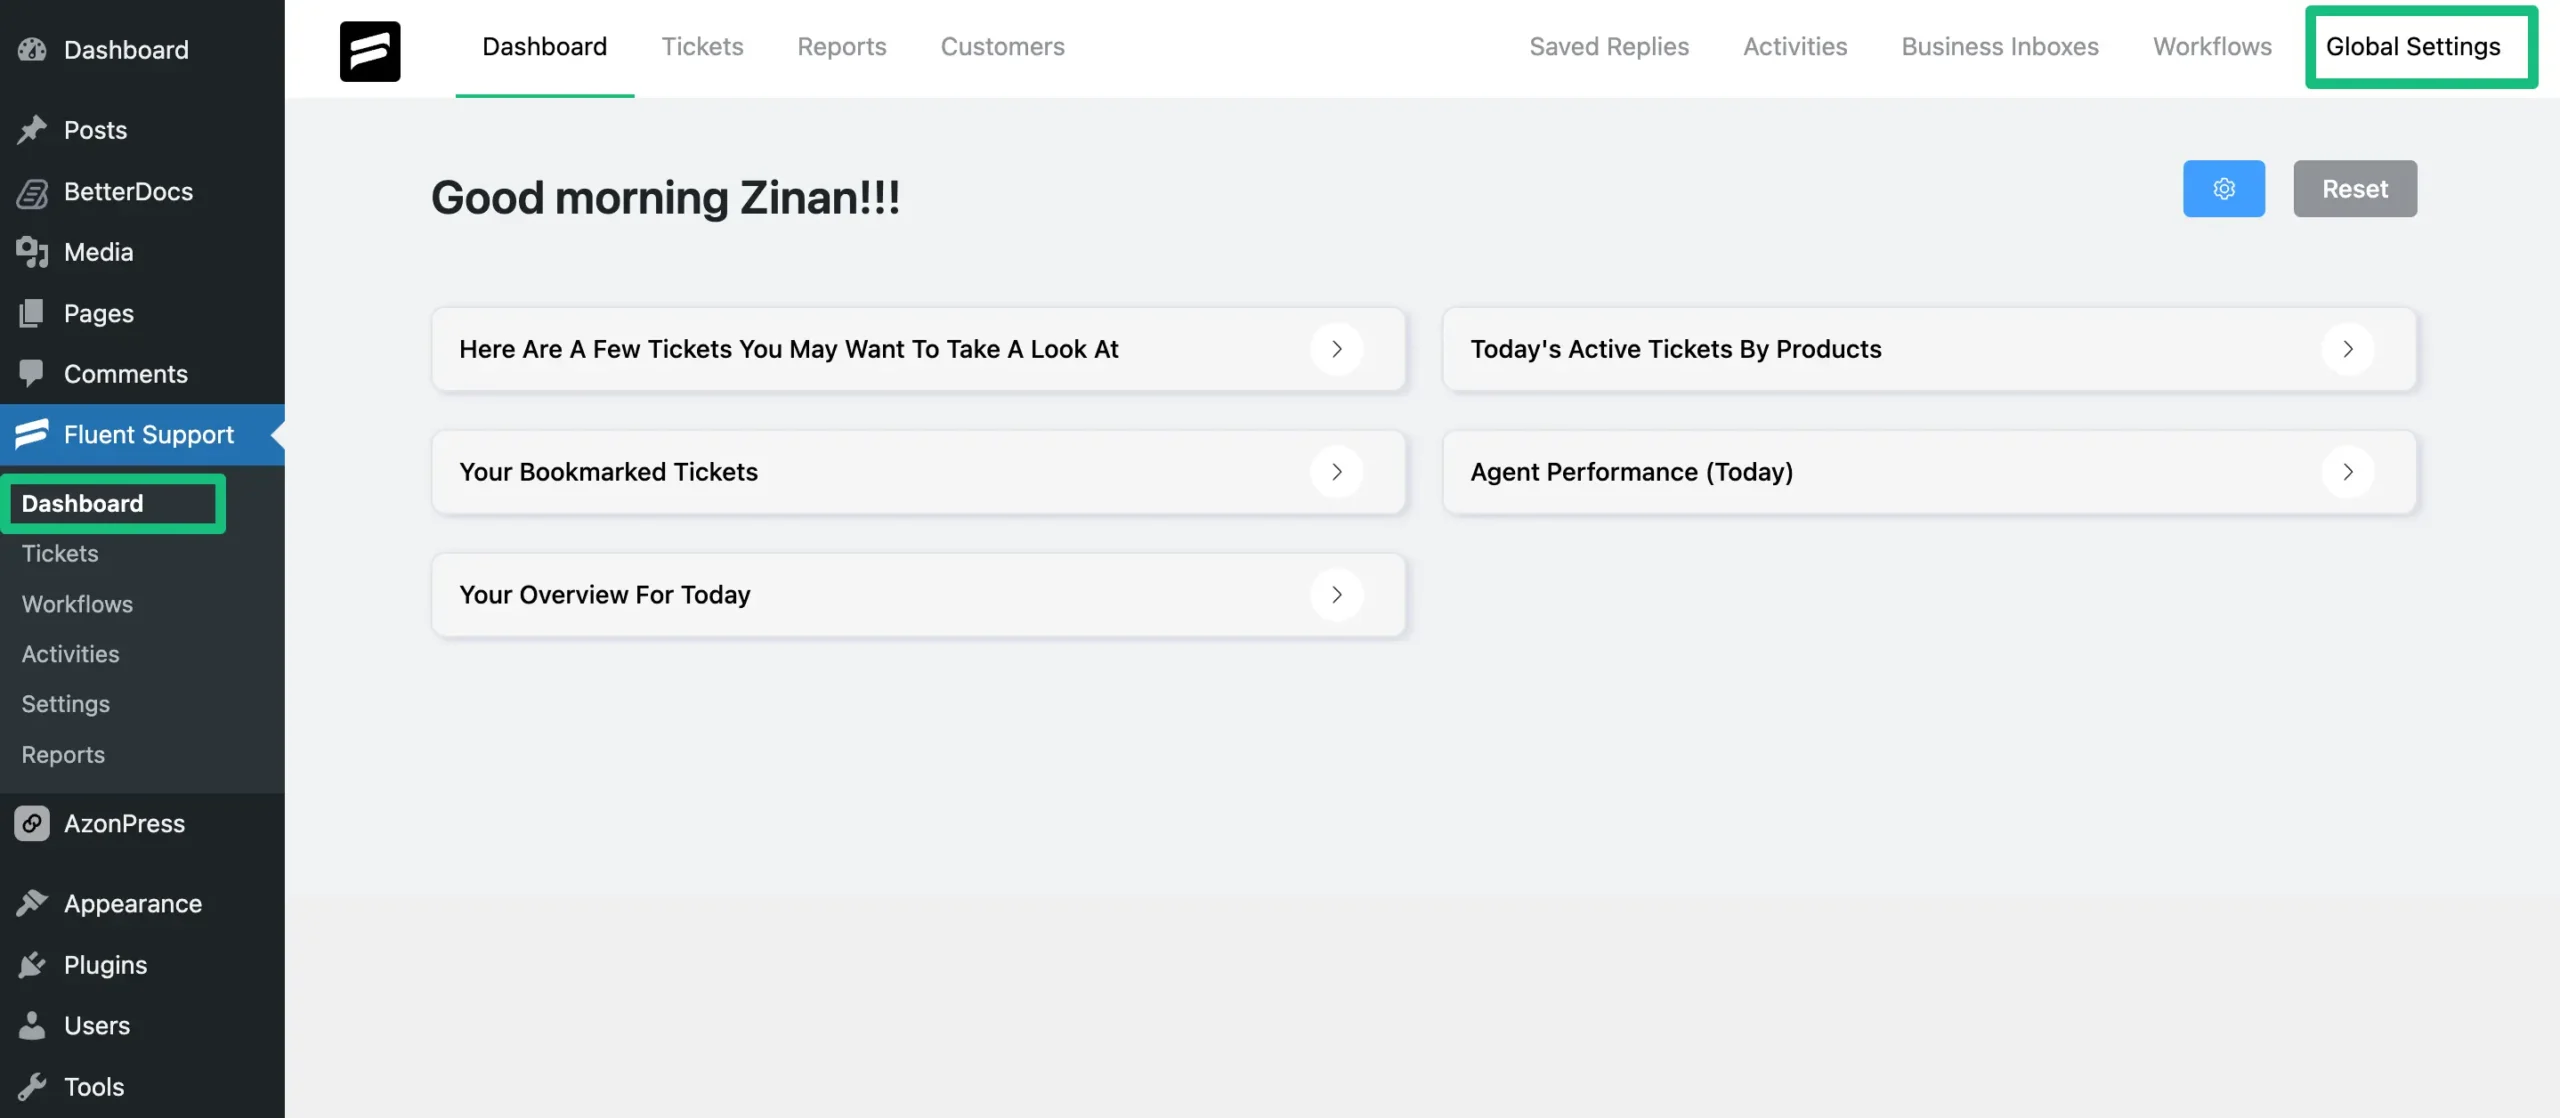
Go to your Fluent Support Dashboard & click on Global Settings.
Scroll down to the “Accepted File Types”. Here, you will find the types of files that are supported for submitting/replying to any ticket.
These accepted file types are –
- Photos
- CSV
- PDF/Docs
- Zip
- JSON
- You also have the option to set the Max File Size (In Megabytes) and Max File Upload limit.
If you want you can add more Attachment Types using Shortcode if needed. To learn how to add Attachment Types, check this Documentation.
To ensure all attachments are properly organized, Fluent Support automatically creates a dedicated folder for each support ticket when a file is first uploaded. This means all attachments related to a single ticket are kept together.
Where are these folders stored?
The storage location depends on your Fluent Support configuration:
- Default Storage (Local): By default, these ticket-specific folders are created within your WordPress site’s local storage (in the
wp-content/uploads/fluent-supportdirectory), using the unique ticket ID as the folder name.- Third-Party Storage Integrations: If you have configured an external storage integration (such as Google Drive, Dropbox, etc.), Fluent Support will create these same individual folders on that connected cloud service instead. All attachments for a ticket will then be stored directly in their corresponding folder on the integrated platform.
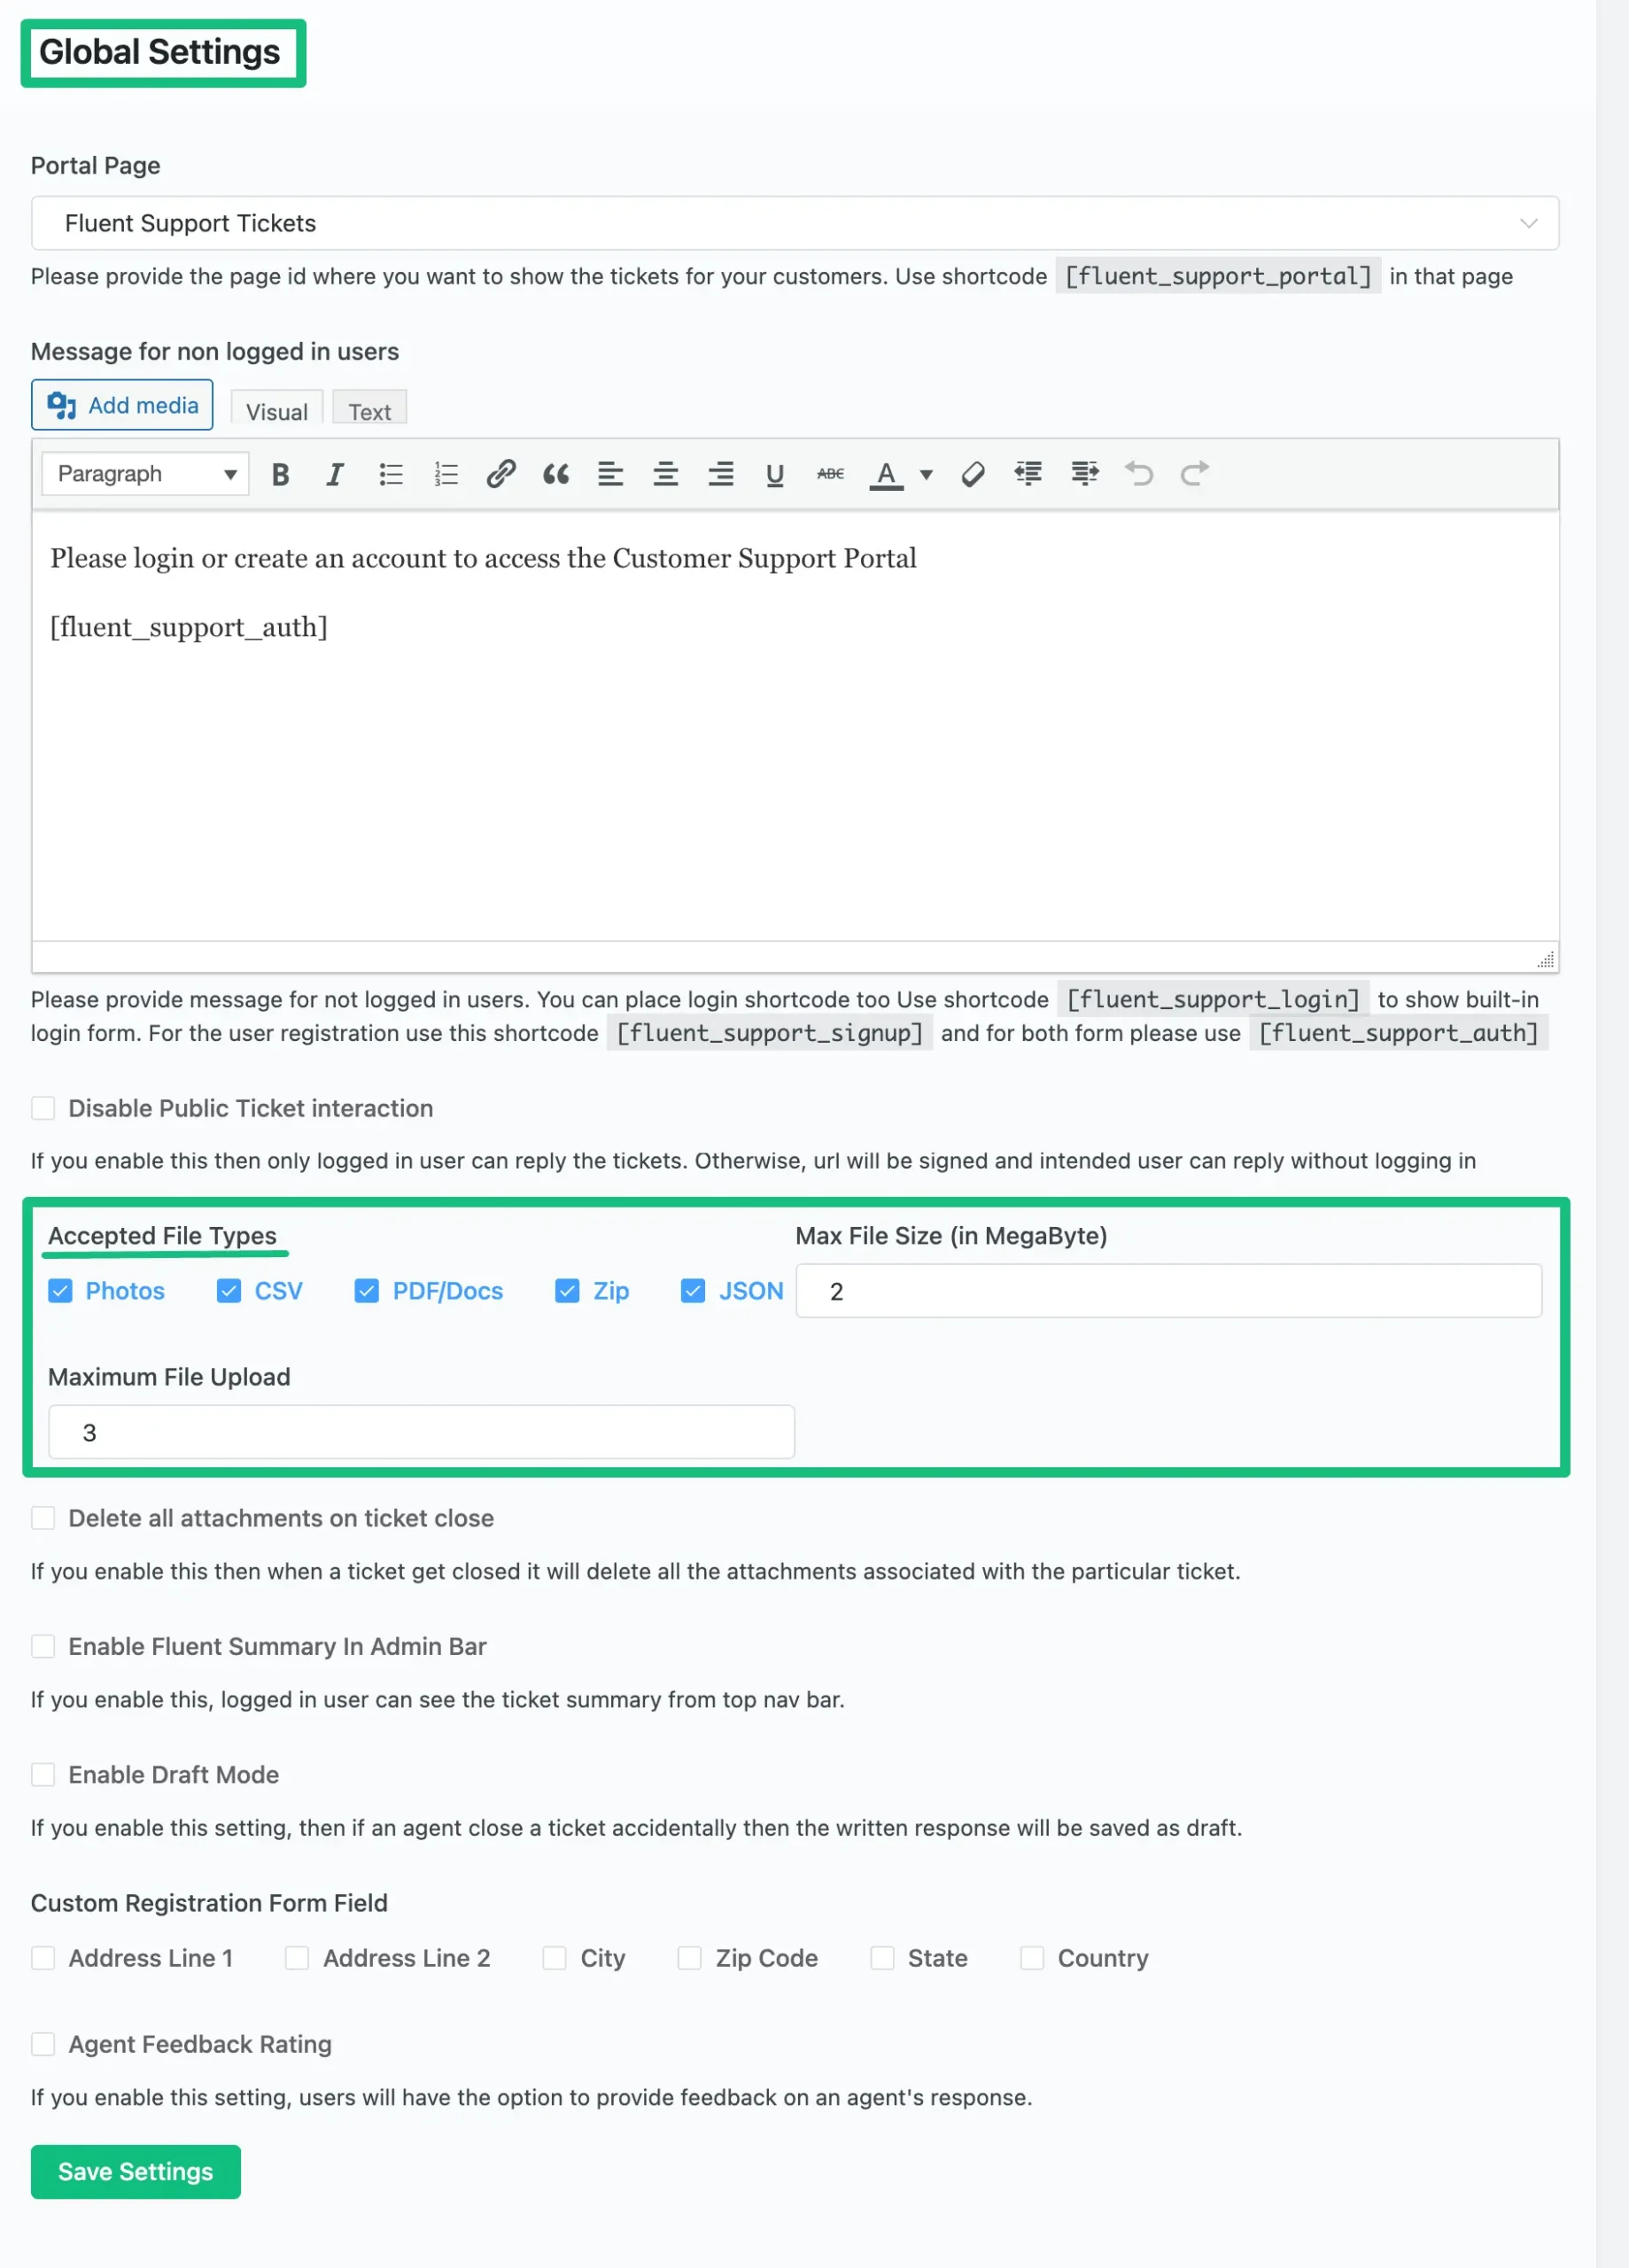
Ensure you always press the Save Settings after making changes to the File attachment Settings, otherwise, changes will not appear in your Support Portal.
If you have any further questions, concerns, or suggestions, please do not hesitate to contact our @support team. Thank you.


