Fluent Support makes it easy to save your advanced filtered searches for tickets. Instead of setting up the same filters repeatedly, you can create a custom filter once, save it, and apply it anytime with just one click.
In this article, we’ll guide you through the simple steps to save your advanced filtered search.
Save Search Feature #
First, go to Fluent Support and click on Tickets in the navbar to view all your tickets. Next, enable the Advanced Filter option by toggling it on.
Create your advanced search using the available conditions and options. To learn more about the Advanced Filter options, check out this article.
Once you’re done, click the Save Search button to save the filter for future use.

A pop-up will arrive to give a name for this filtered search and then click on the Save button.

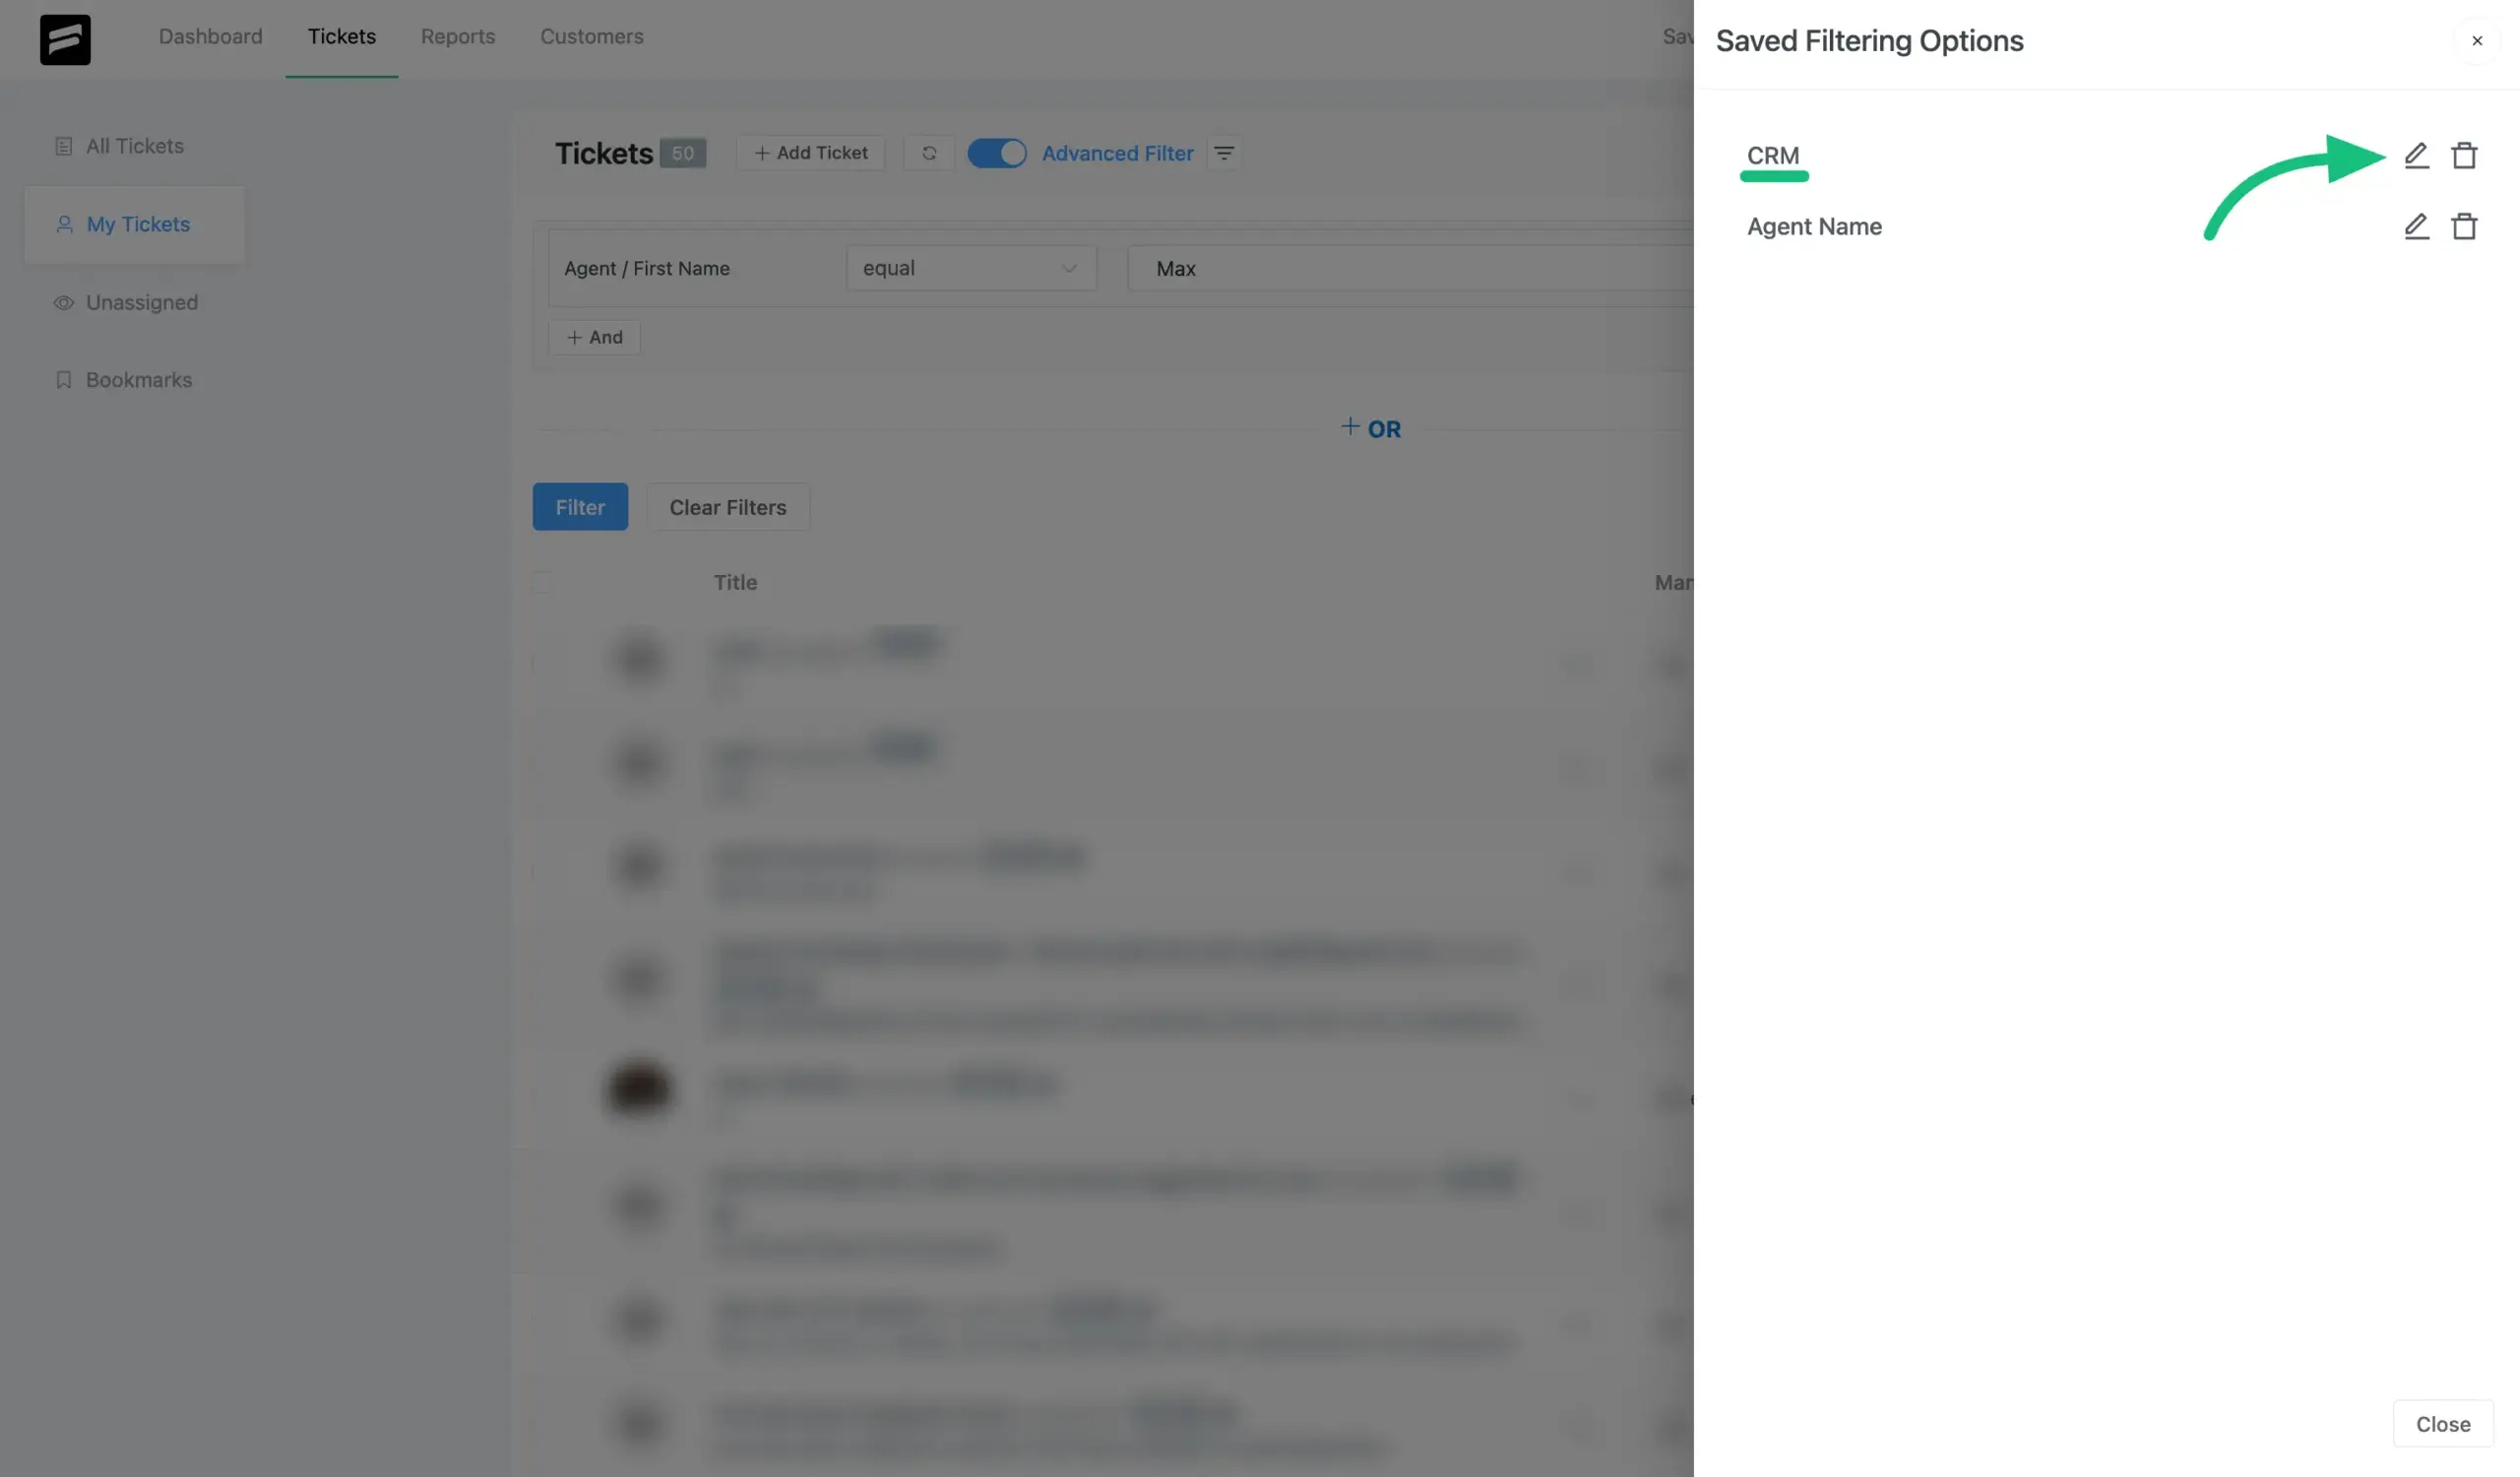
To view your saved filter searches in the Tickets section, click the Funnel Icon Button next to the Advanced Filter.

A pop-up will appear on the left side of your screen, showing all your saved searches. Here just click on any Saved search to filter your results.
To modify a saved search, click the pencil icon next to it, and to delete a saved search, click the delete icon next to its name. If you want to close the pop-up, simply click the Close button.

This is how you can save your advanced filter search. If you have any further questions, feel free to contact our support team.


