Fluent Support allows the support agents to Bookmark their tickets to find them easily on the dashboard or to request another agent to look at a ticket. This article will guide you through the whole process of doing it.
Bookmarks #
To learn how you can Bookmark your tickets using Fluent Support, follow the steps with the screenshots & GIF below —
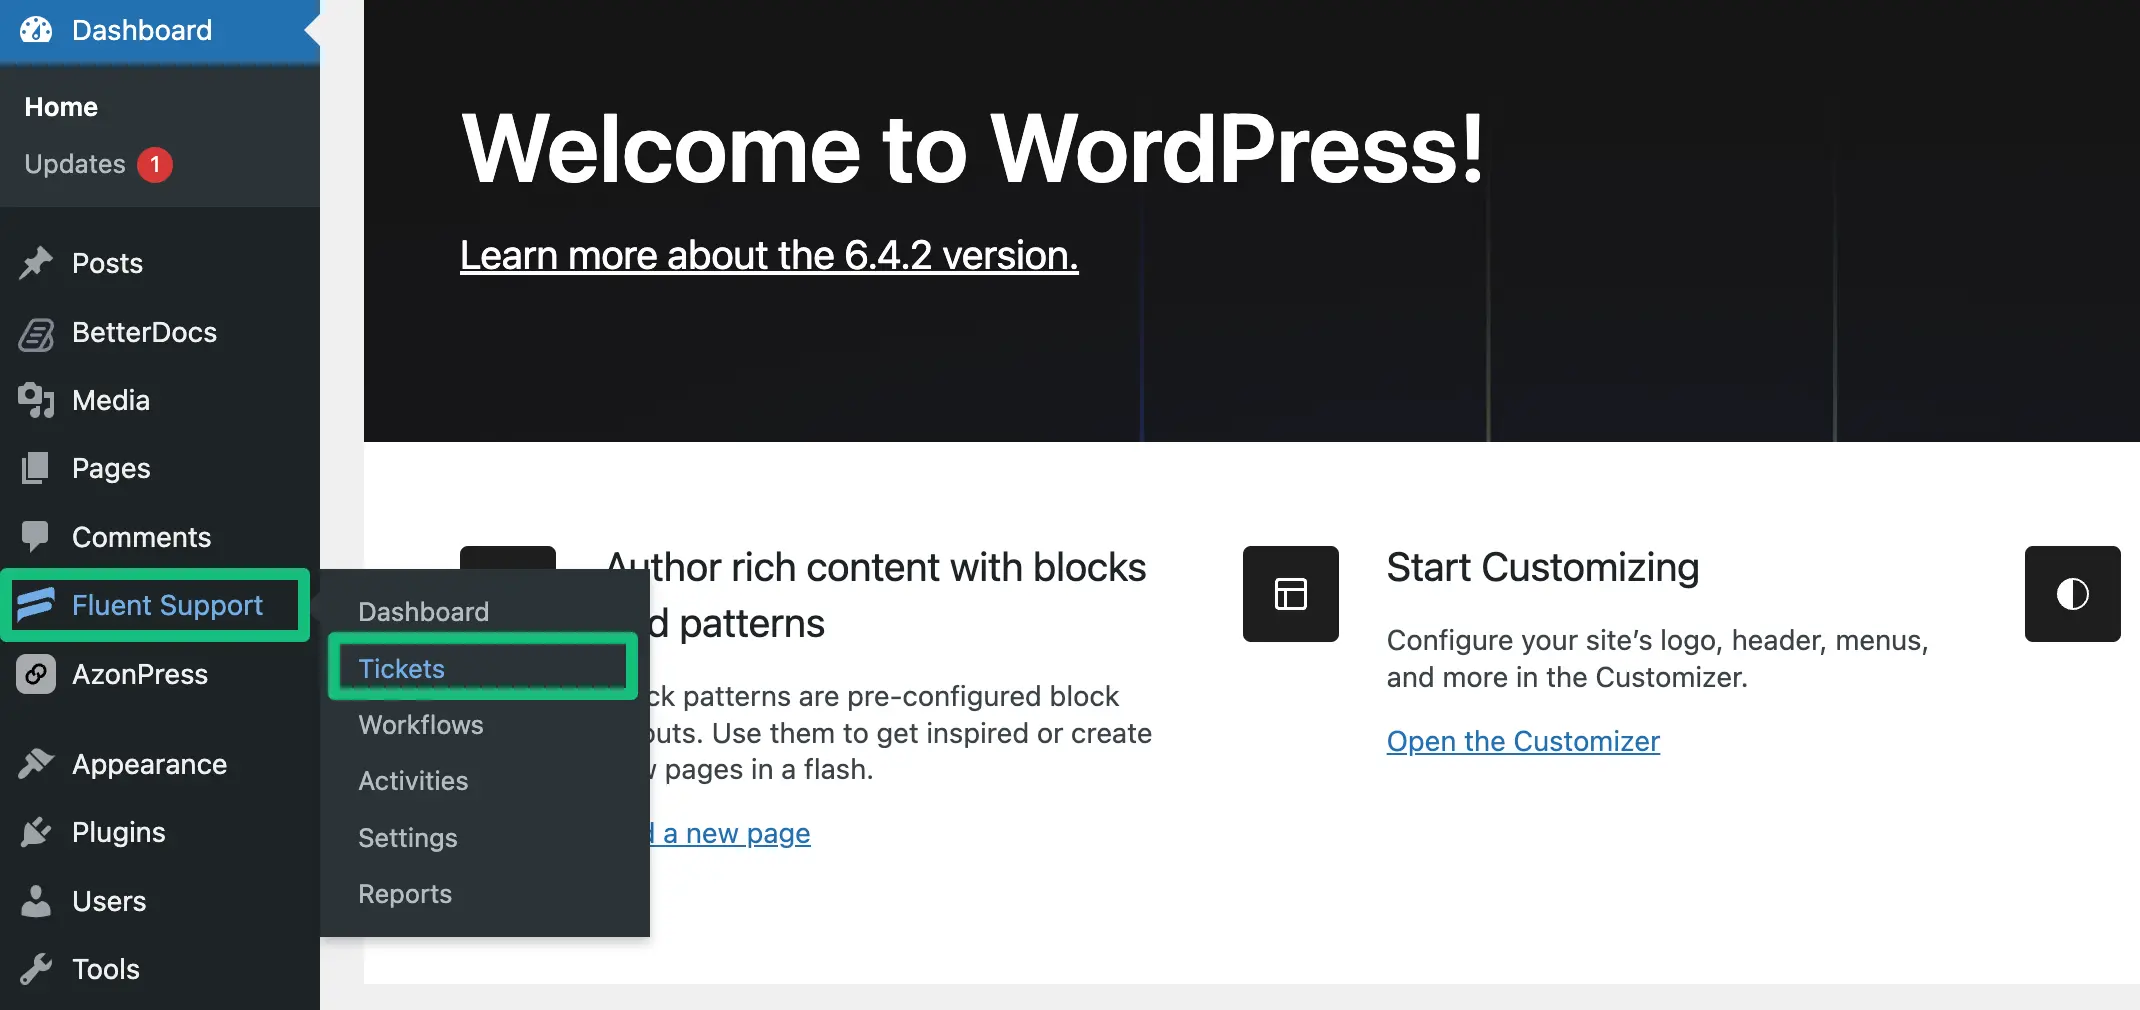
First, go to your Fluent Support and click on Tickets
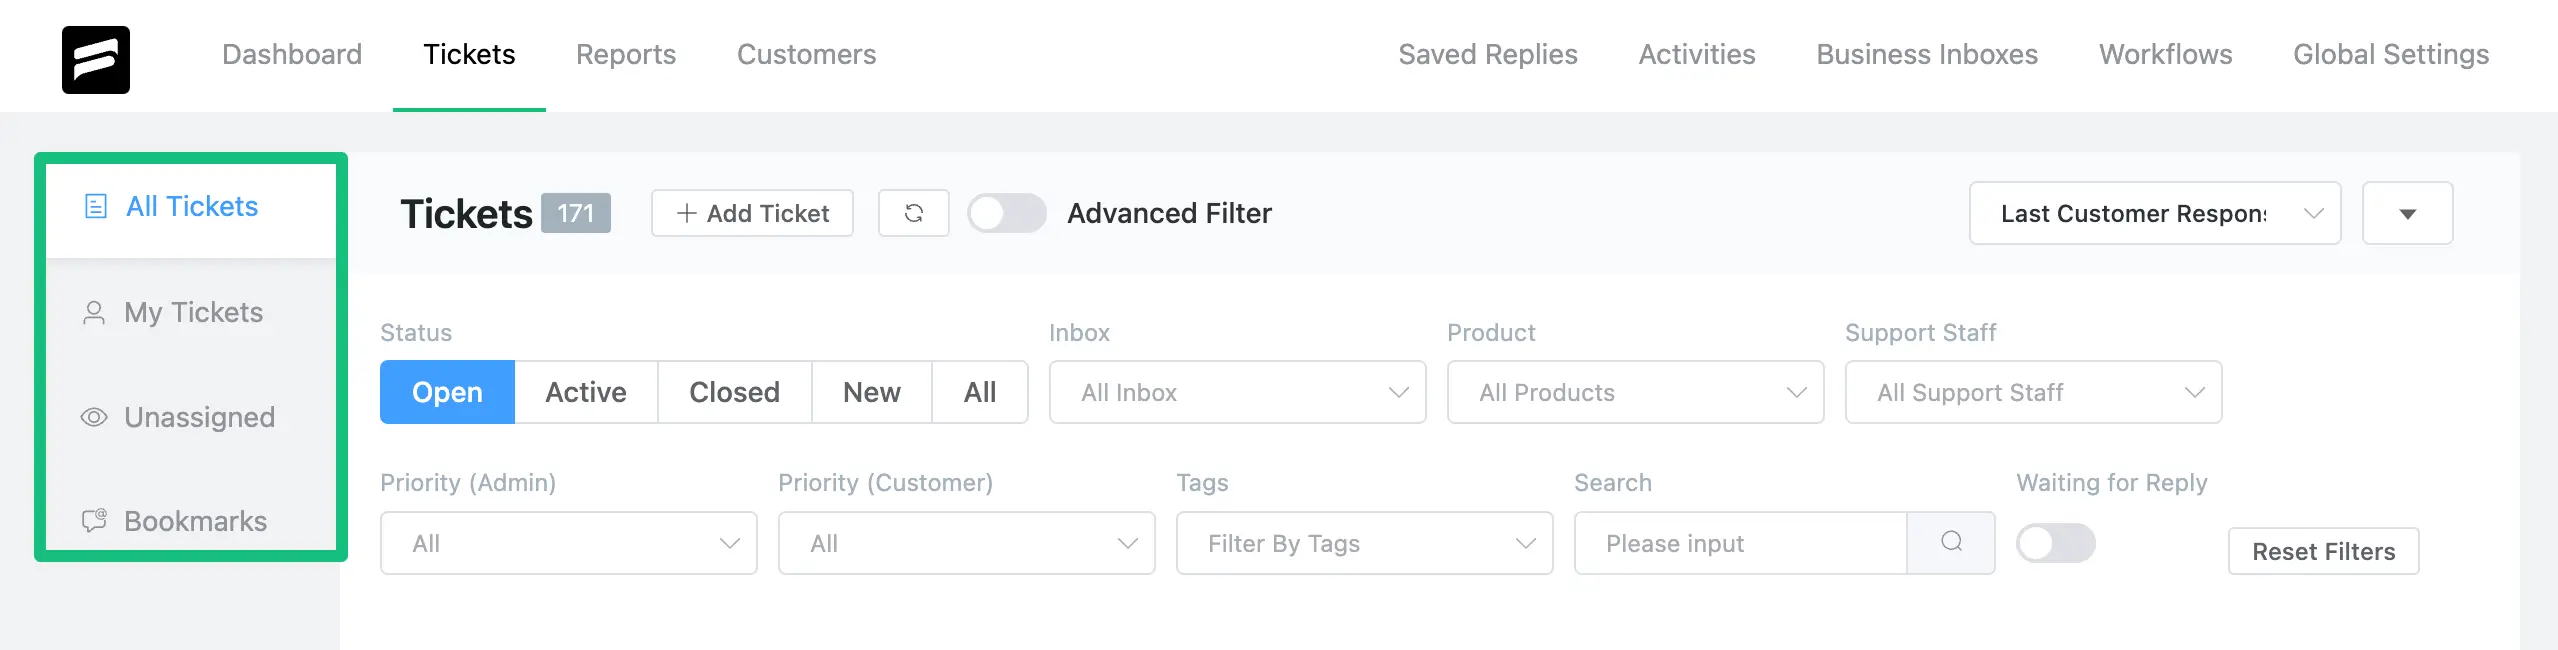
Now go to your desired ticket section from My Tickets, All Tickets, Unassigned, or Bookmarks
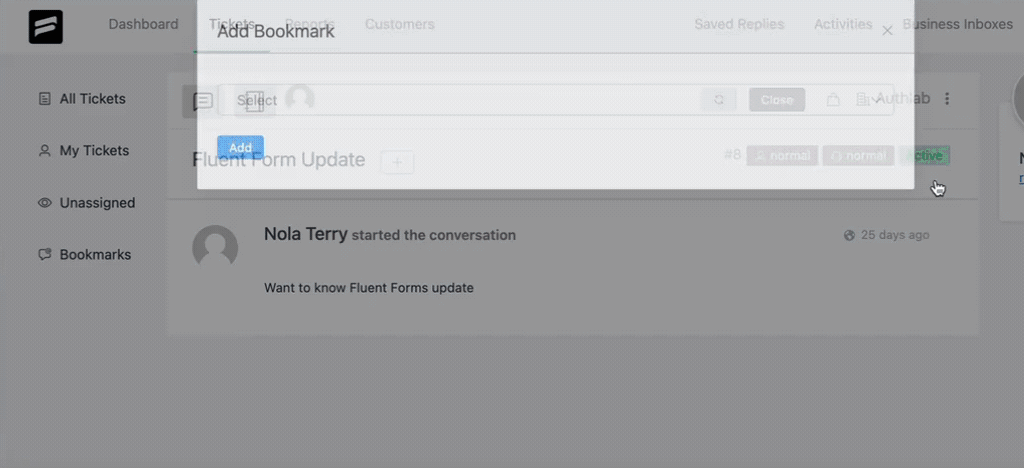
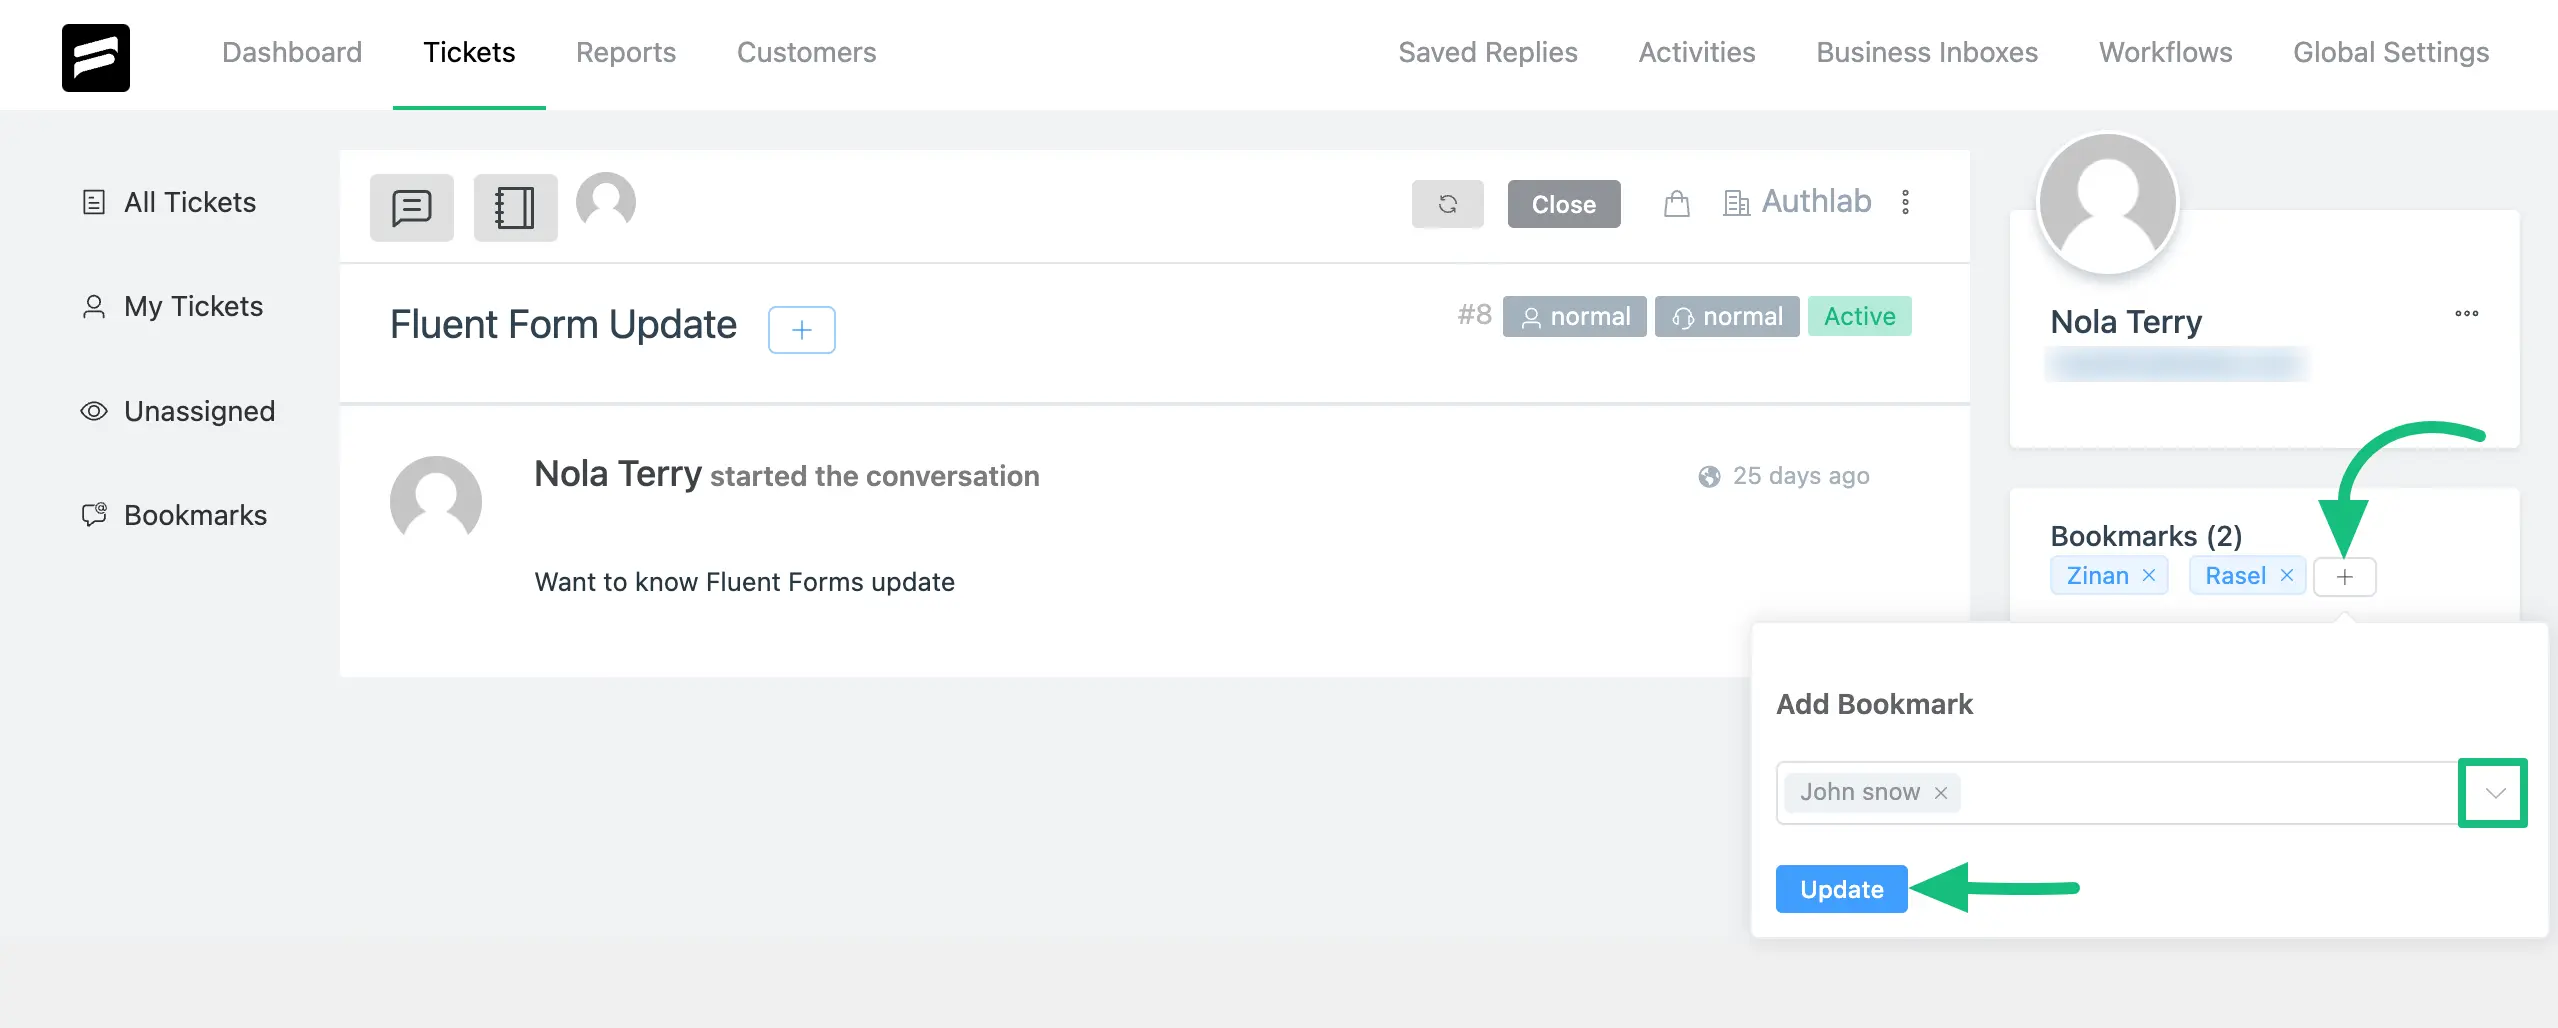
Open the specific ticket you want to bookmark and click on the Three dot Icon next to the mailbox option.
Now, select Add Bookmark and a popup page will appear on the top.

You can assign single or multiple support staff to the ticket using the dropdown list. After selecting the support staff, click the Add button and the ticket will be bookmarked & stored under the Bookmarks section on the left sidebar.
The support staff (agents) will also be bookmarked on the right side of that ticket.
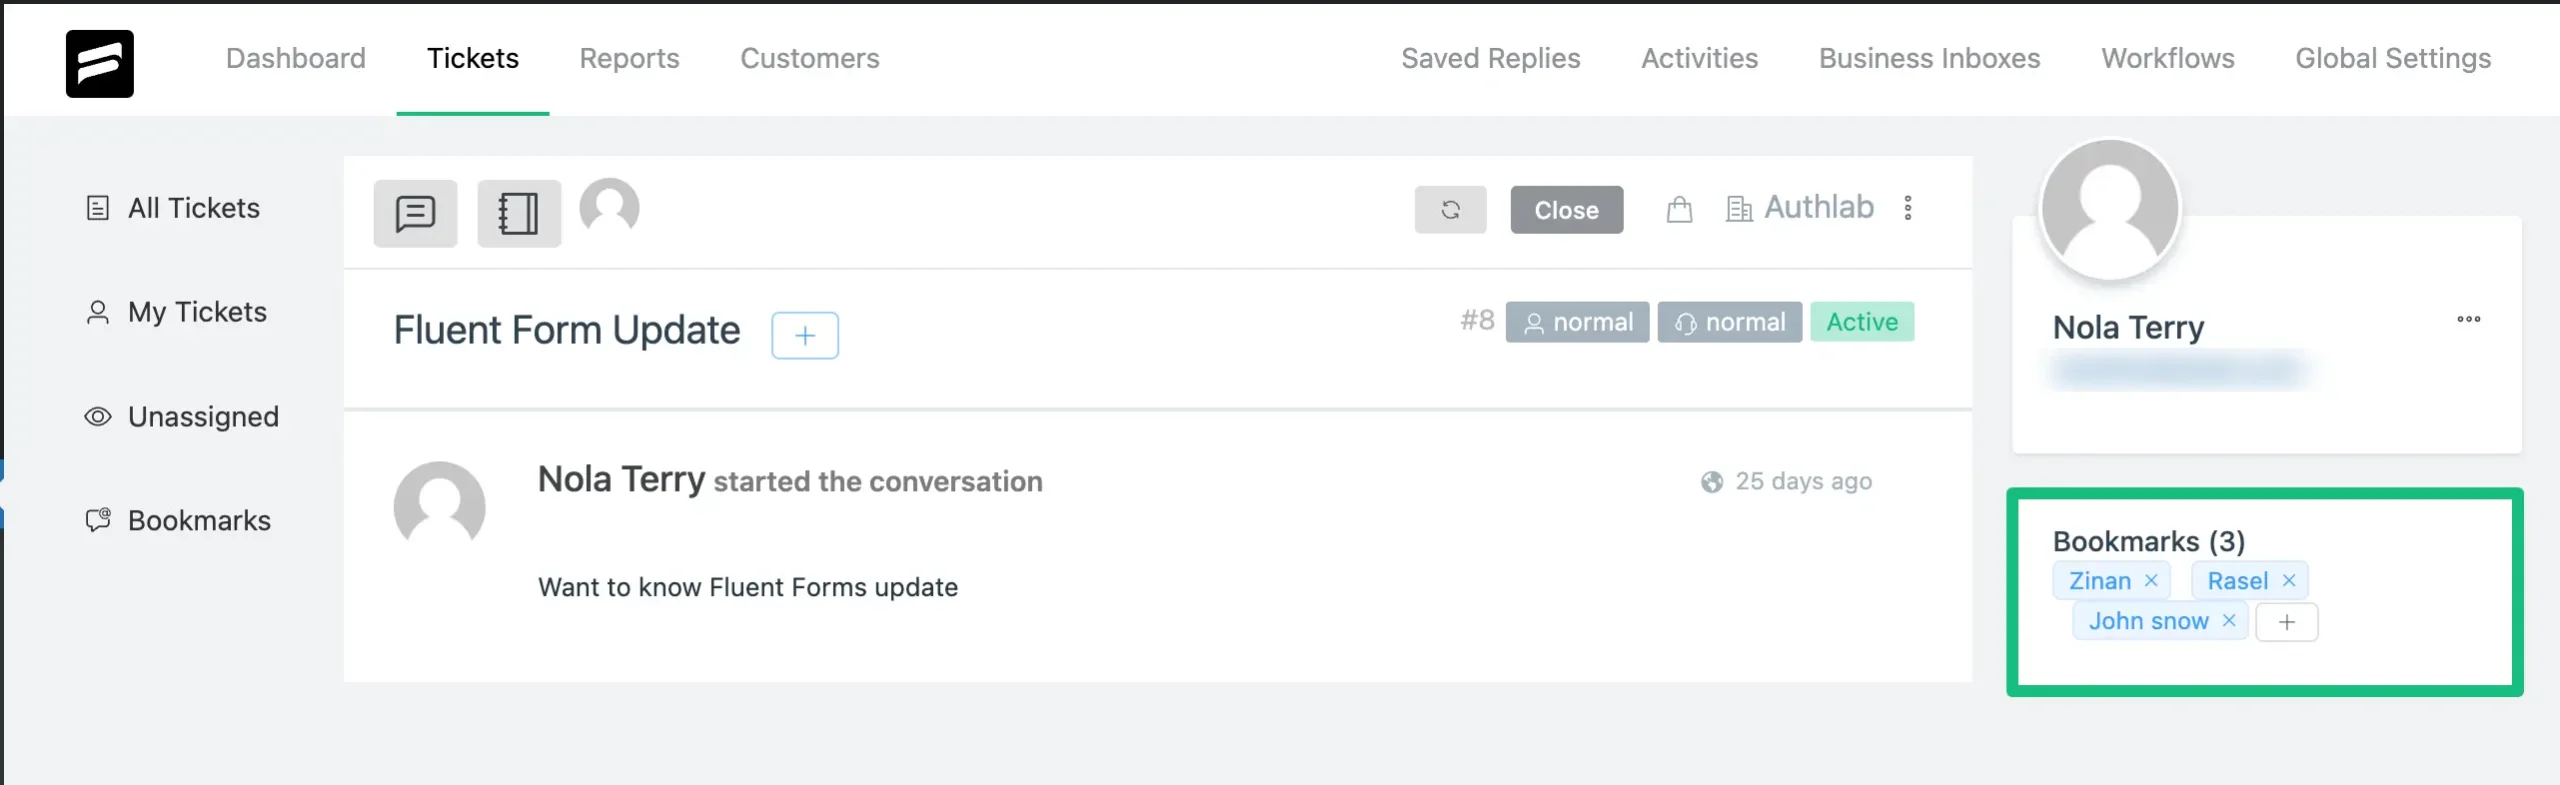
You can add more support staff (agents) by clicking on the + Plus Icon.
If you have any further questions, concerns, or suggestions, please do not hesitate to contact our @support team. Thank you.


