Integrating FluentCommunity with Fluent Support creates a more efficient and context-rich support experience. When connected, you can automate ticket routing based on a user’s course and provide your support agents with their community details directly within the ticket view.
Use Case: A student taking your “Advanced SEO” course submits a support ticket and selects the course from a dropdown. A workflow rule can automatically assigns this ticket to your SEO specialist. When the agent opens the ticket, they instantly see a FluentCommunity Widget confirming the student is on “Lesson 5: Link Building,” giving them full context to resolve the issue quickly and effectively.
Creating Custom Ticket Fields for FluentCommunity Courses #
This first step allows you to add a special field to your support portal, enabling customers to select their specific FluentCommunity course when submitting a ticket.
Accessing Custom Ticket Fields #
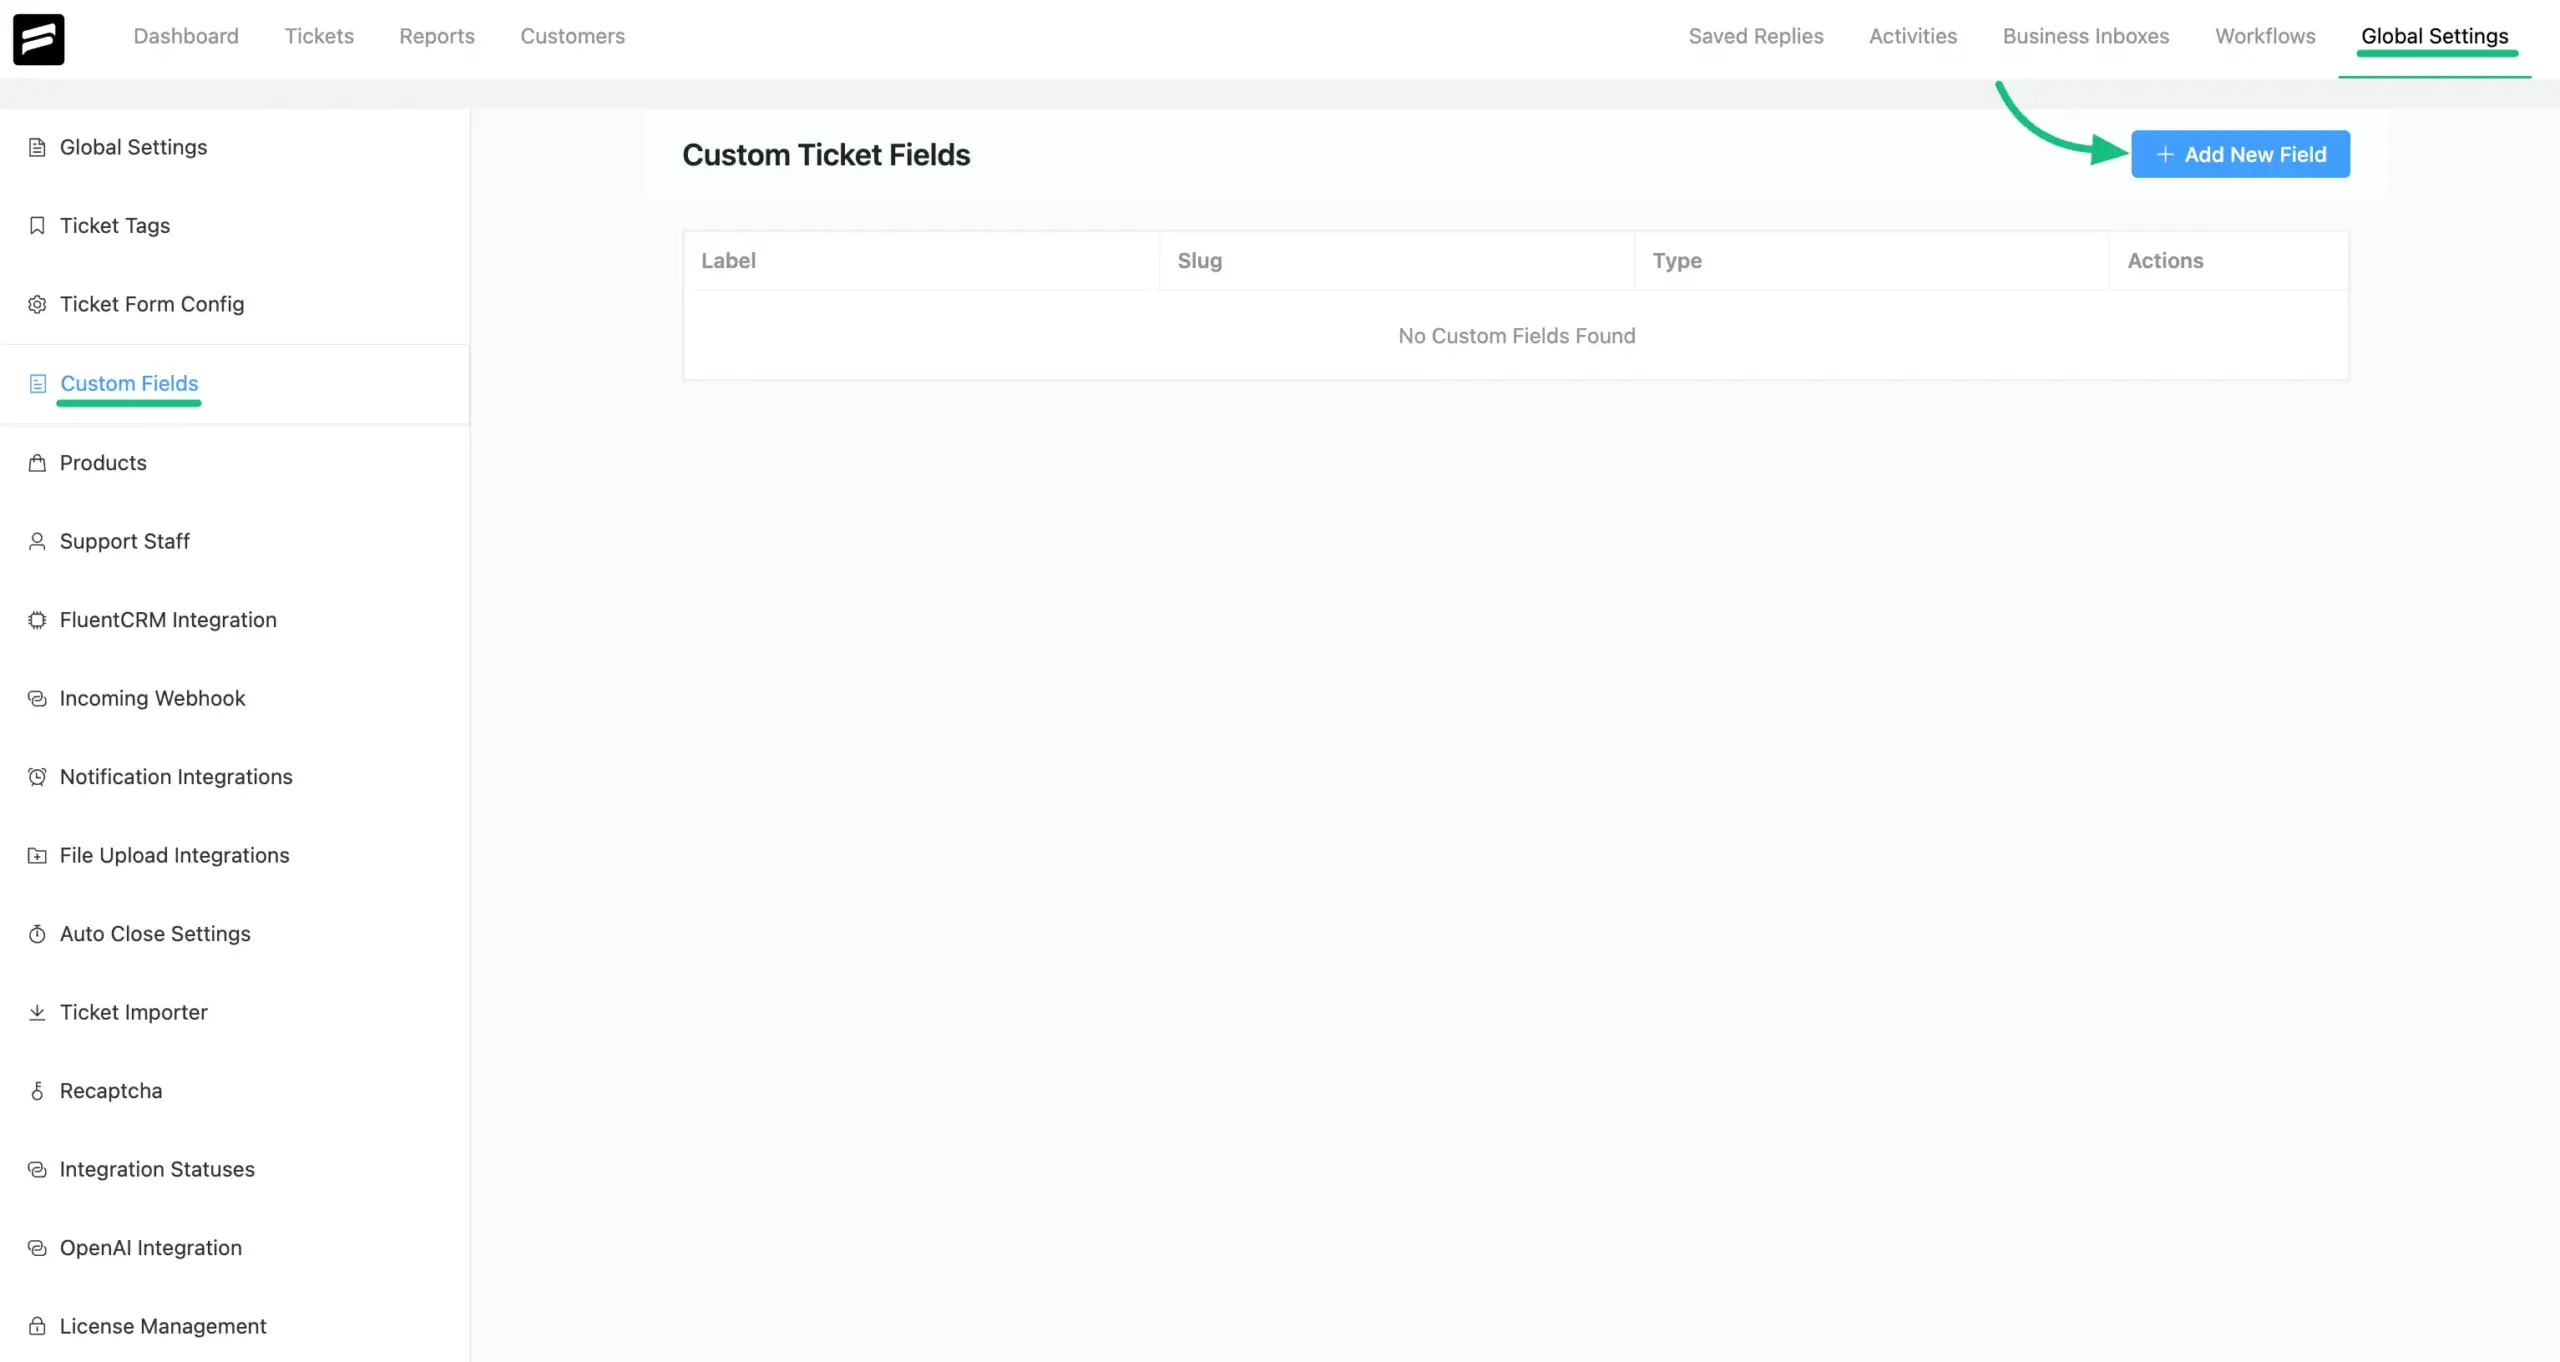
Navigate to Global Settings within your Fluent Support dashboard and choose Custom Fields from the side menu. Click the Add New Field button to open the settings modal.
Configuring the FluentCommunity Course Field #
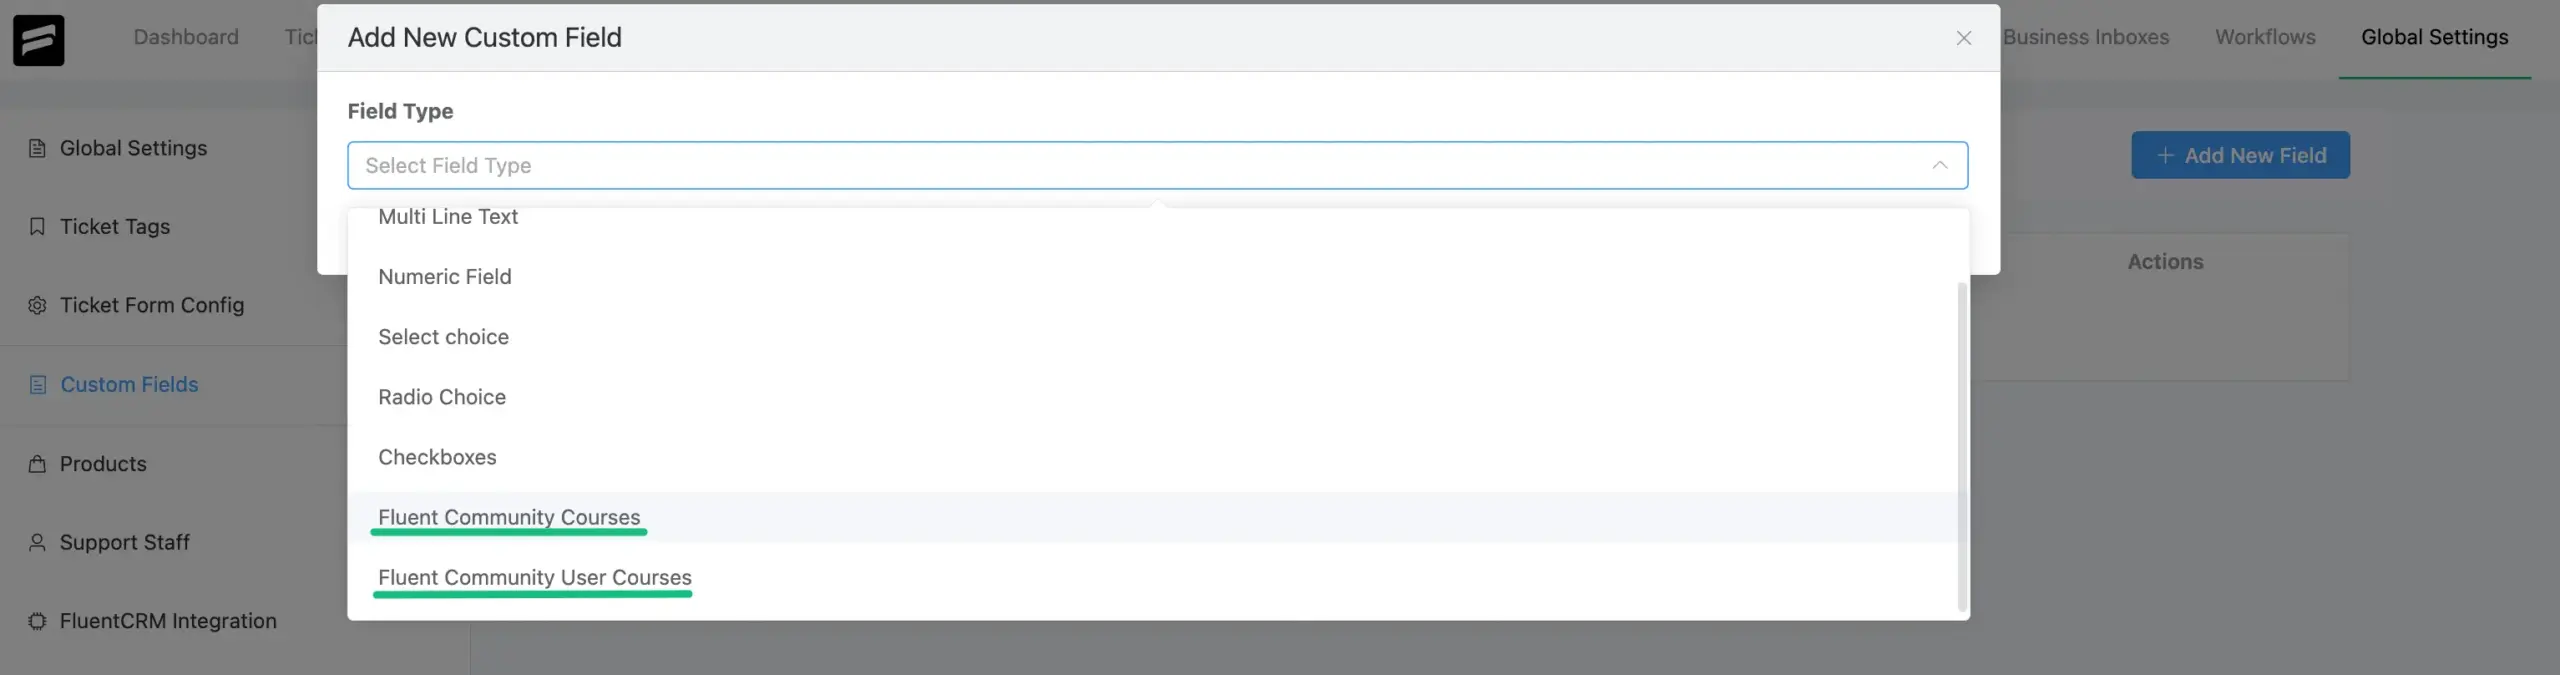
A modal window titled Add New Custom Field will appear. In the Field Type dropdown menu, you must select Fluent Community Courses.
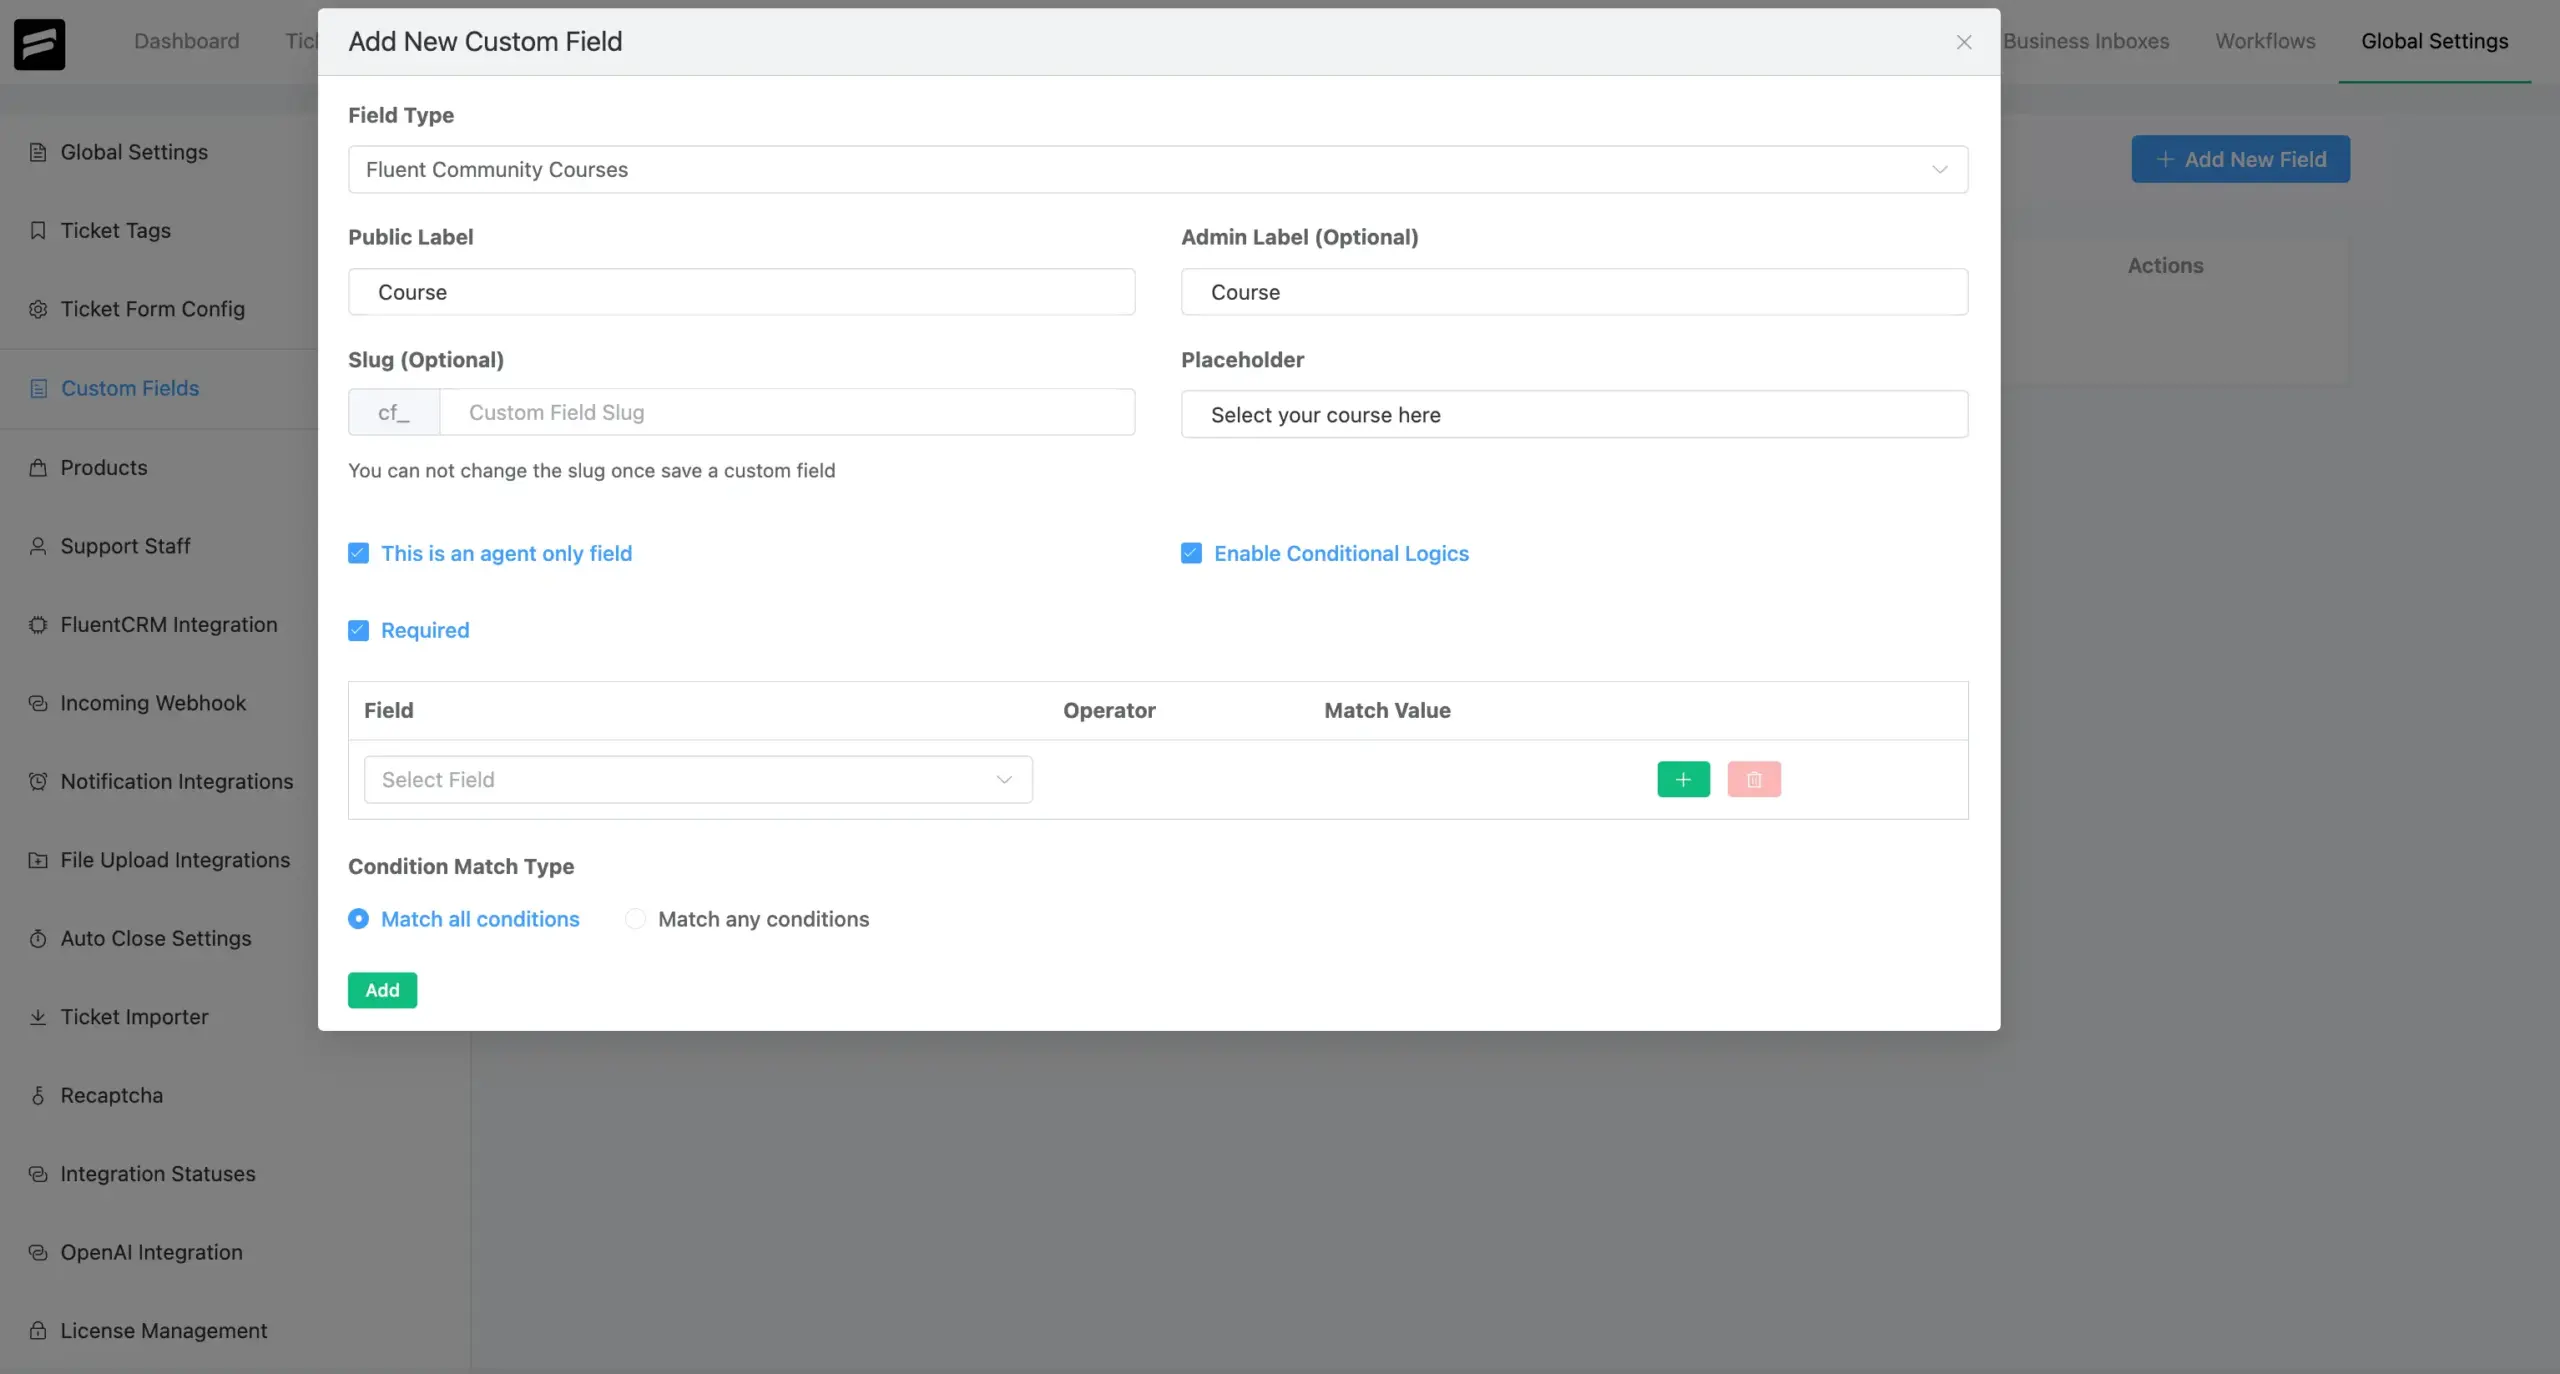
Now, enter the requirement details below:
- Filed Type: This dropdown allows you to select the type of field you want to create. In this case, it’s set to integrate with Fluent Community Courses or Fluent Community User Courses.
- Public Label: This is the label that will be shown to the end users (customers or users filling the form). It should clearly describe the purpose of the field.
- Admin label (optional): This label is visible only to admins or support agents.
- Slug (optional): This is the unique identifier for the custom field. It’s auto-prefixed with cf_, and once saved, it cannot be changed.
- Placeholder: Optionally, add Placeholder text to guide your users (e.g., “Select your course here”).
- This is an agent only field: If you check the This is an agent only field option, the field will only be visible to support agents, not to the end user.
- Enable Conditional Logics: If checked, the user must fill out this field before submitting the form.
- Required: Check the Required box if you want to make course selection mandatory for ticket submission.
After that, click the green Add button at the bottom to save and create the custom field.
Creating an Automation Workflow with the Custom Field #
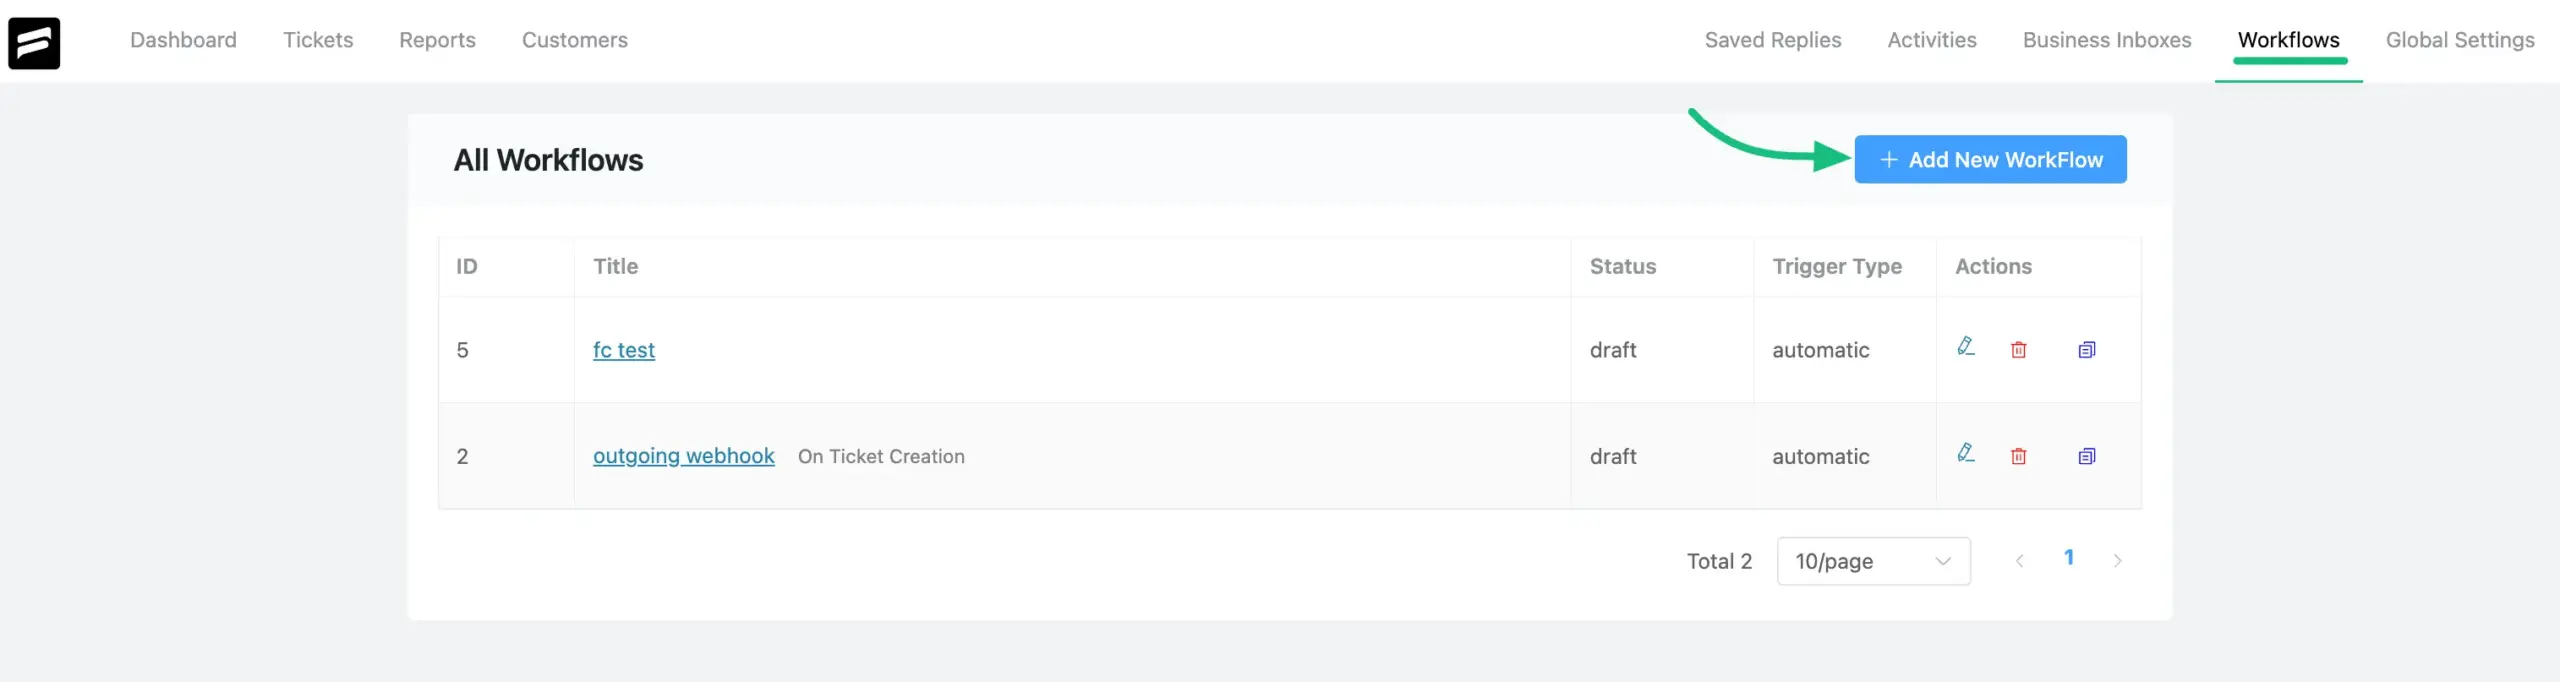
With your new custom field, you can now create workflows to automate actions based on the course a customer selects.From your Fluent Support dashboard, navigate to Workflows. Click the Add New Workflow button.
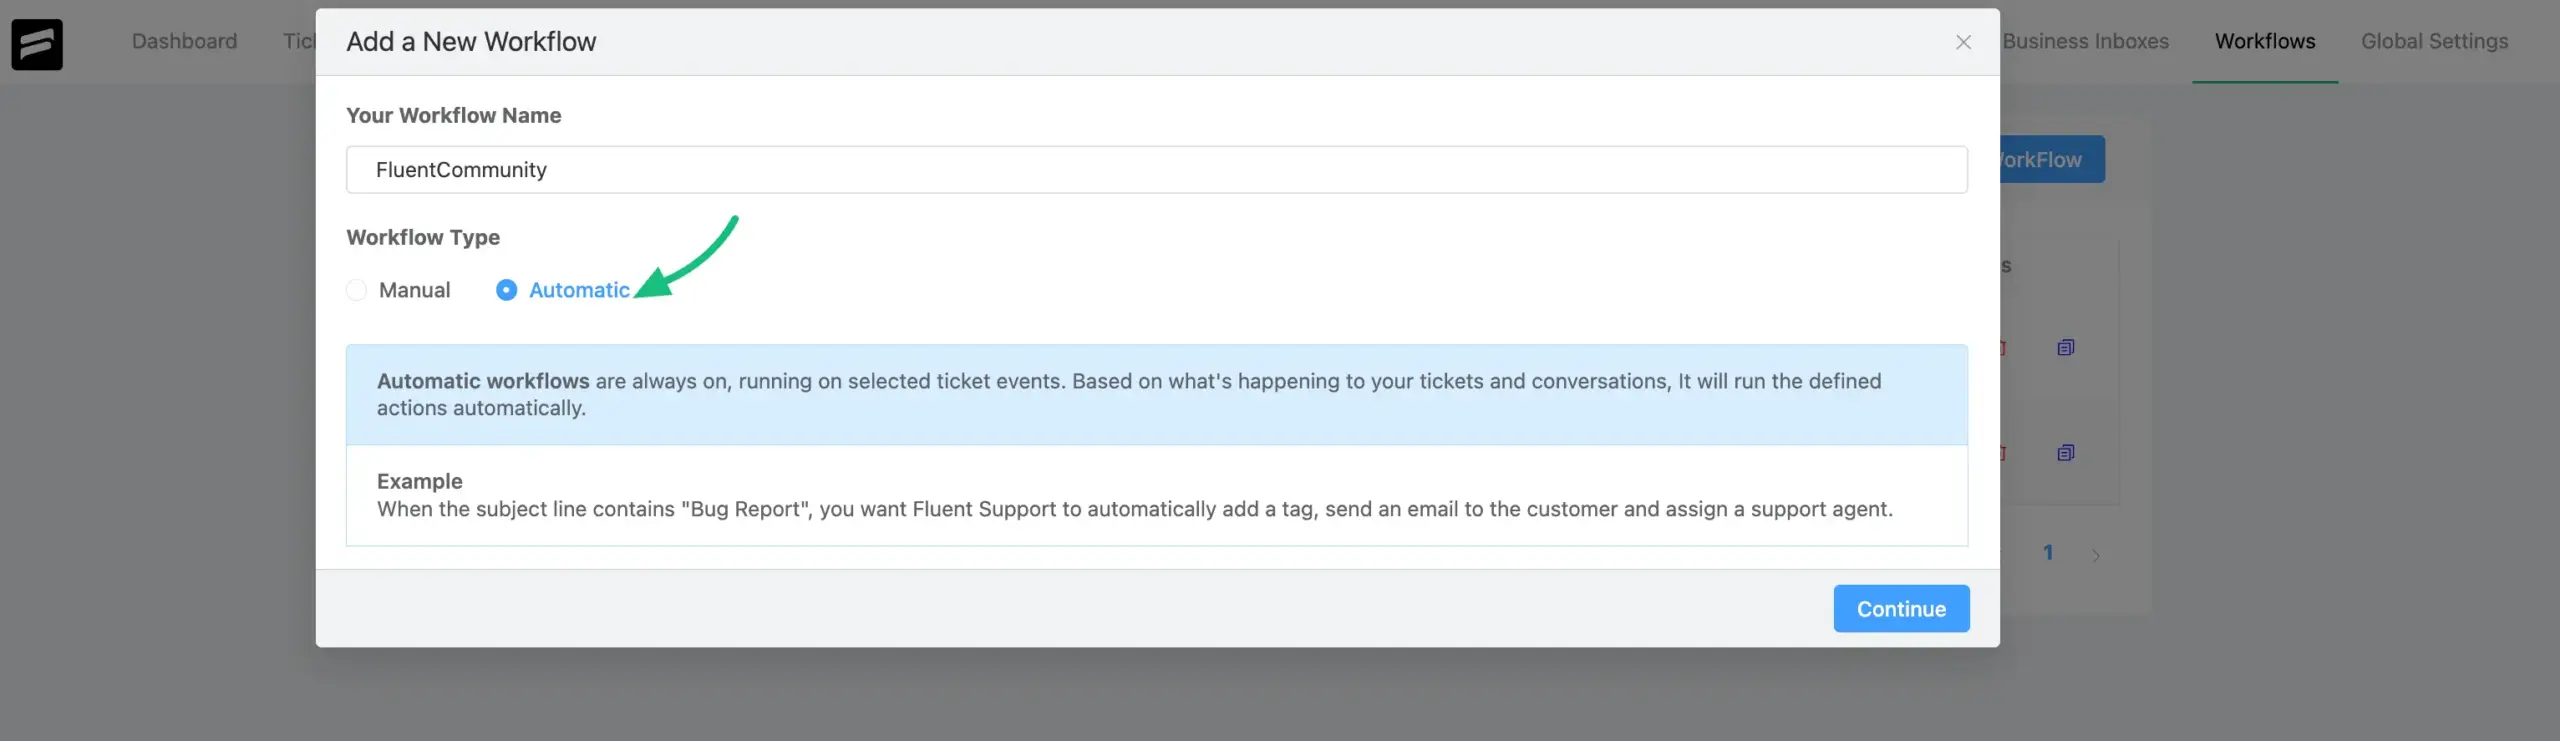
Defining Workflow Details #
In the pop-up, provide a Workflow Name. Select Automatic as the Workflow Type. Next, click the Continue button.
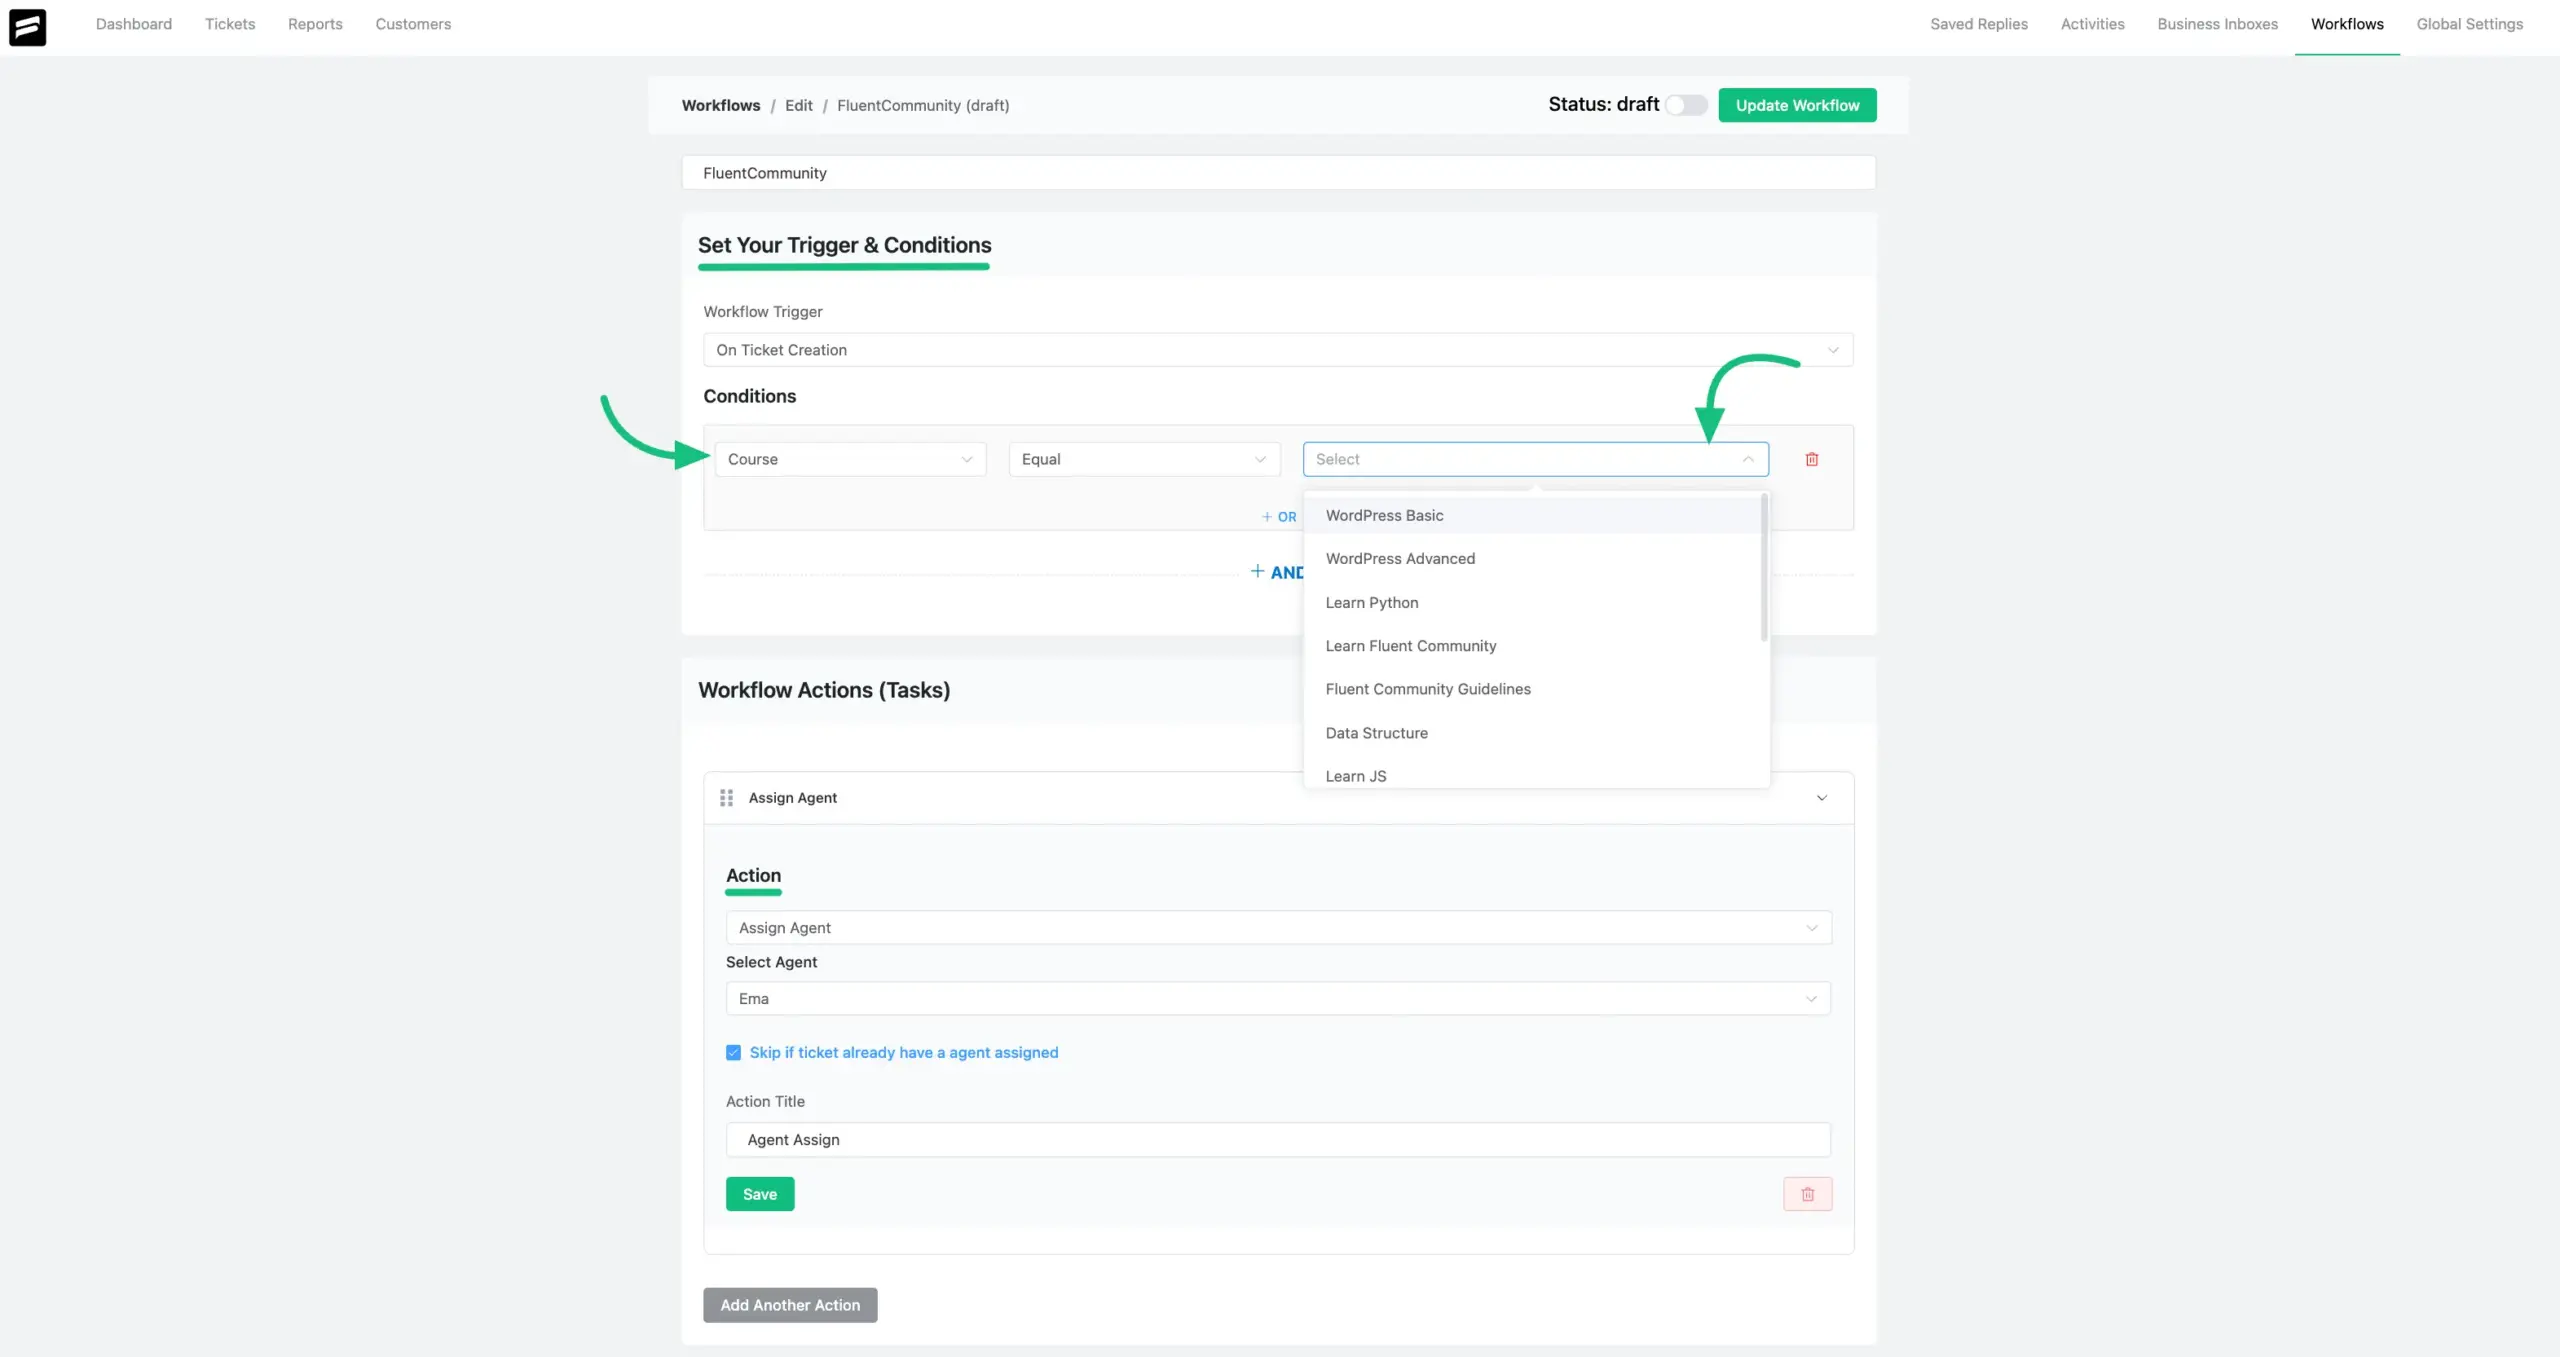
Setting Triggers and Conditions #
Workflow Trigger: Choose the event that will start the workflow from the dropdown option.
Conditions: In the condition section, you can add conditions that refine when this workflow should run. The dropdown under “Select” will allow you to pick condition types (e.g., ticket category, tag, assigned agent, etc.).
You can add conditional logic by using: + OR (for alternative conditions) or + AND (for combining multiple conditions that must all be true).
Workflow Actions: You can then define the Actions that should run when the conditions are met, such as assigning the ticket to a specific agent from the dropdown option. Also you can add multiple actions by clicking the Add Another Actions button.
Once all complete, save the workflow. Don’t forget to enable the Status draft to published.
For additional details regarding workflow functionalities, please refer to this article.
FluentCommunity Widget in the Ticket Section #
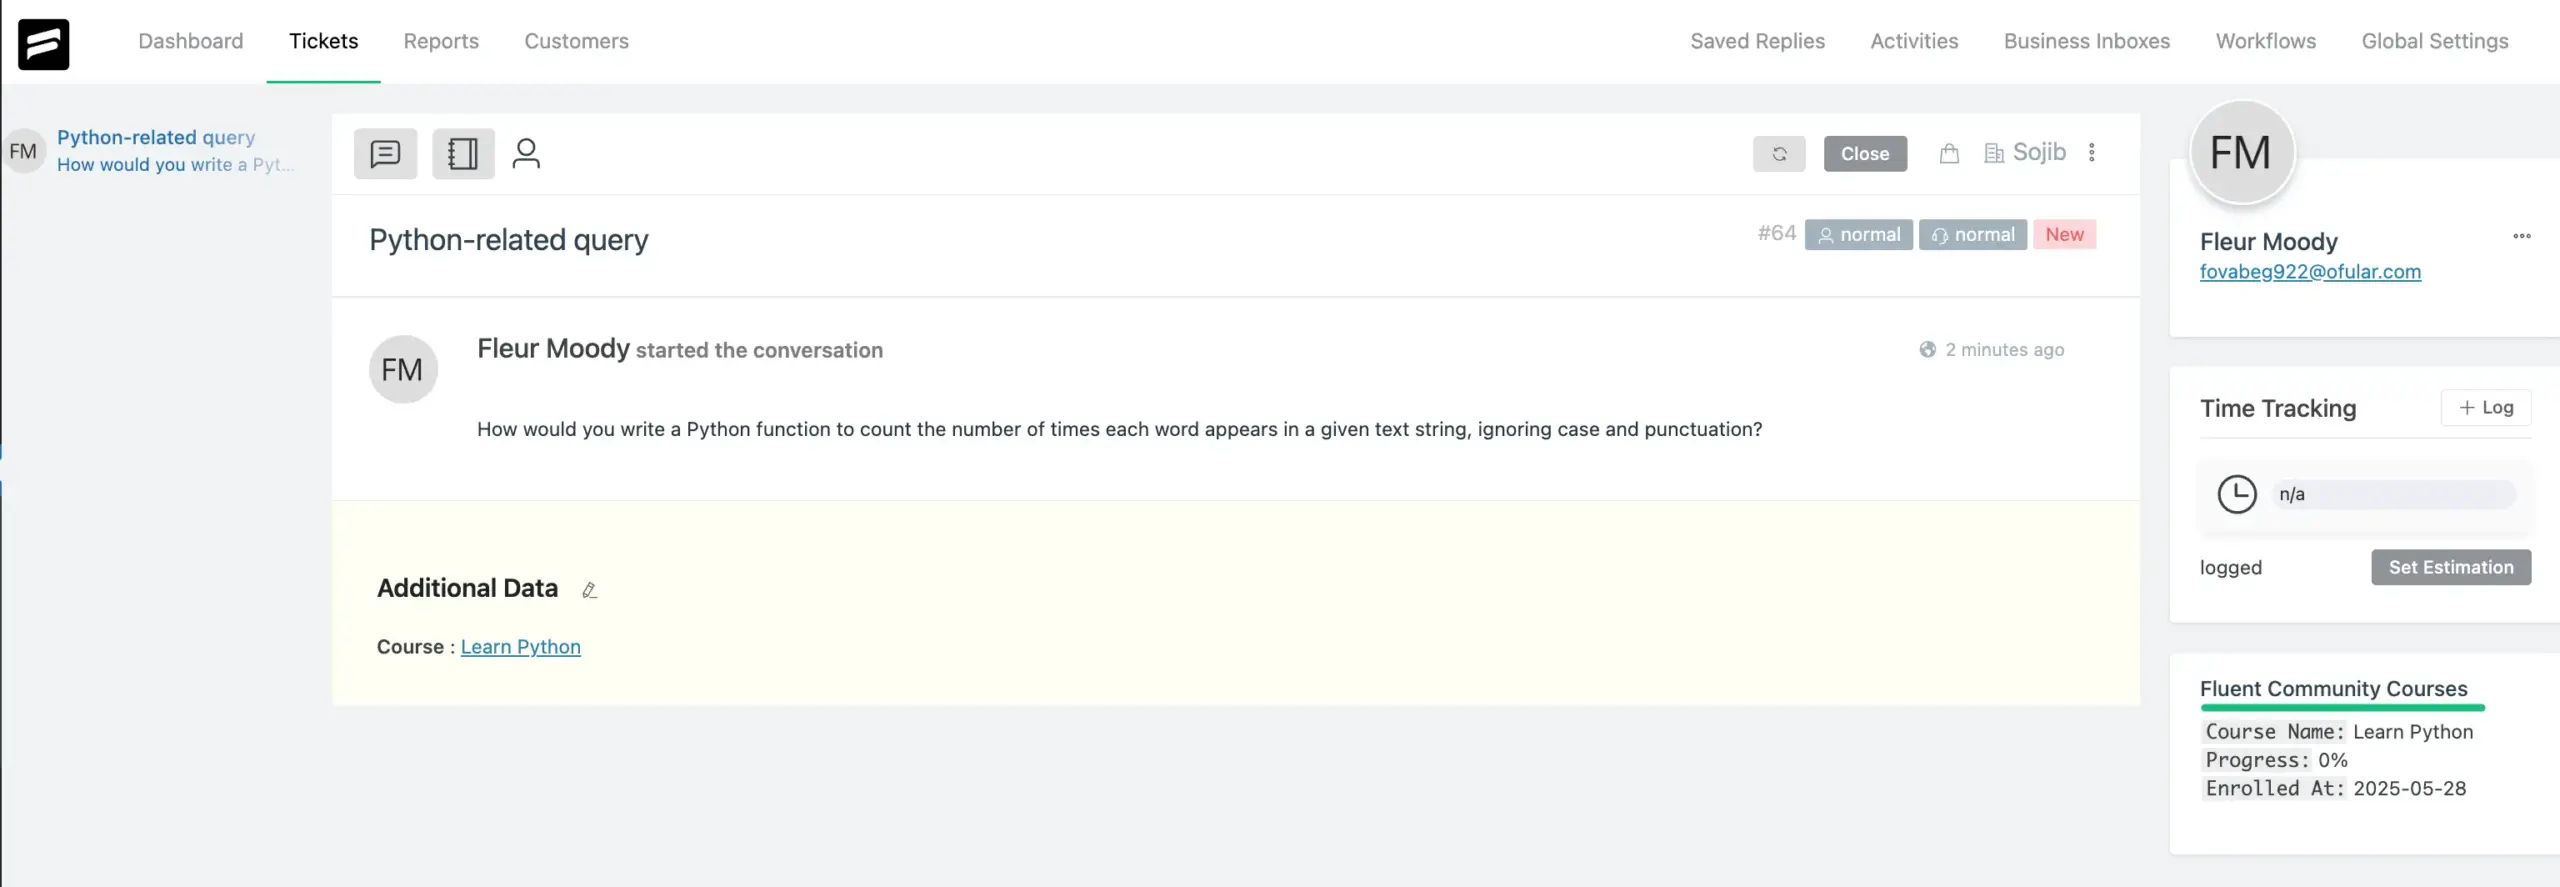
Once integrated, a dedicated “Fluent Community Courses” widget will be visible to agents within the individual support ticket view.
Widget Visibility #
When an agent opens a support ticket, the FluentCommunity Widget will appear on the right sidebar, providing immediate context about the customer’s course enrollments.
Information Displayed #
This widget displays key information related to the customer’s FluentCommunity engagement, including:
- Course Name: The title of the enrolled course.
- Progress: The customer’s progress within the course.
- Enrolled At: The date when the customer enrolled in the course.
If you have any further questions about this guideline, feel free to reach out to our support team—we’re always here to help!


