Fluent Support is fully shortcodes enabled i.e., you can use Shortcode for specific pages or posts on your WordPress site for your Customer Support Portal. This article will help you with a list of compatible shortcodes and their use case in the Customer Portal of Fluent Support.
Add Fluent Support Customer Portal #
To display the Customer Support Portal in the Frontend, you need to add any one of the following Shortcodes to the desired Page/Post on your WordPress Site.
Remember, there is a significant difference between the functionality of both shortcodes despite their similar interfaces. The fluent_support_auth shortcode is only capable of performing the authentication process, i.e., verifying if the user is logged in or not while the fluent_support_portal shortcode can also display the Customer Support Portal.
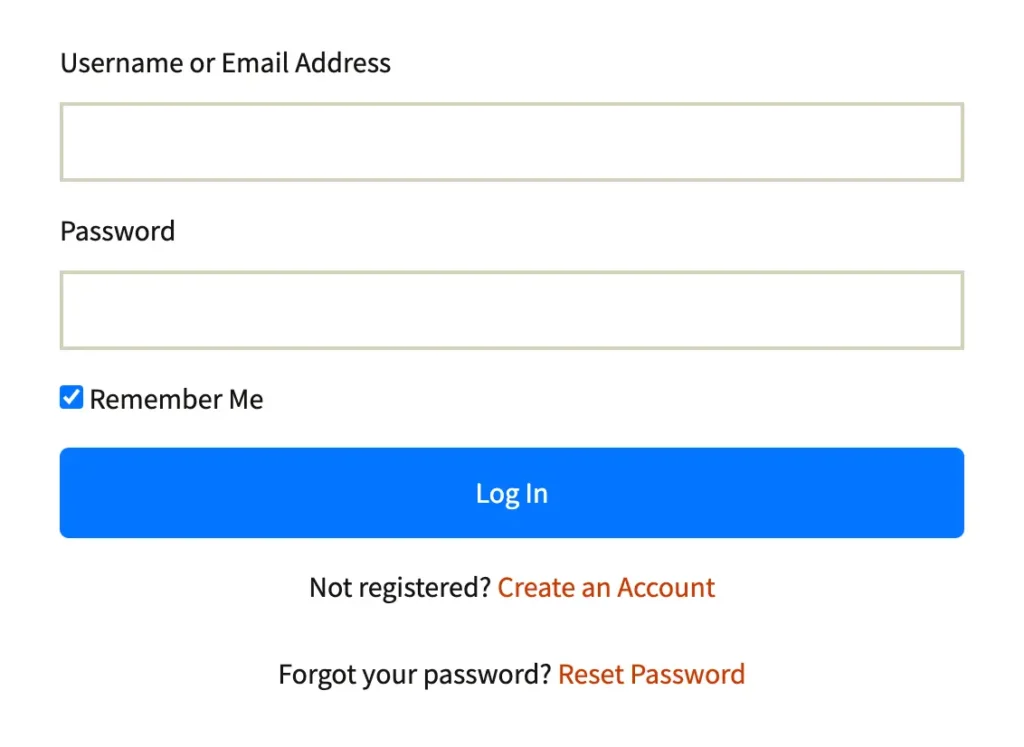
[fluent_support_portal] [fluent_support_auth] The above-mentioned shortcodes will display all the Built-in Login, Signup, and Reset Passwords together in one form as shown in the screenshot below. Once users complete the login process, they will get access to the Customer Support Portal.
Shortcodes for the Customer Support Portal #
Here are some Shortcodes listed below that you can use for your Fluent Support Customer Portal —
1. Login Form #
To display only the built-in Login Form, use the following shortcode and the form will only apply to non-logged-in users. The Username or Email Address and Password options will appear in your Customer Portal for login like the screenshot below.
Remember, you can enable Two-Factor Authentication for the login form. This will require customers to enter a verification code sent to their email whenever they try to log in to the customer portal. To learn how you can enable Two-Factor Authentication, click here.
[fluent_support_login]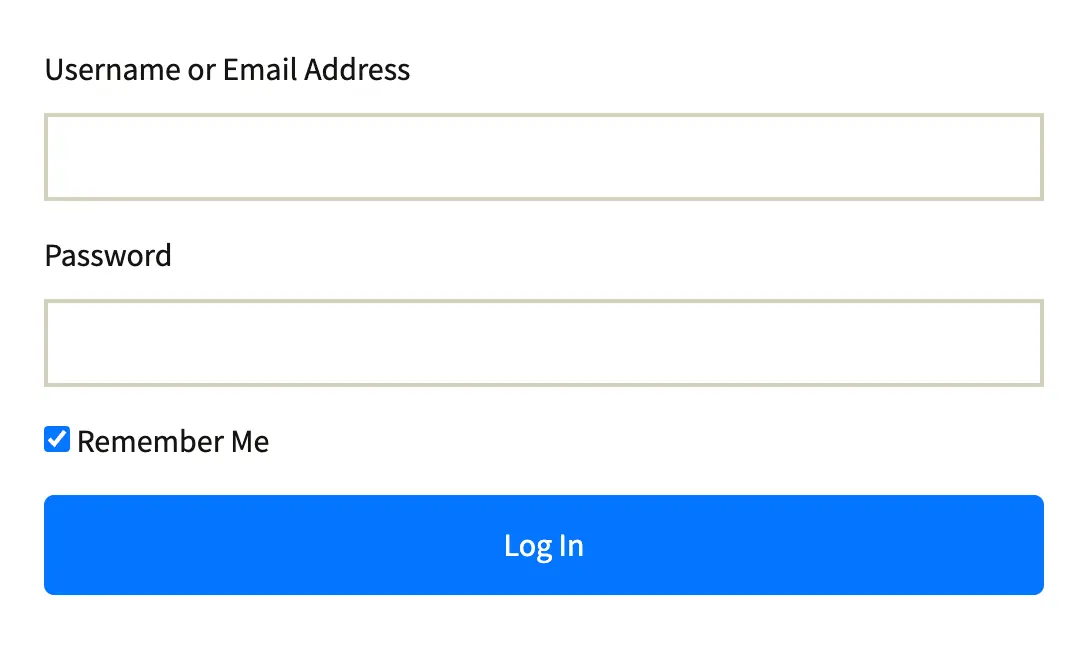
2. Login Form with Reset Password #
To display only the Reset Password option with the built-in Login form, use any one of the following shortcodes. The Reset Password option will appear in your customer portal’s Login form like the screenshot below.
[fluent_support_login show-signup=false show-reset-password=true] [fluent_support_login show-reset-password=true]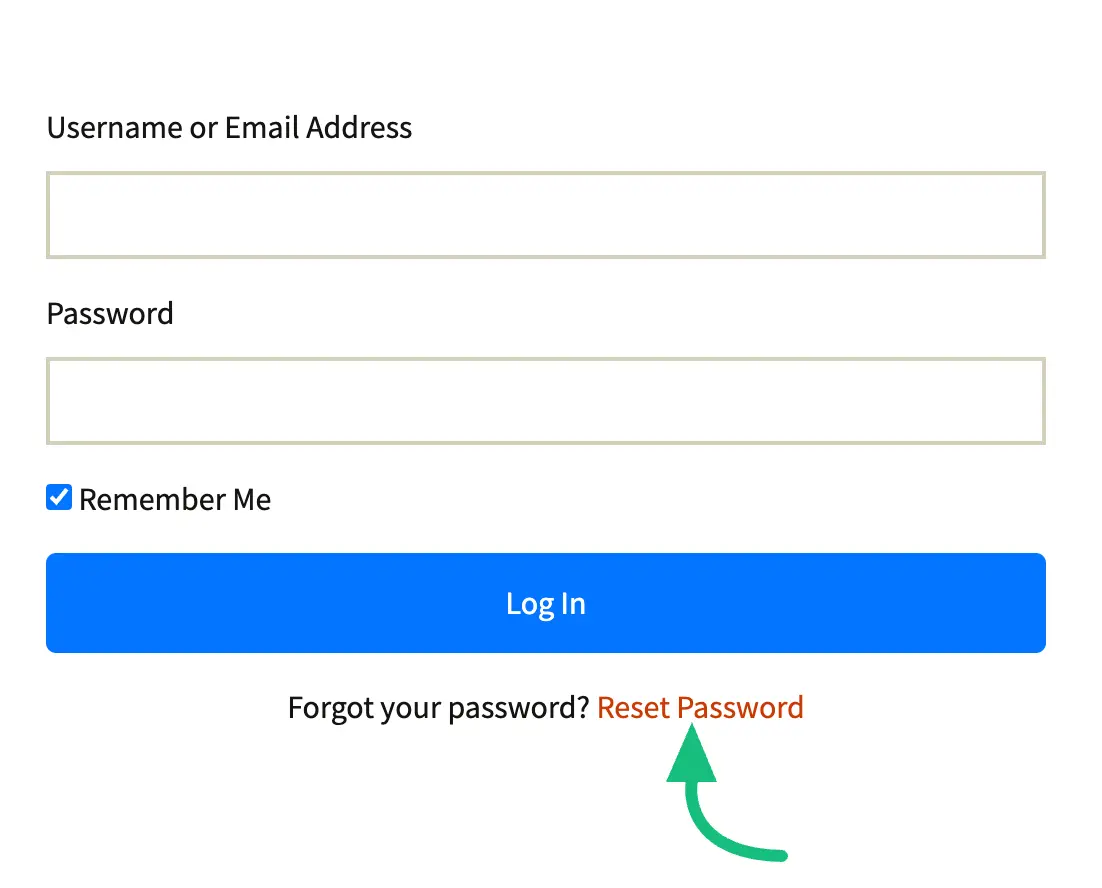
3. Login Form with Create New Account #
To display only the Signup (Create an Account) option with the built-in Login form, use any one of the following shortcodes. The signup (Create an Account) option will also appear in your customer portal’s Login form like the screenshot below.
[fluent_support_login show-signup=true show-reset-password=false] [fluent_support_login show-signup=true]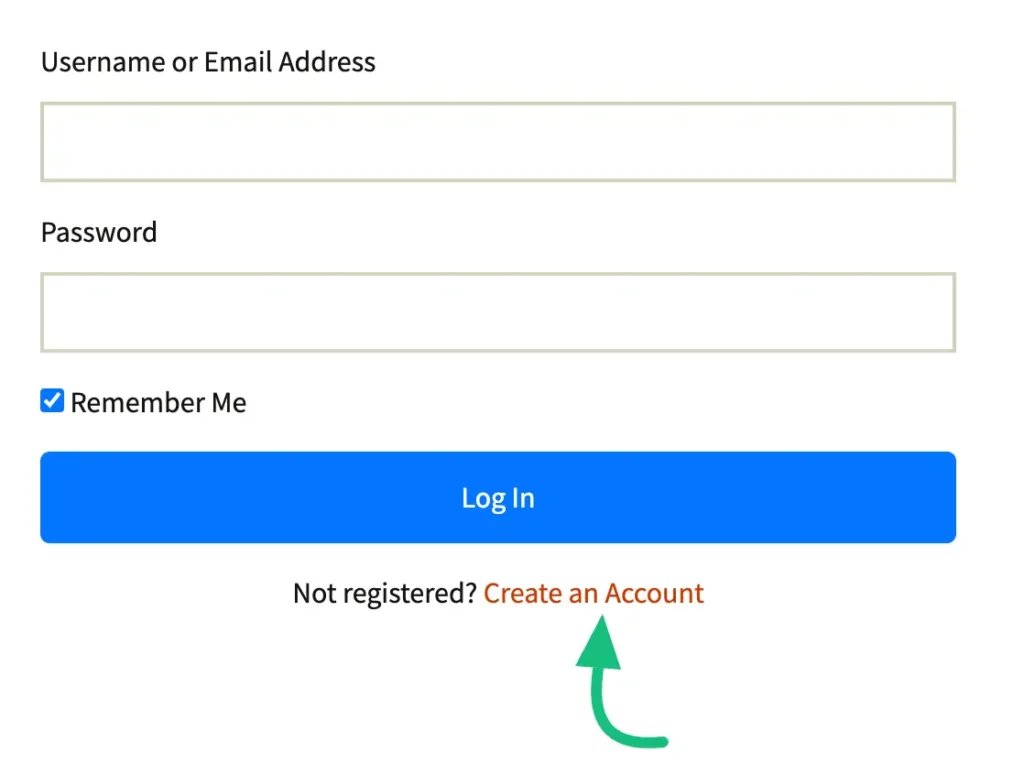
4. Signup Form #
To display the SIgnup Form only, use this shortcode and the Signup form will appear in your Customer Portal for sign-in like the screenshot below.
Remember, for sign-up, use a valid email as a verification code will be sent to the user email for confirmation, ensuring only valid emails can be used for sign-in.
[fluent_support_signup]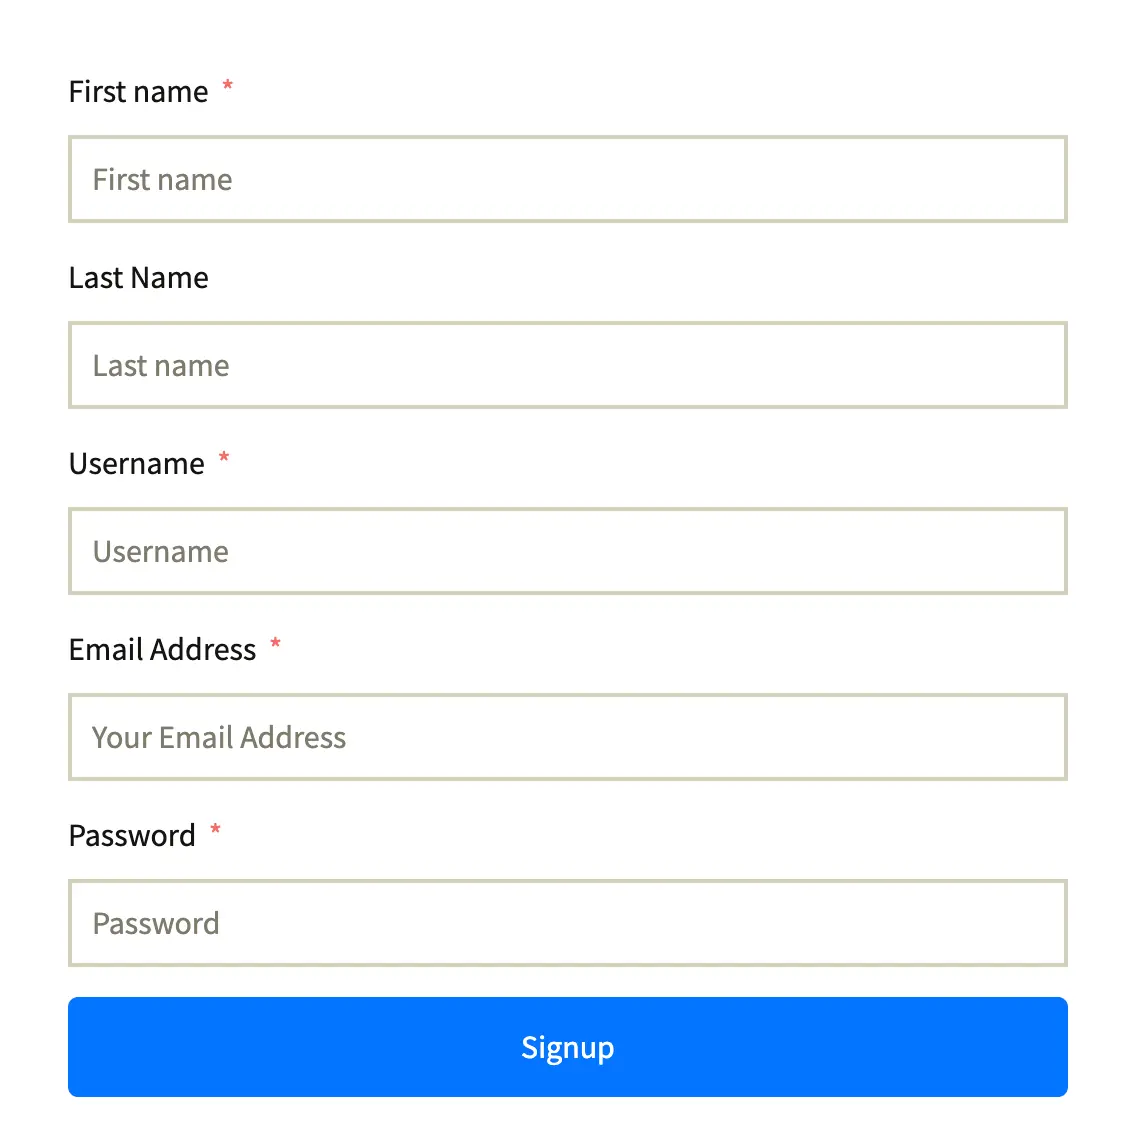
5. Reset Password Form #
To display the Reset Password Form only, use this fluent_support_signup shortcode and the Reset Password form will appear in your Customer Portal for resetting your password like the screenshot below.
[fluent_support_reset_password]
6. Set-Mailbox Shortcode #
To manage multiple business inboxes with ease, you can easily generate a Support Portal for your specific Business Inbox by using this shortcode. This shortcode makes it easy to direct support tickets from any page to the right inbox and create a personalized support portal for your business needs.
To know more about how to use this shortcode follow this documentation.
[fluent_support_portal show_logout = yes business_box_id=2]7. Logout option in the Customer Support Portal #
To display the Logout Option in the Customer Support Portal Dashboard, you need to add the following shortcode to the desired Page/Post on your WordPress Site.
[fluent_support_portal show_logout = yes]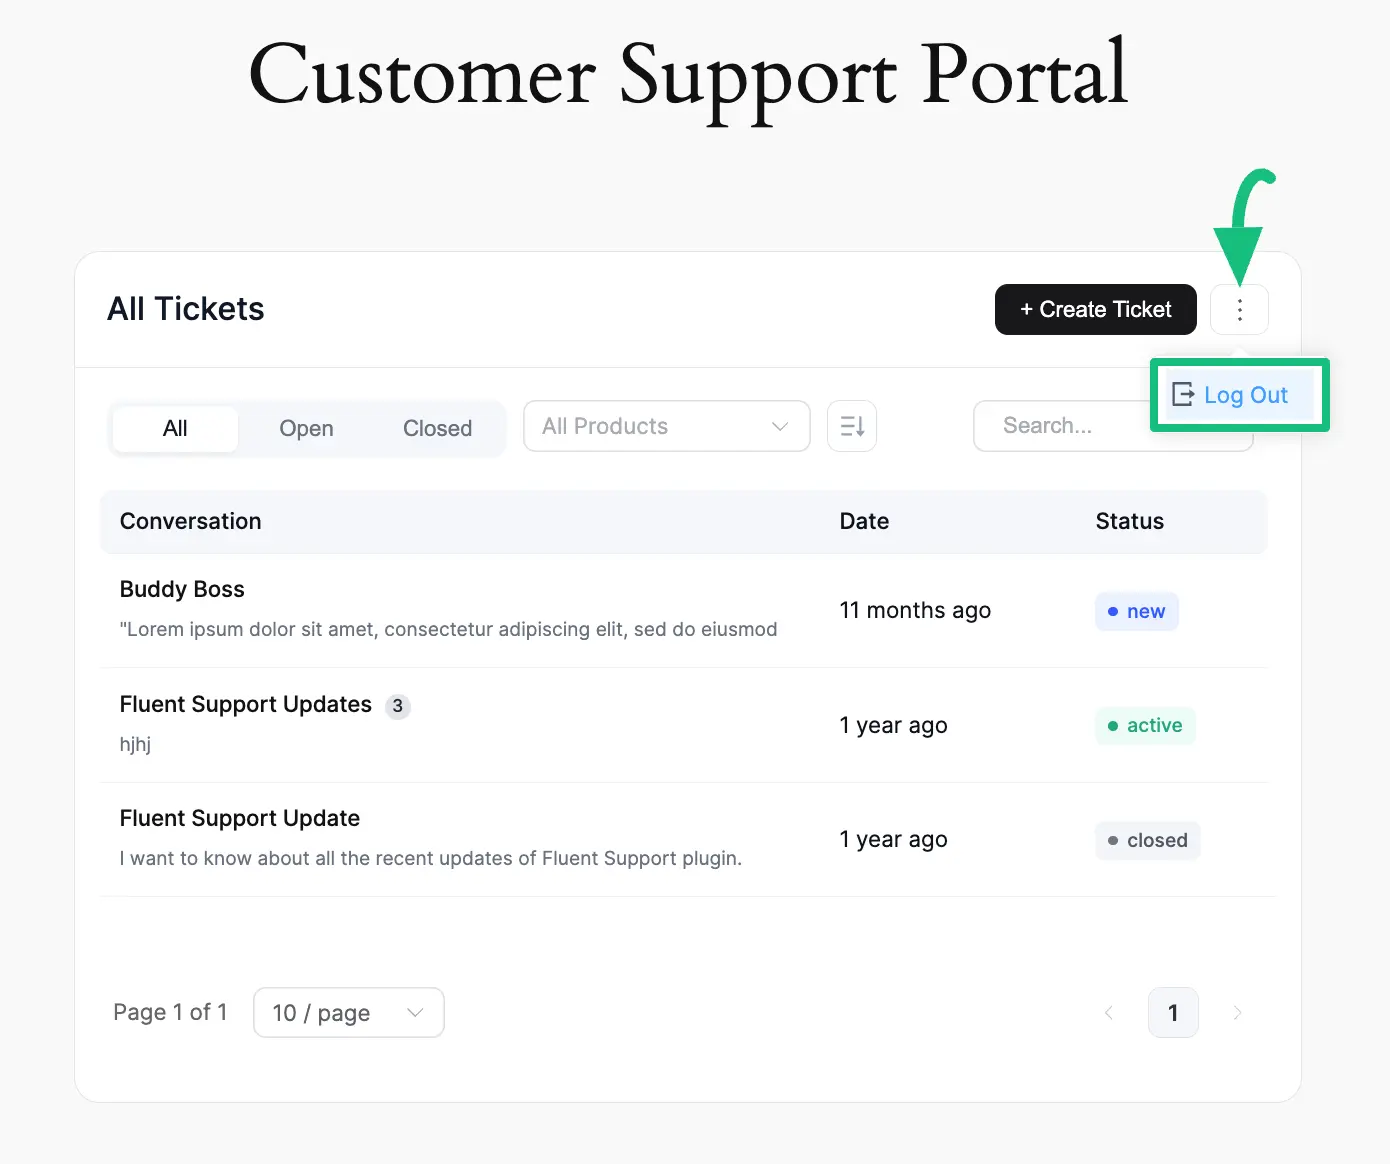
If you have any further questions, concerns, or suggestions, please do not hesitate to contact our @support team. Thank you.


