SureTriggers connects the apps you use for WordPress Sites, E-commerce Stores, Email Marketing Campaigns, and more, allowing you to create automated workflows. By this SureTriggers integration with Fluent Support, you can automate various tasks.
SureTriggers integration allows you to create automation with Fluent Support. Especially, it helps to connect Fluent Support with the other WordPress Plugins and SaaS that do not have direct Integrations with it.
This article will guide you through integrating SureTriggers with Fluent Support.
Integrate SureTriggers with Fluent Support #
To learn how to integrate Sure Triggers with Fluent Support, follow the steps with the screenshots below —
Before starting the process, ensure you Installed and Activated the SureTriggers Plugin on your WordPress site.
Creating Workflow to Connect Fluent Support #
Once you have authorized the account, your SureTriggers Dashboard will appear on your WordPress Site.
Now, go to the Workflows, open the Create Workflow dropdown, and click the Create From Scratch button.

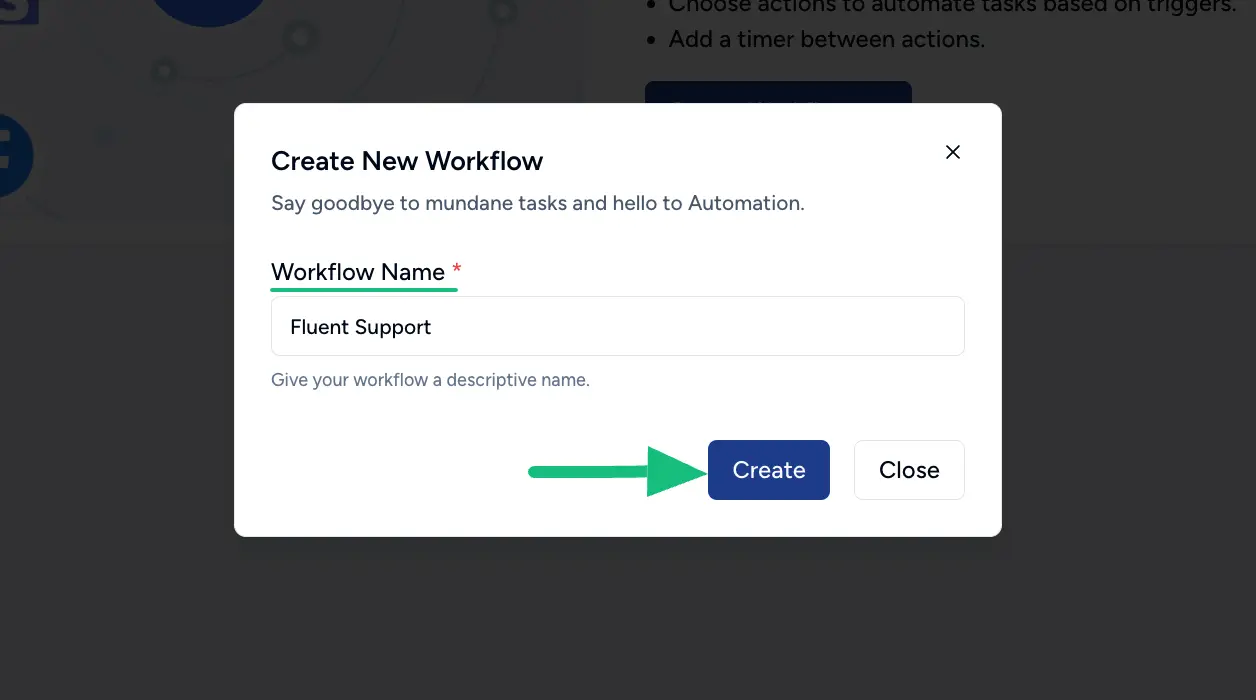
Provide a Name for your workflow so you can find it easily later, and click the Create button.
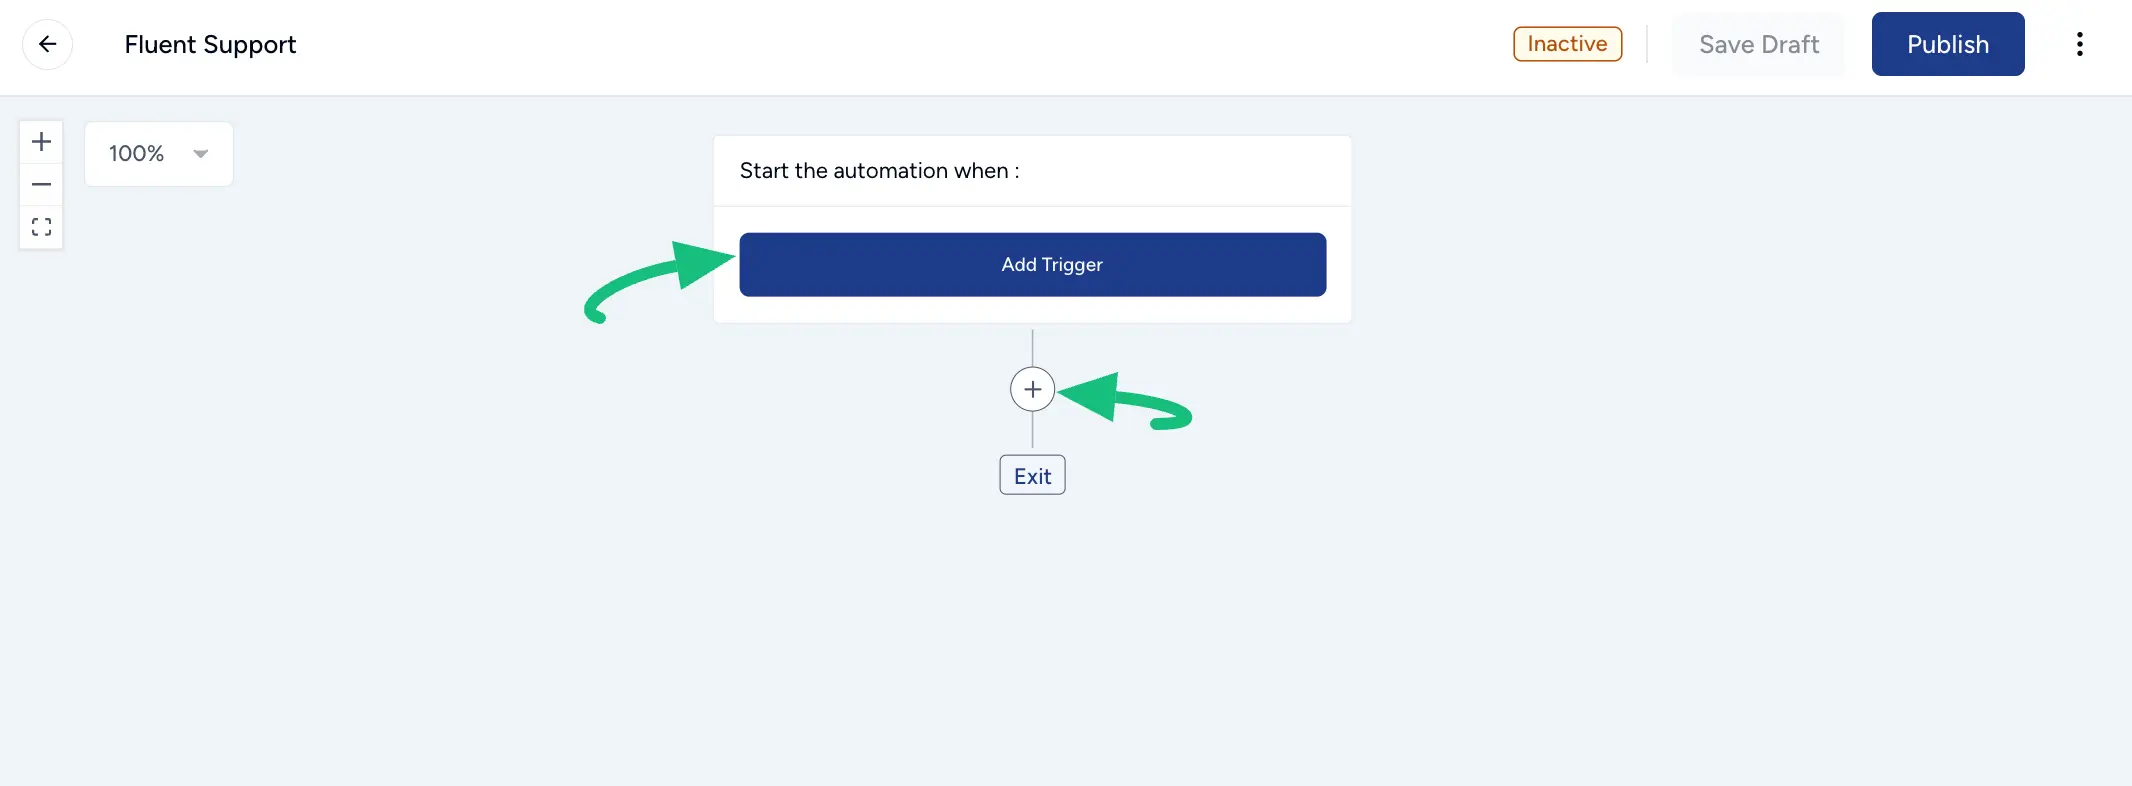
From here, you can add the Fluent Support Trigger/Actions to your SureTriggers Automation according to your needs. To add the Trigger, click the Add Trigger button and to add actions click the Plus Icon.
Adding Fluent Support Trigger #
To learn how you can add Fluent Support Trigger in your SureTriggers Workflow, follow the steps below –
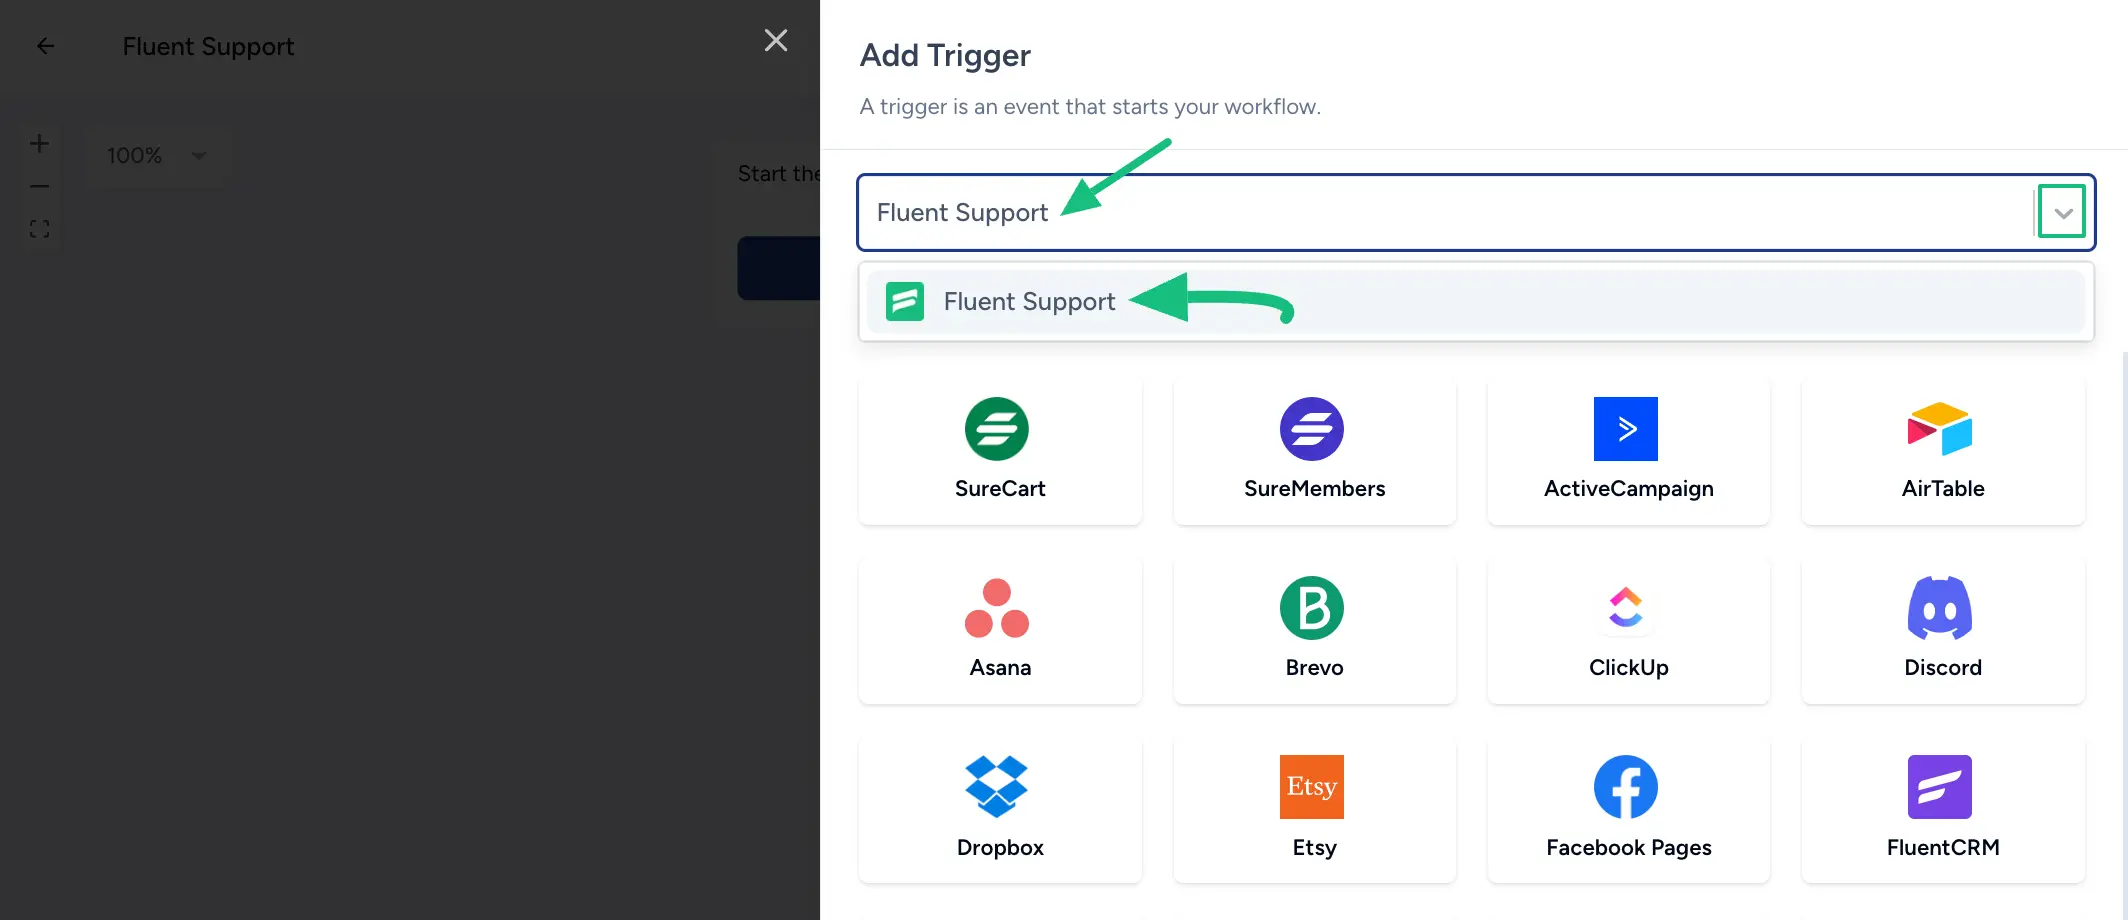
Type Fluent Support in the Search Bar or select it from the Dropdown List by clicking the Arrow Icon.
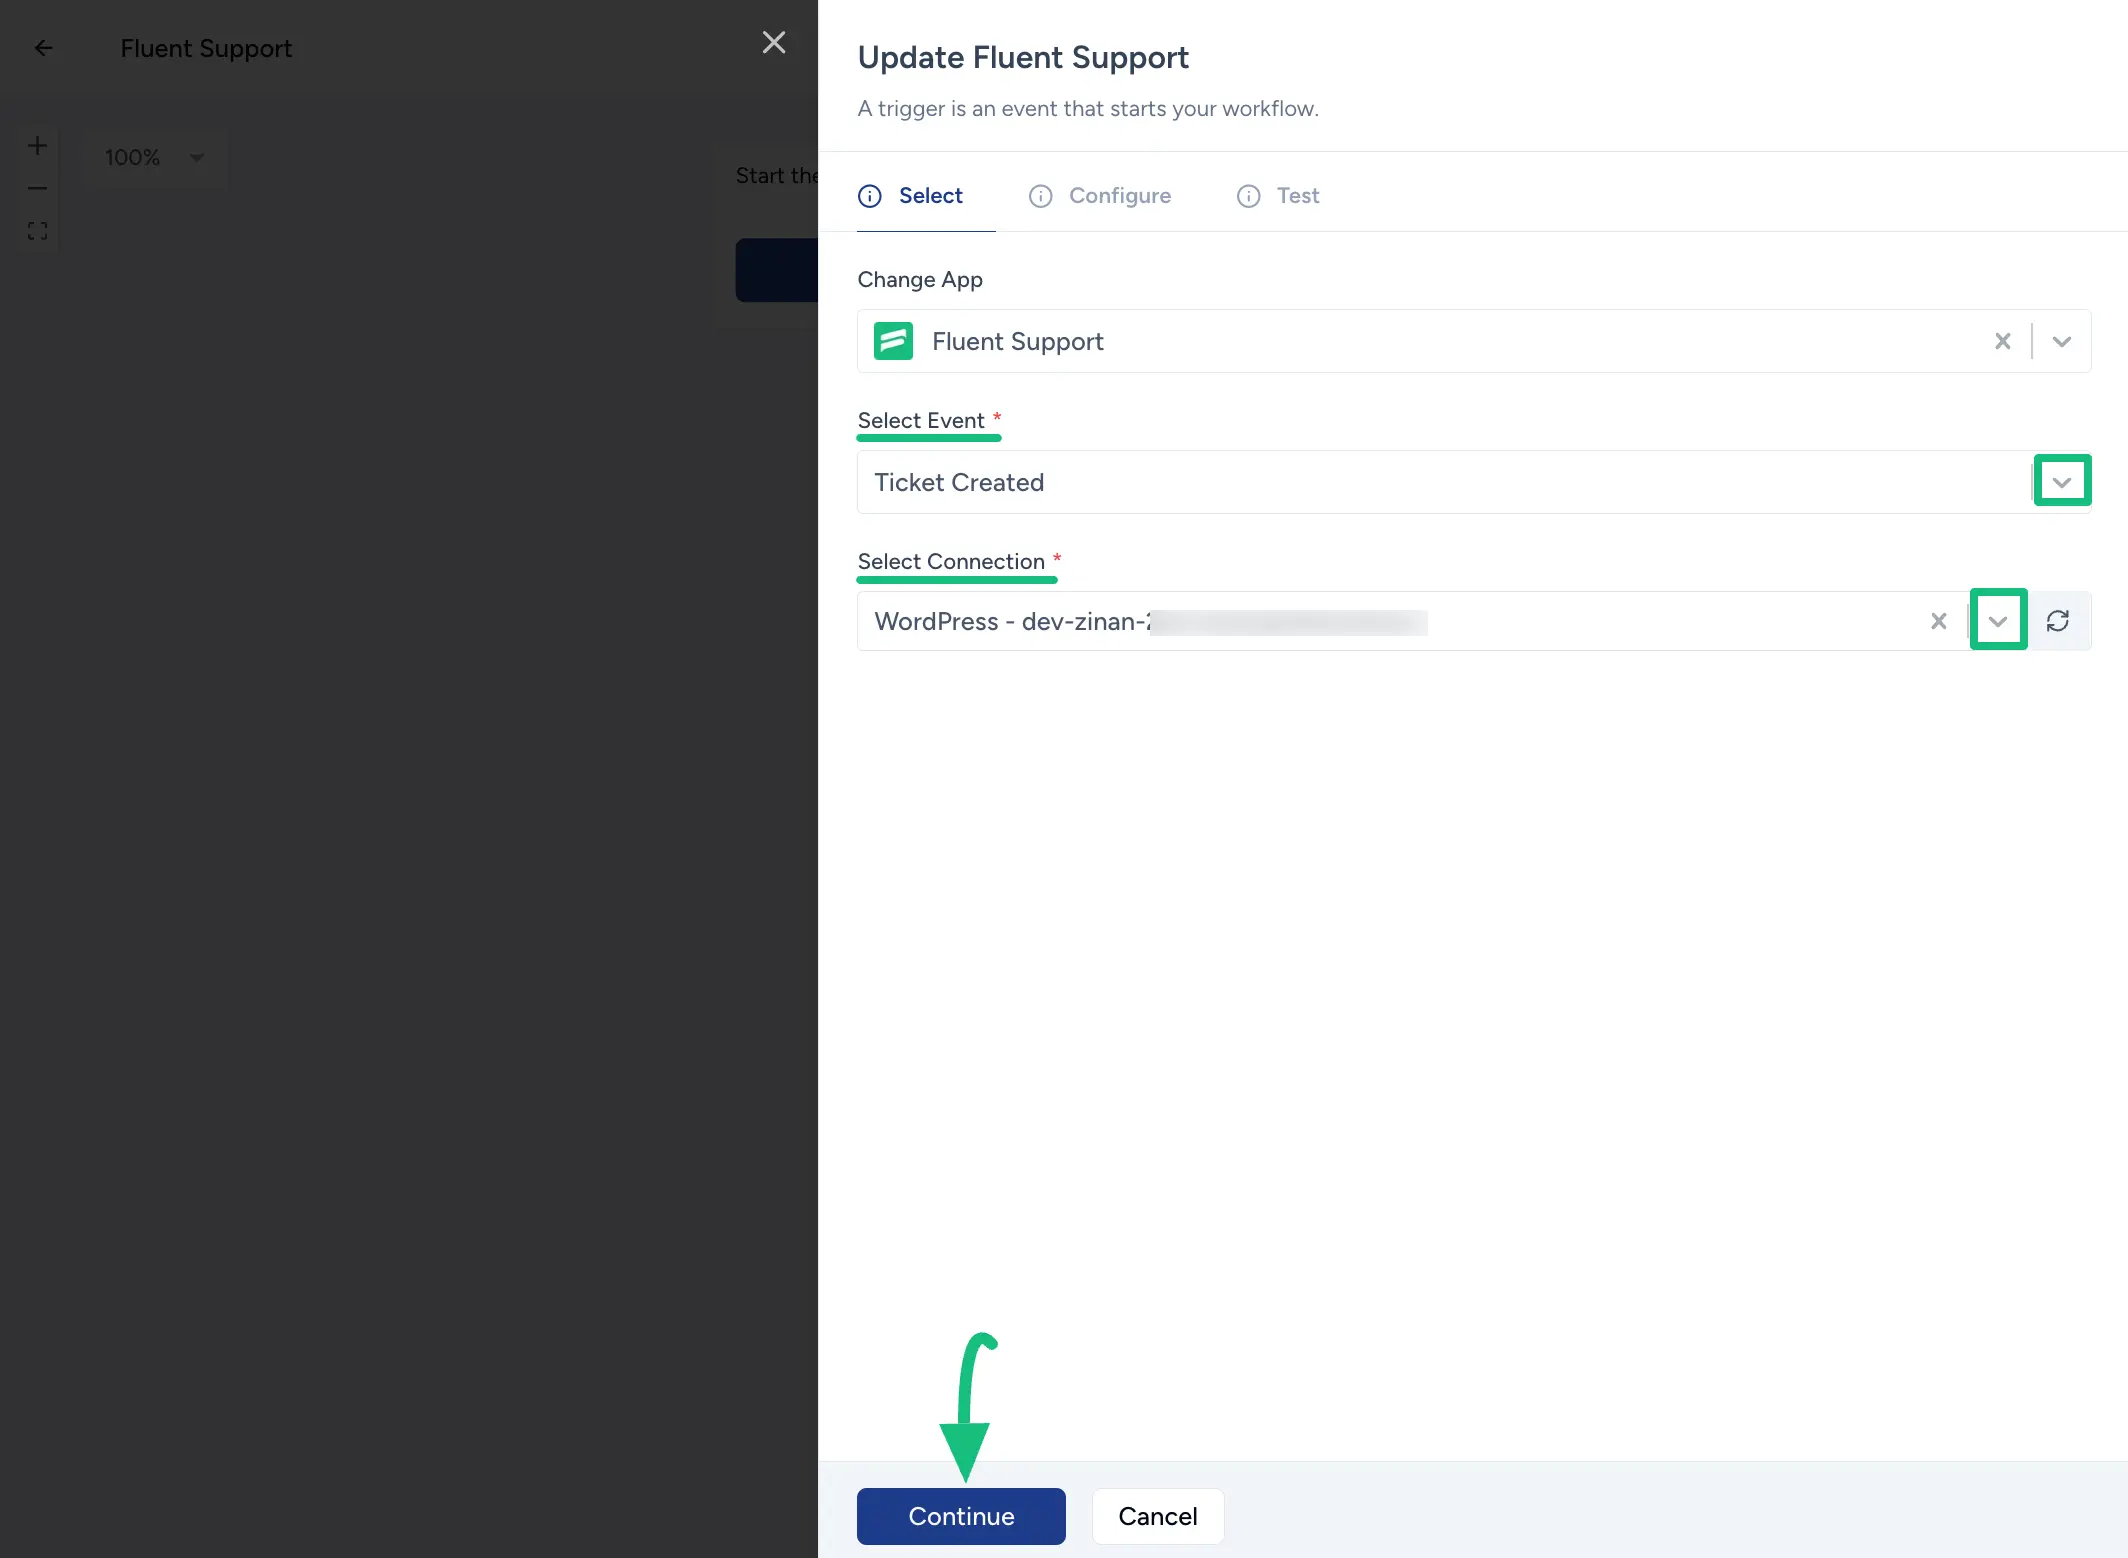
Now, select the desired Event from the Dropdown List by clicking the Dropdown Arrow.
Also, select the Connection (the WordPress Site you want to connect).
Once you select the desired event and connection, click the Continue button.
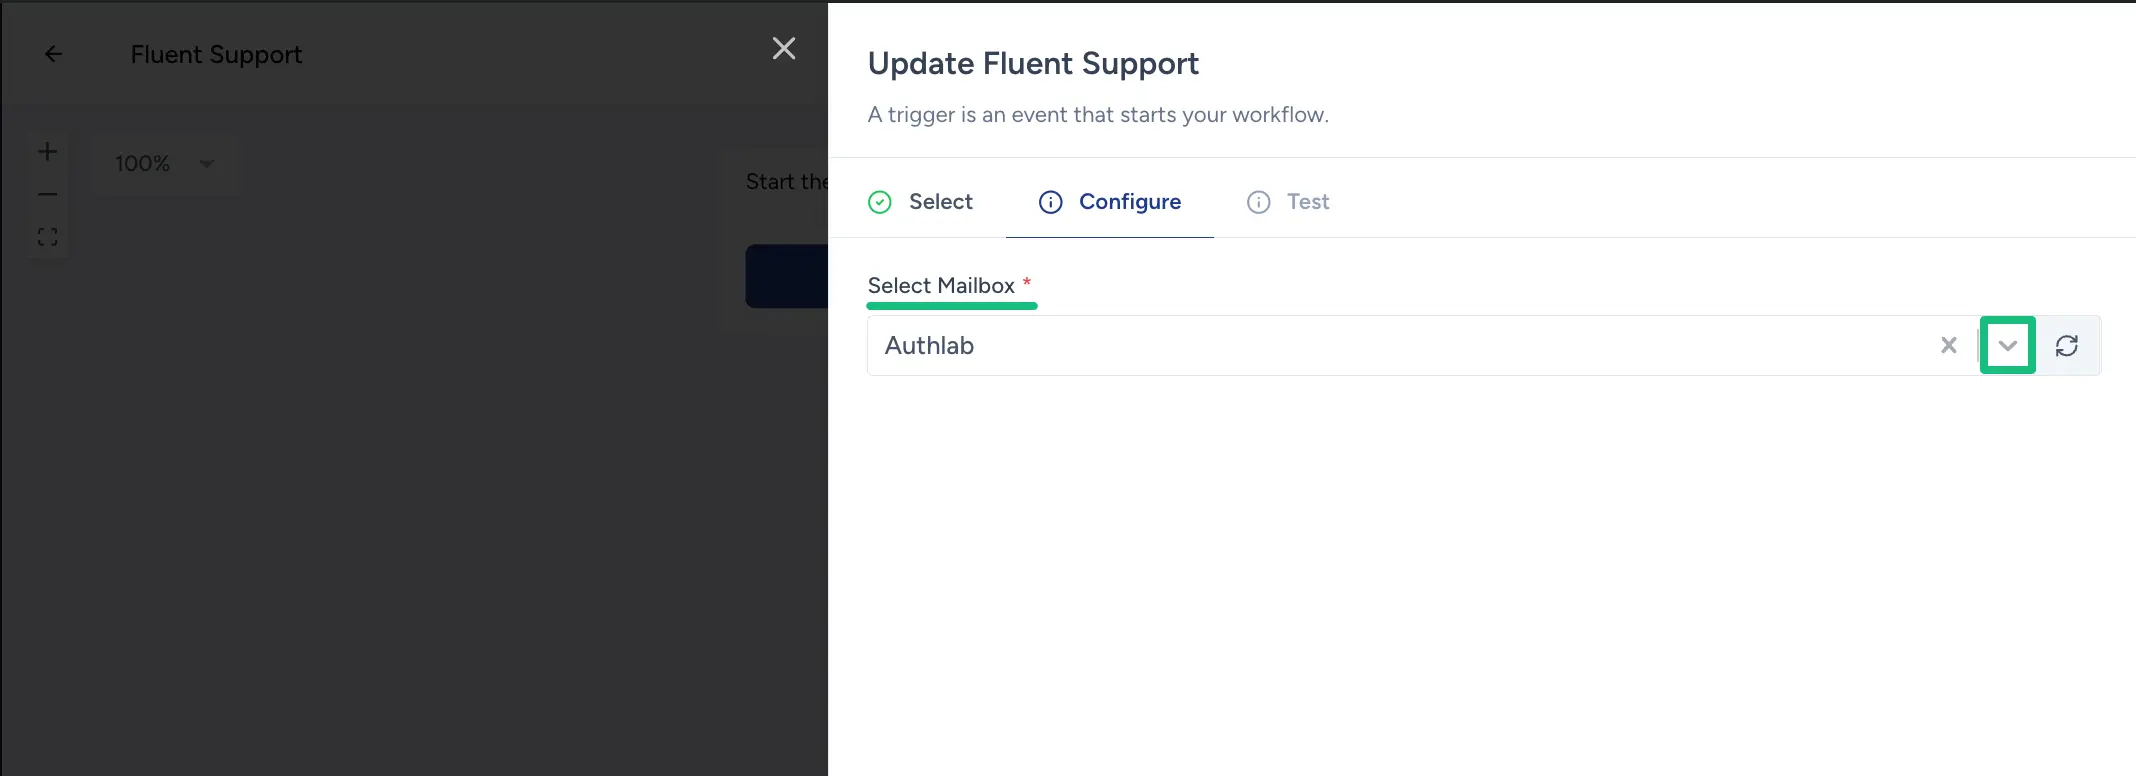
Here, select the desired Mailbox of Fluent Support, and click the Continue button.
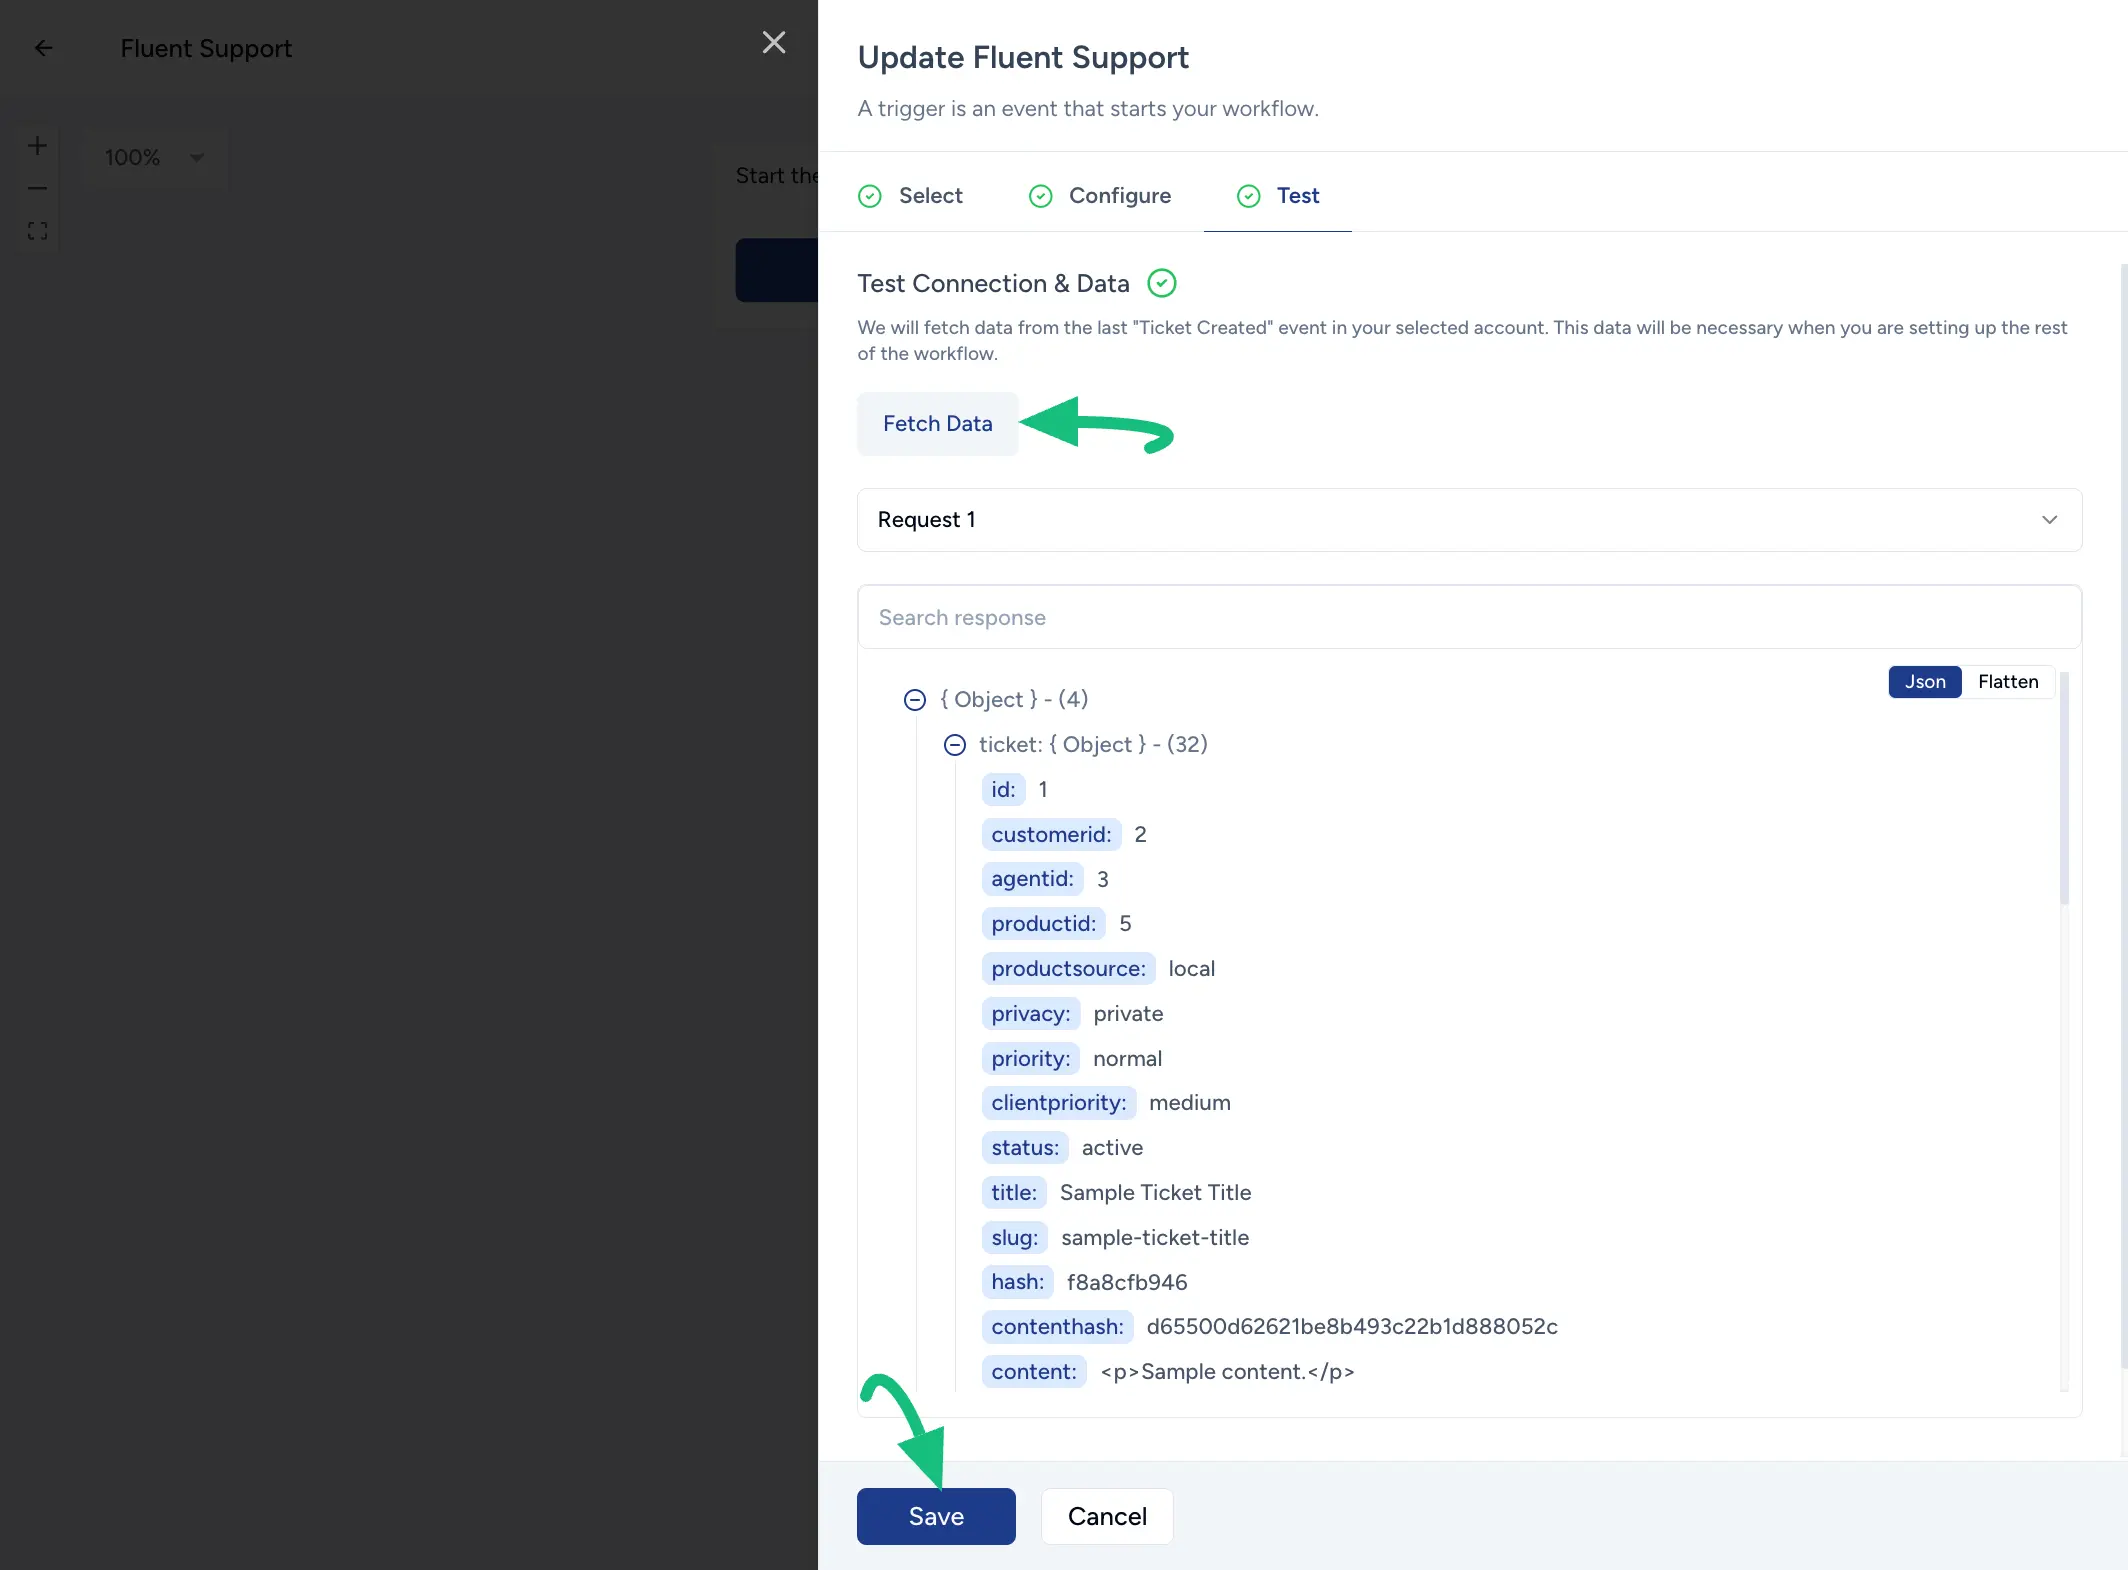
Once you configure everything, click the Fetch Data button.
Finally, click the Save button and your Fluent Support Trigger will be added to the Workflow.
Adding Fluent Support Action #
To add the Fluent Support action, you must first add your desired App/Plugin as a Trigger to the workflow.
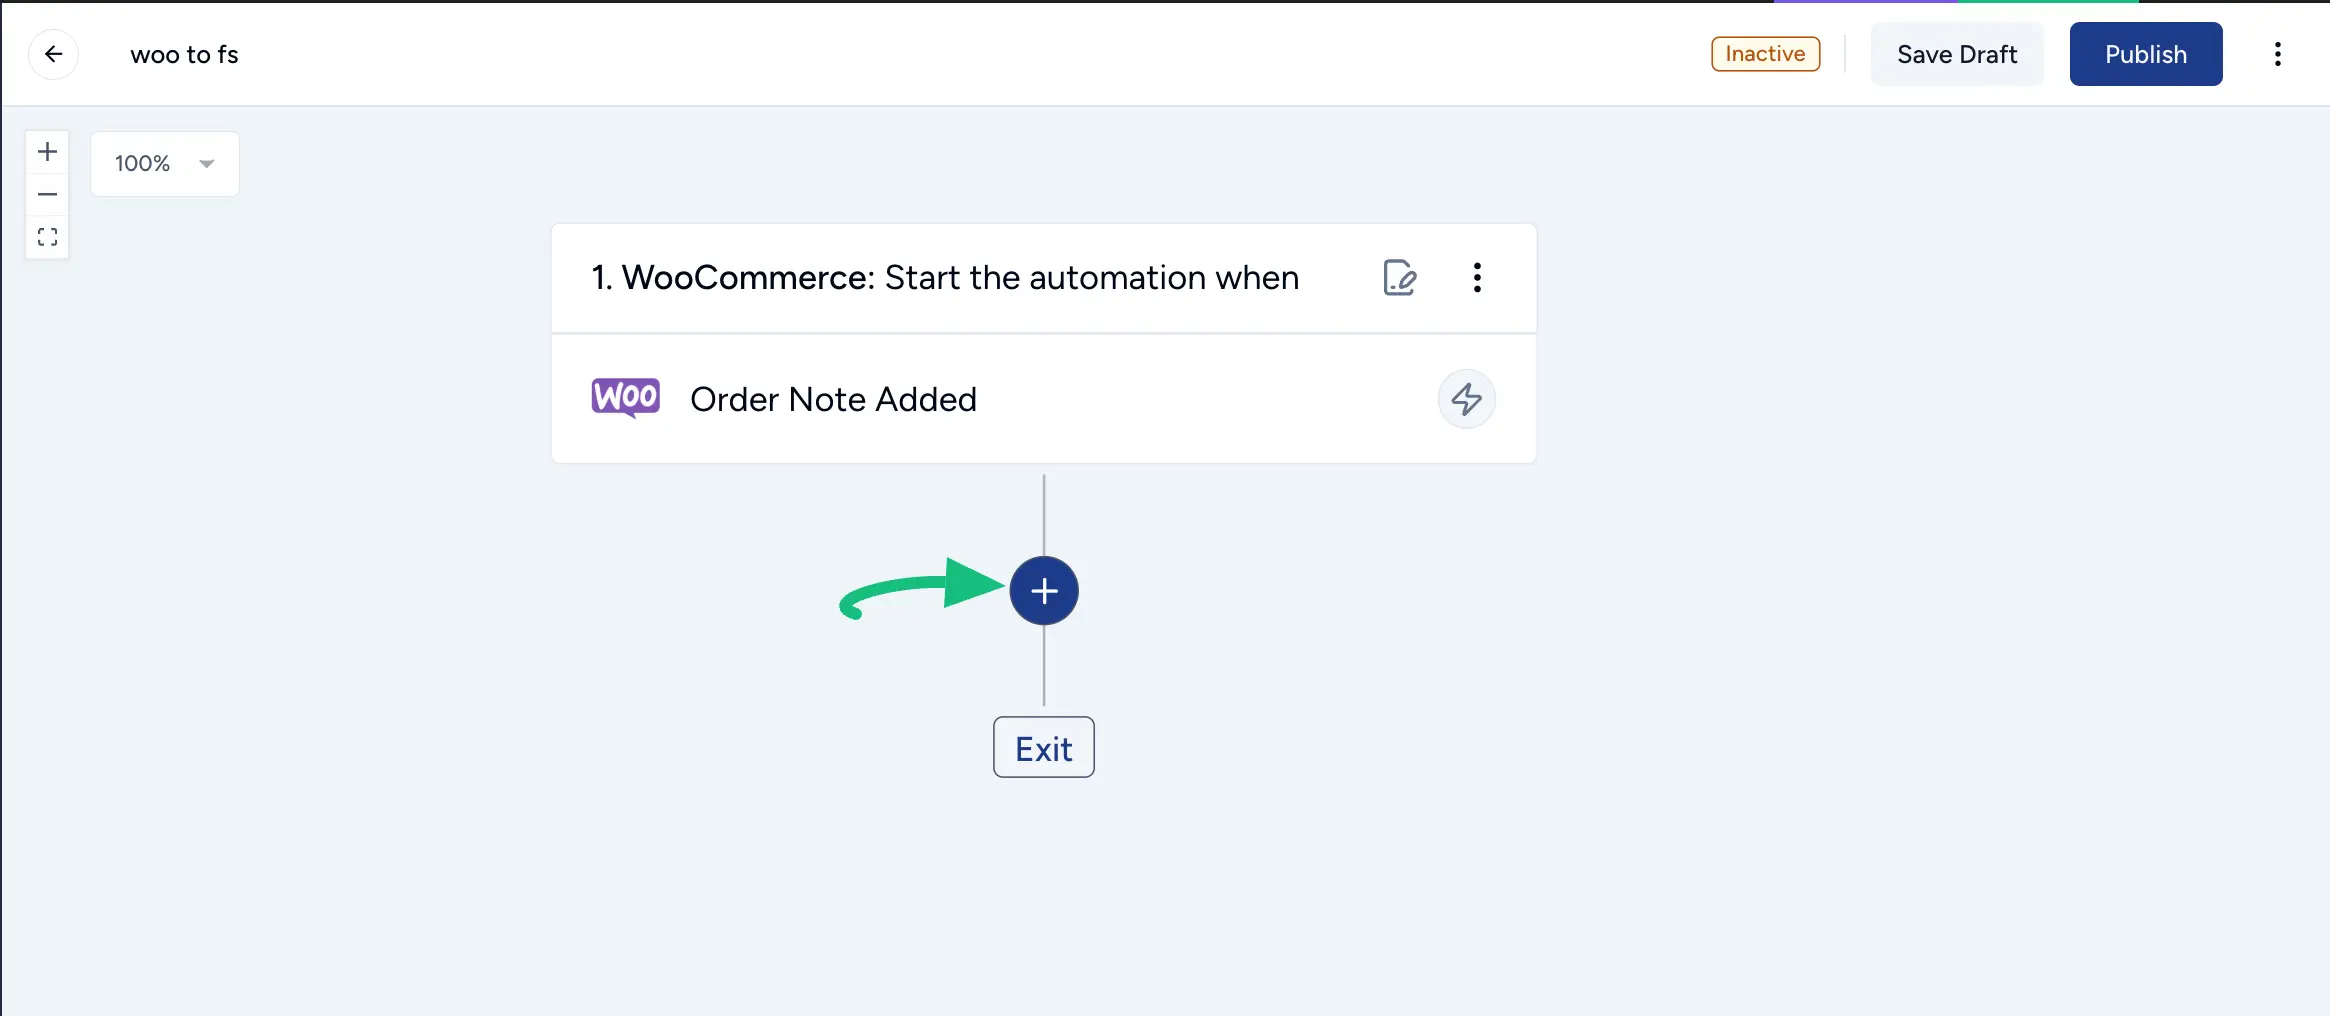
Then, click the Plus Icon right below the added Trigger and choose Fluent Support as an Action.
For example, I added WooCommerce as a Trigger and clicked the Plus Icon to add the Fluent Support Action.
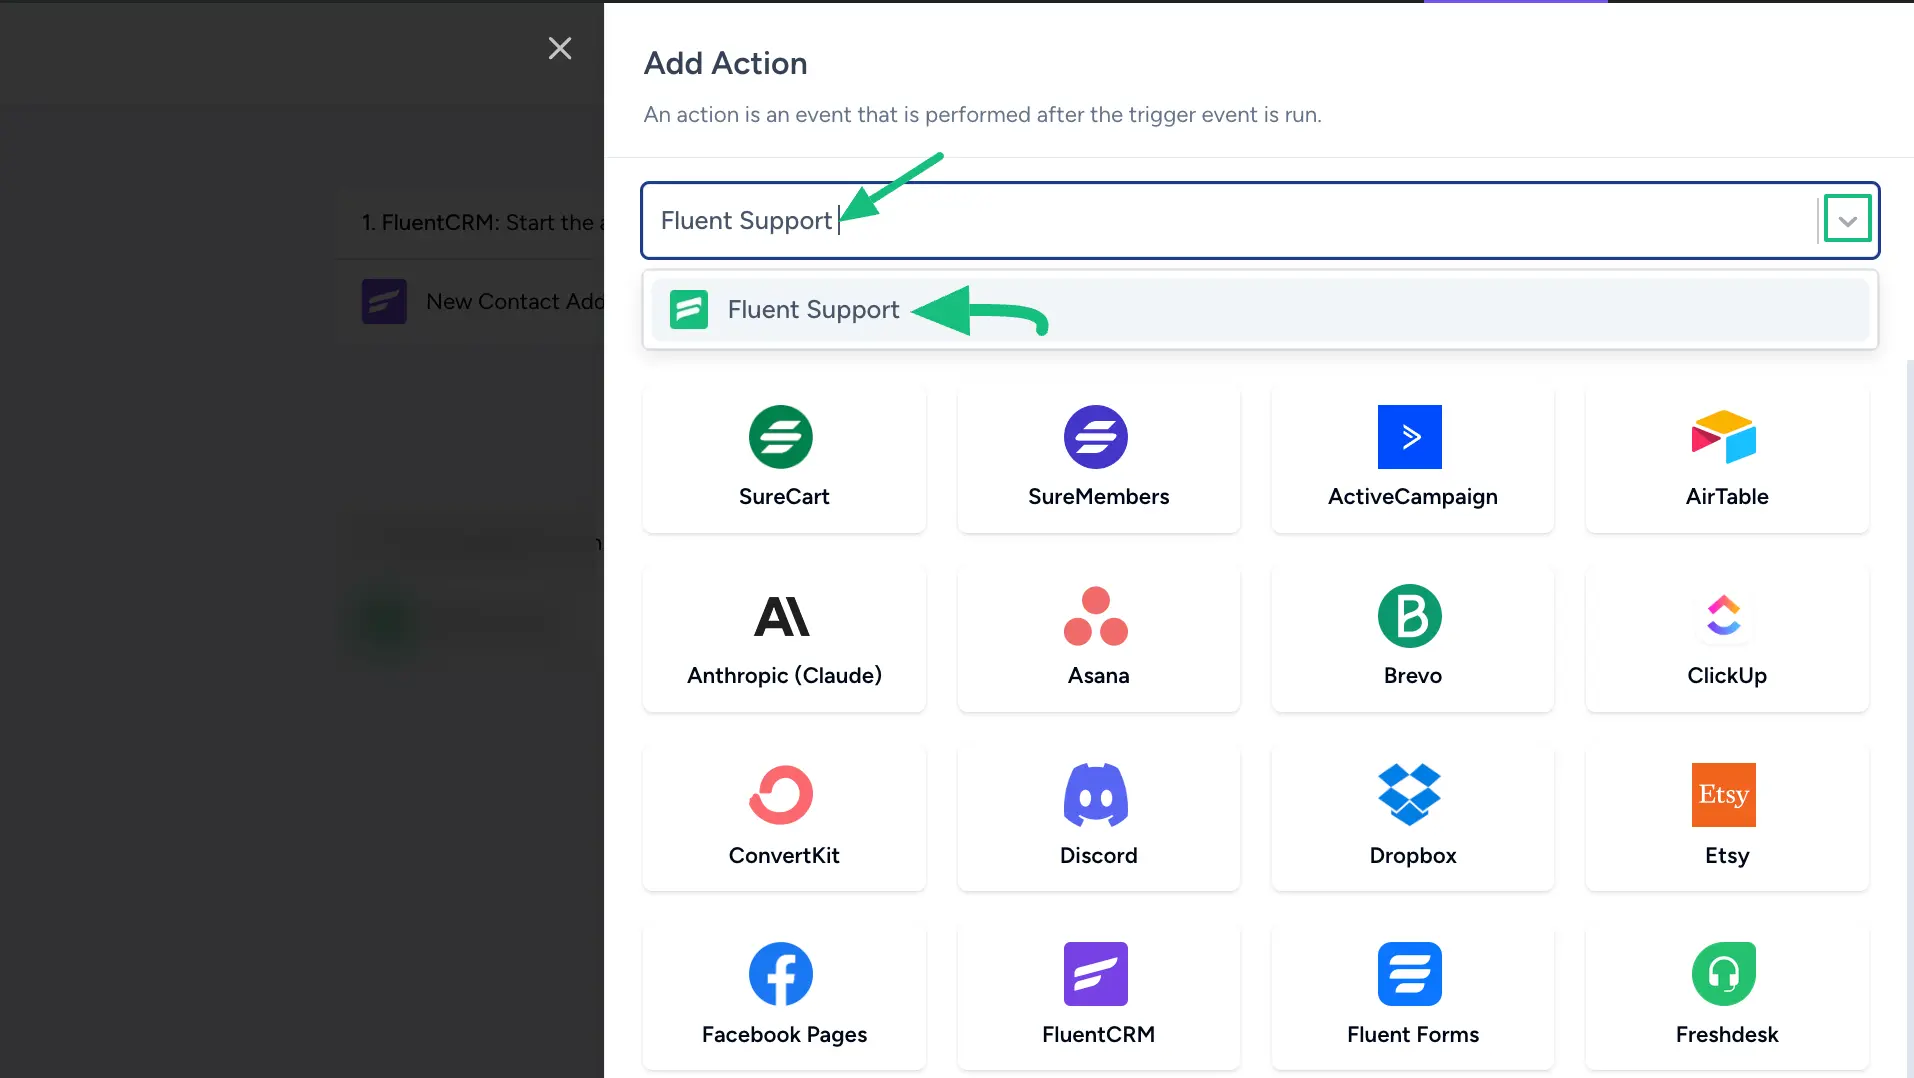
Type Fluent Support in the Search Bar or select it from the Dropdown List by clicking the Arrow Icon.
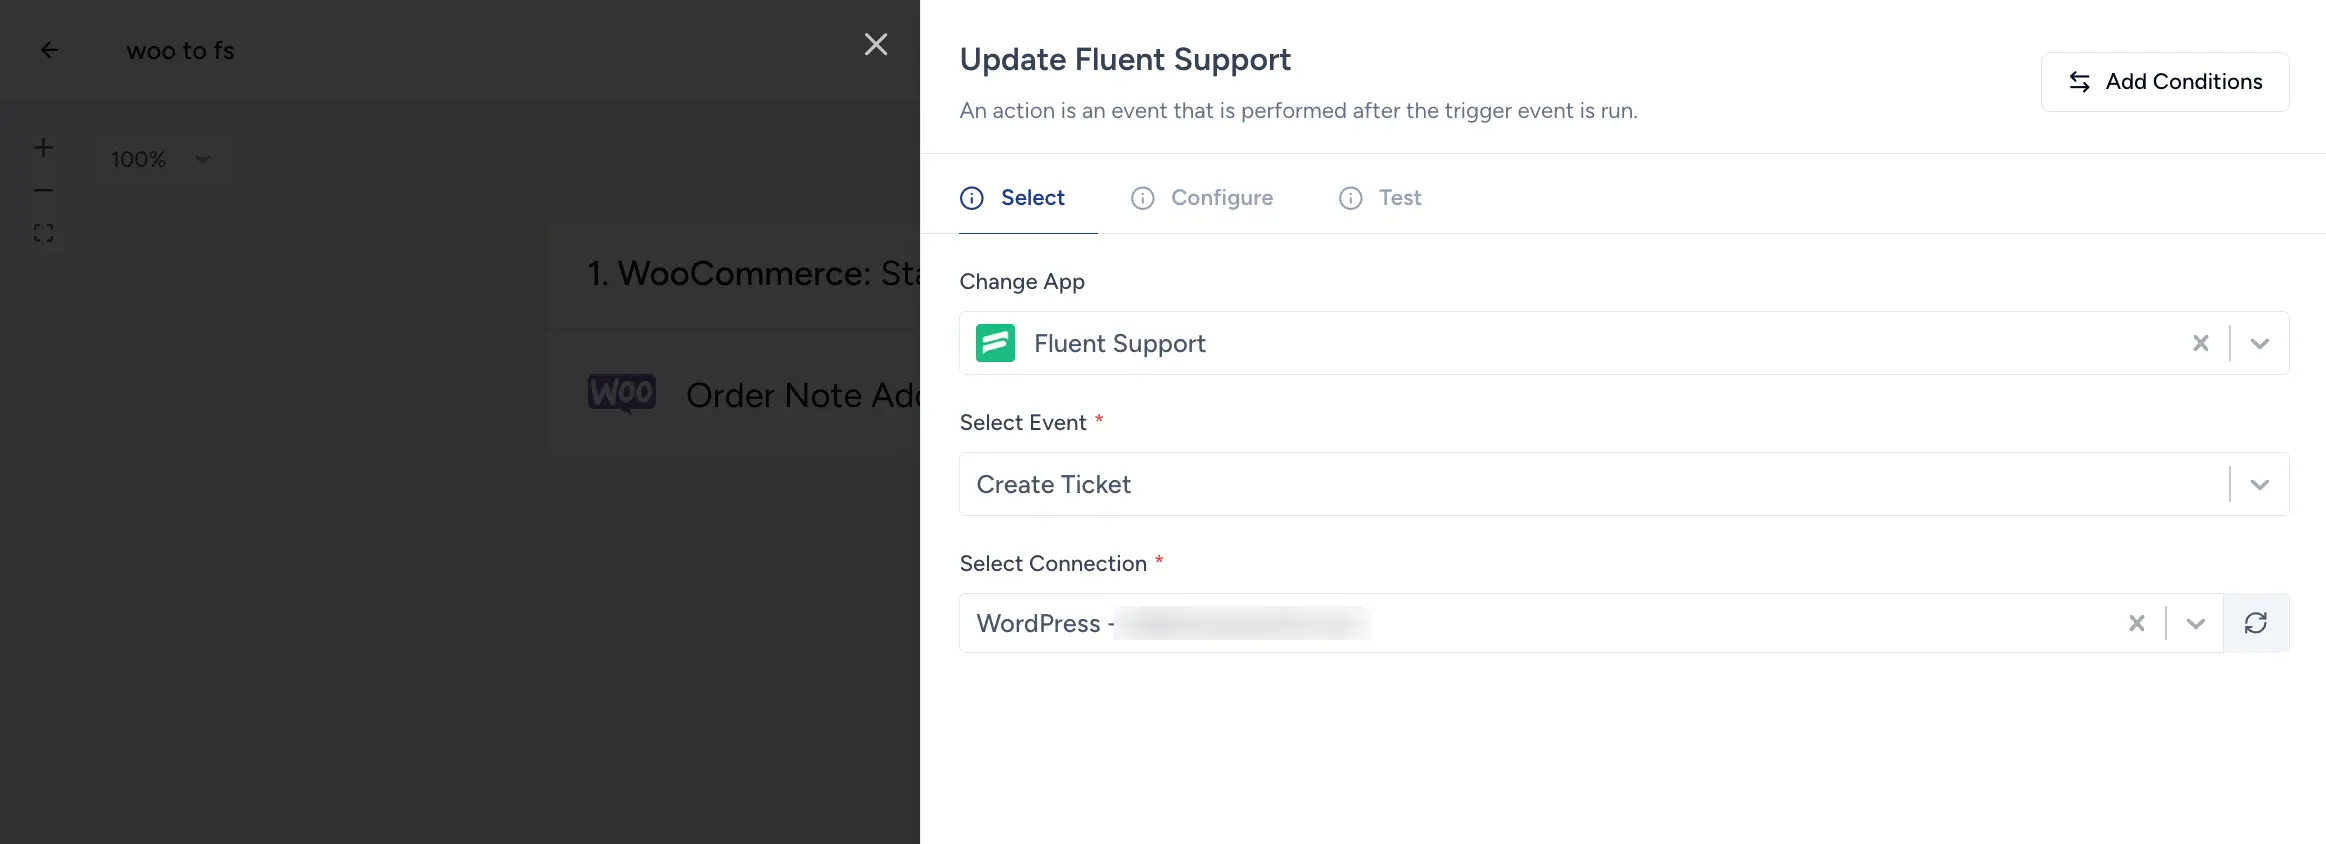
Once you select the action, select the Event and Connection according to your needs from the dropdown list.
After selecting the desired event and connection, click the Continue button.
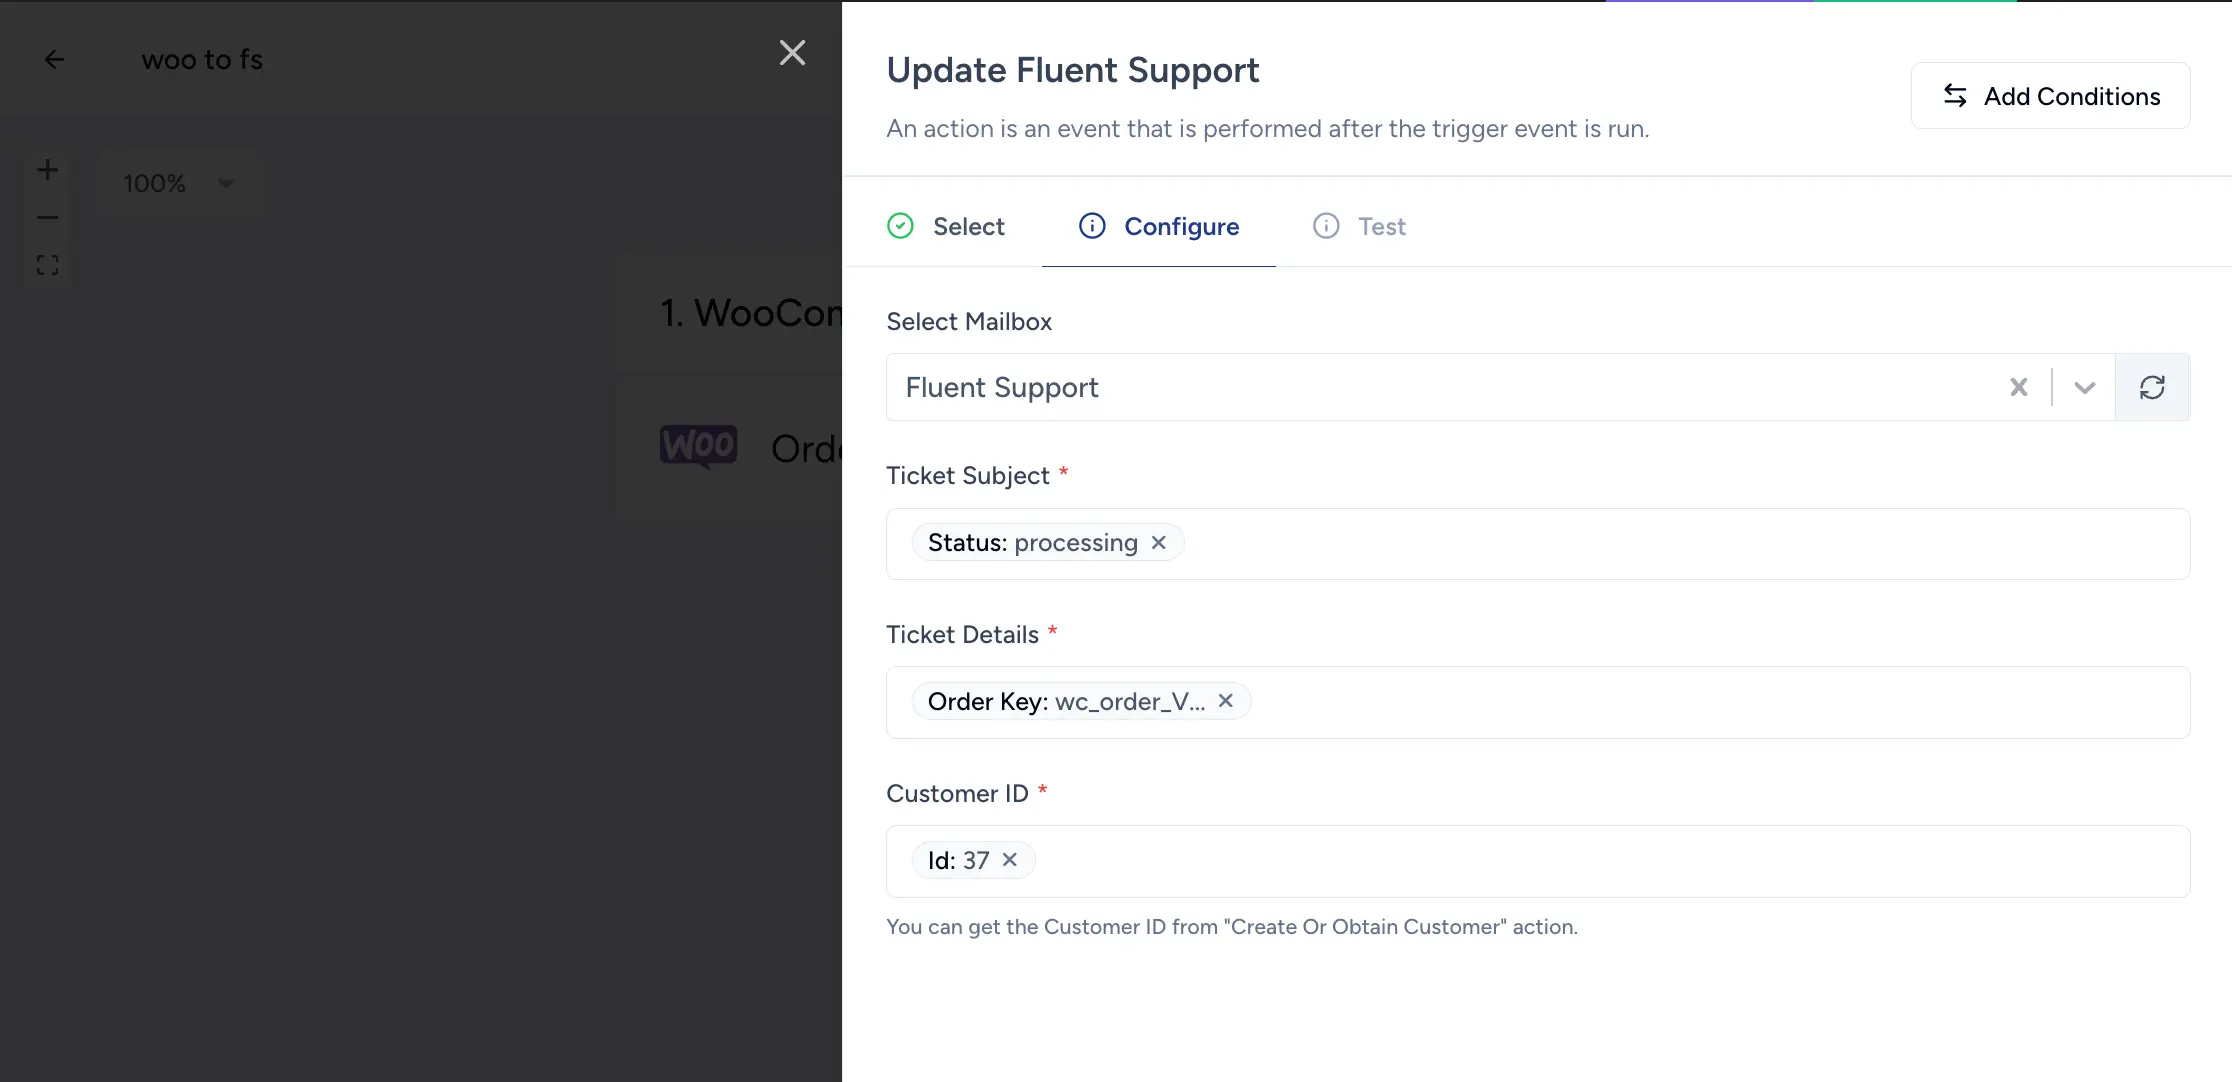
Here, select the desired Mailbox of Fluent Support and configure all the necessary data to test the action.
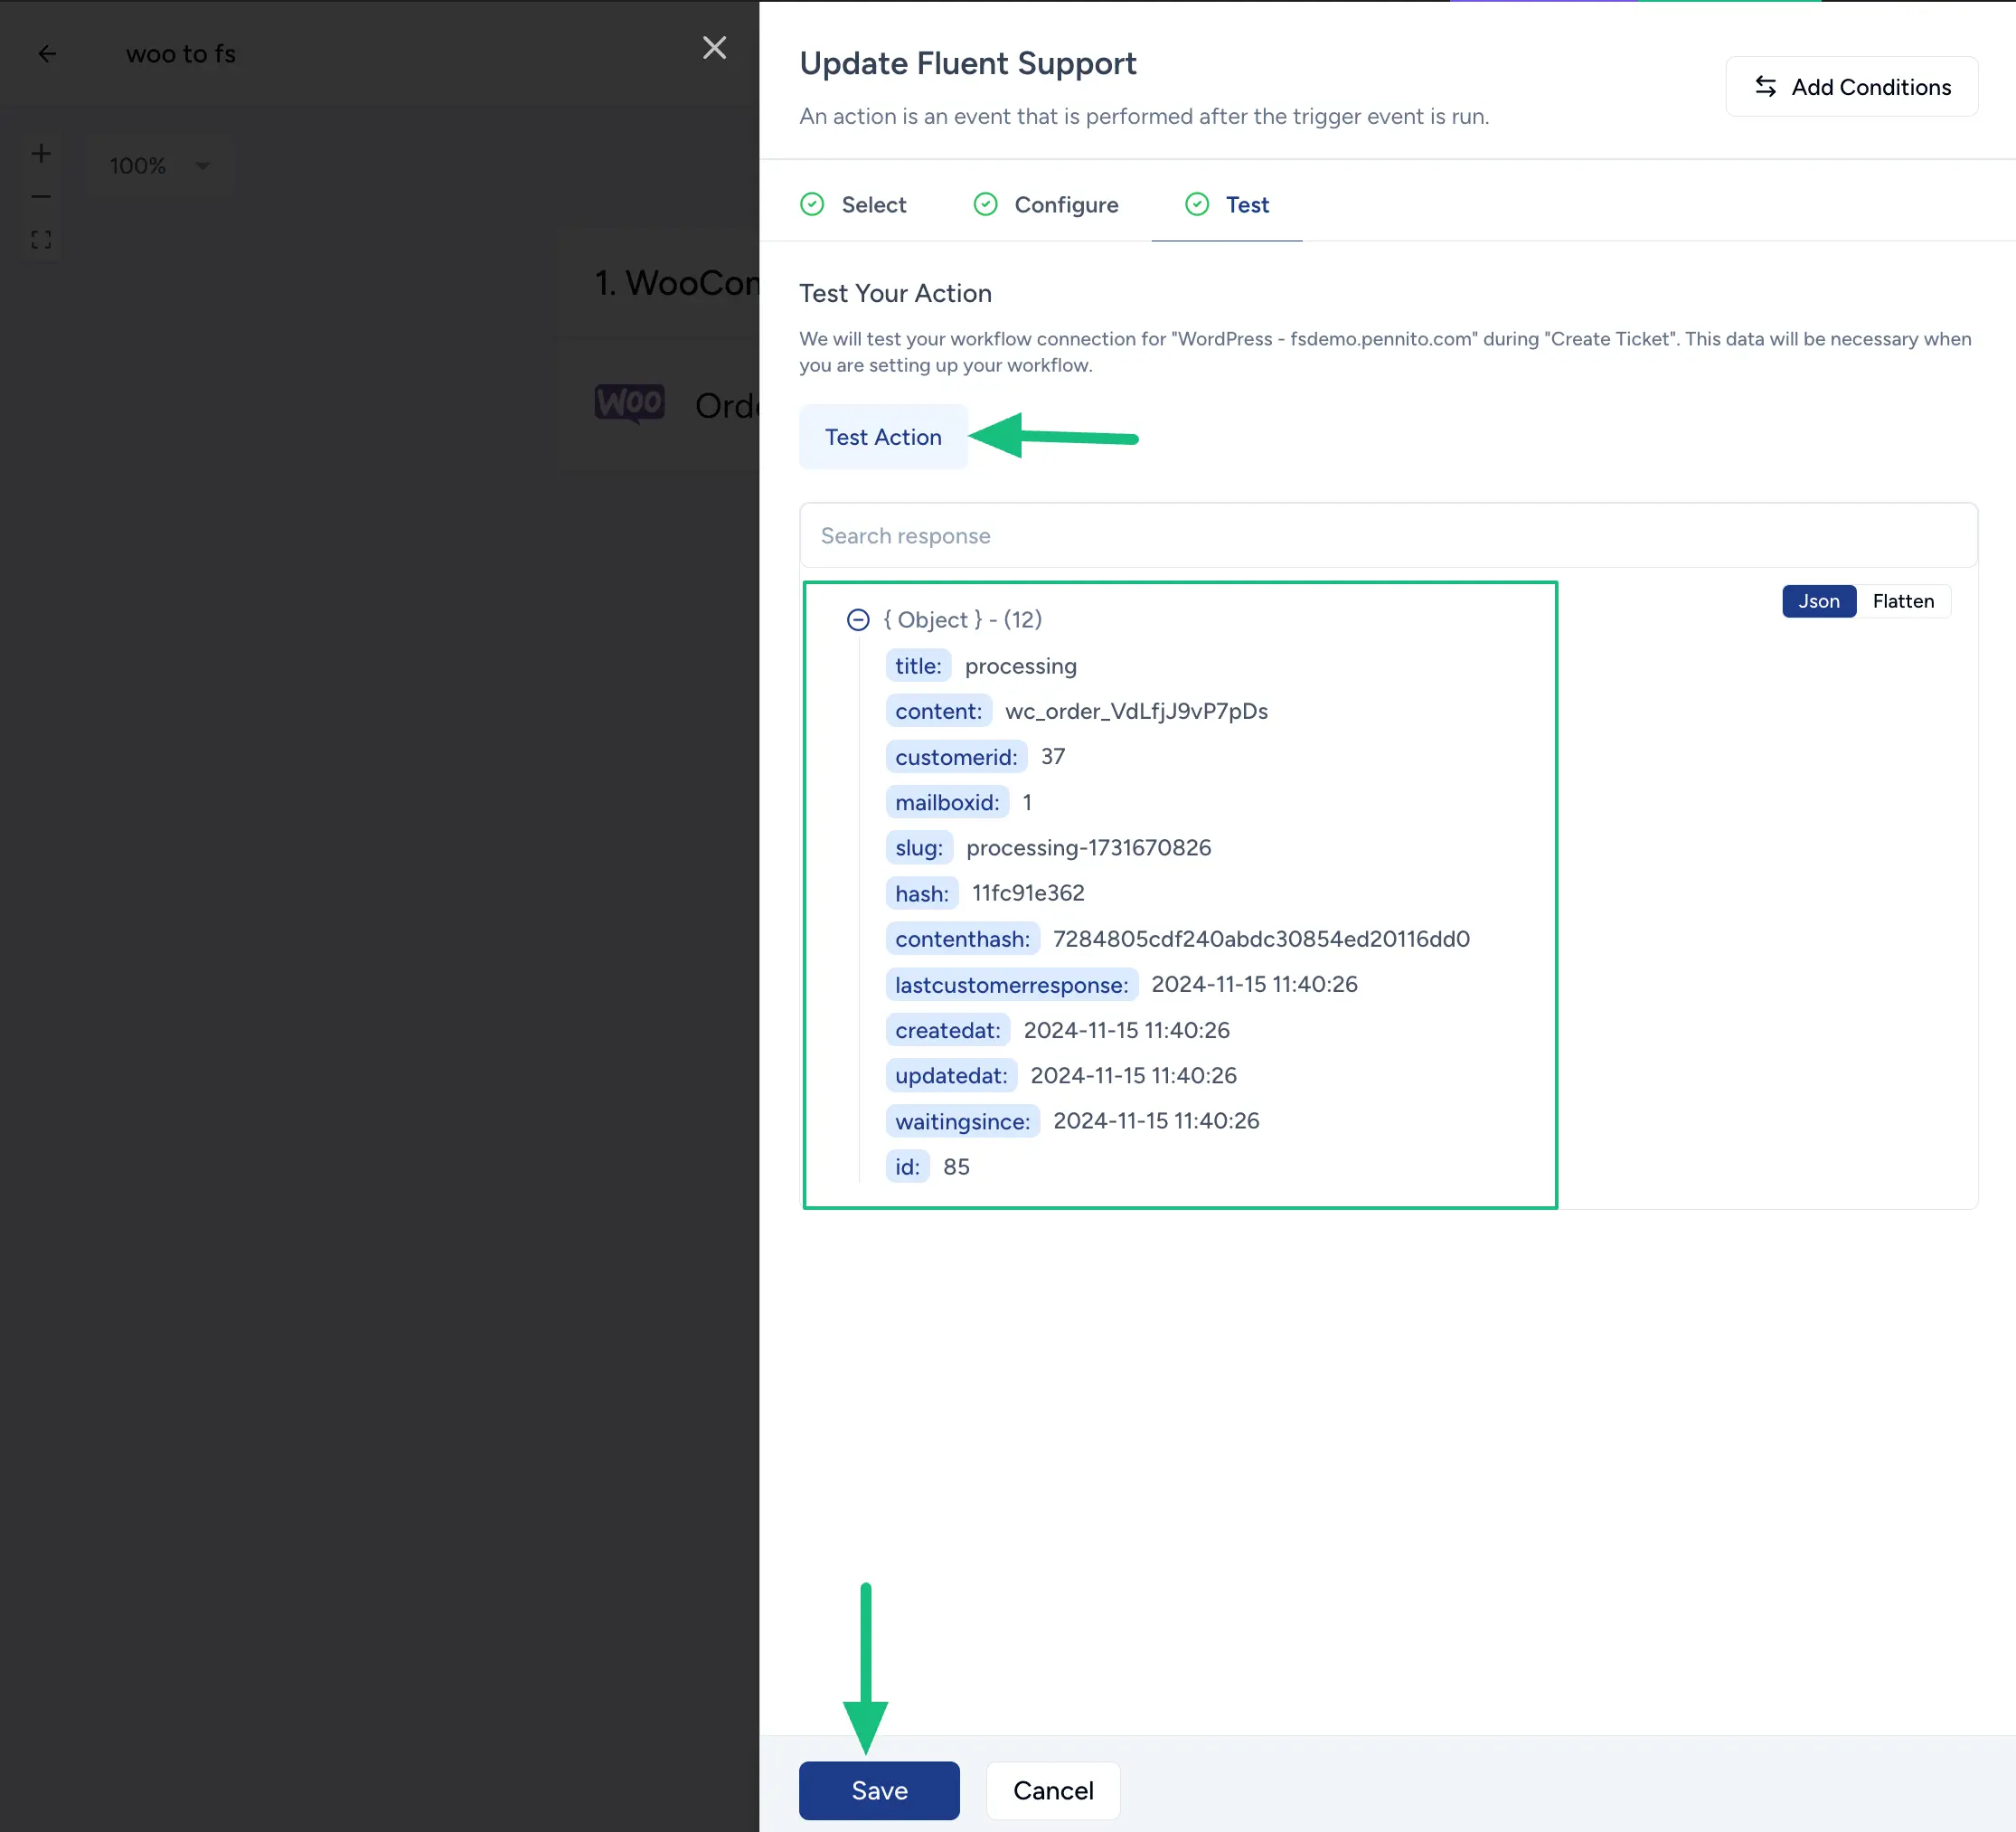
Once you configure everything, click the Test Action button to test whether the action is working.
Finally, click the Save button and your Fluent Support Action will be added to the Workflow.
Once you create the workflow, click the Publish button to make it functional.
Otherwise, click the Save Draft button to save it as a draft.
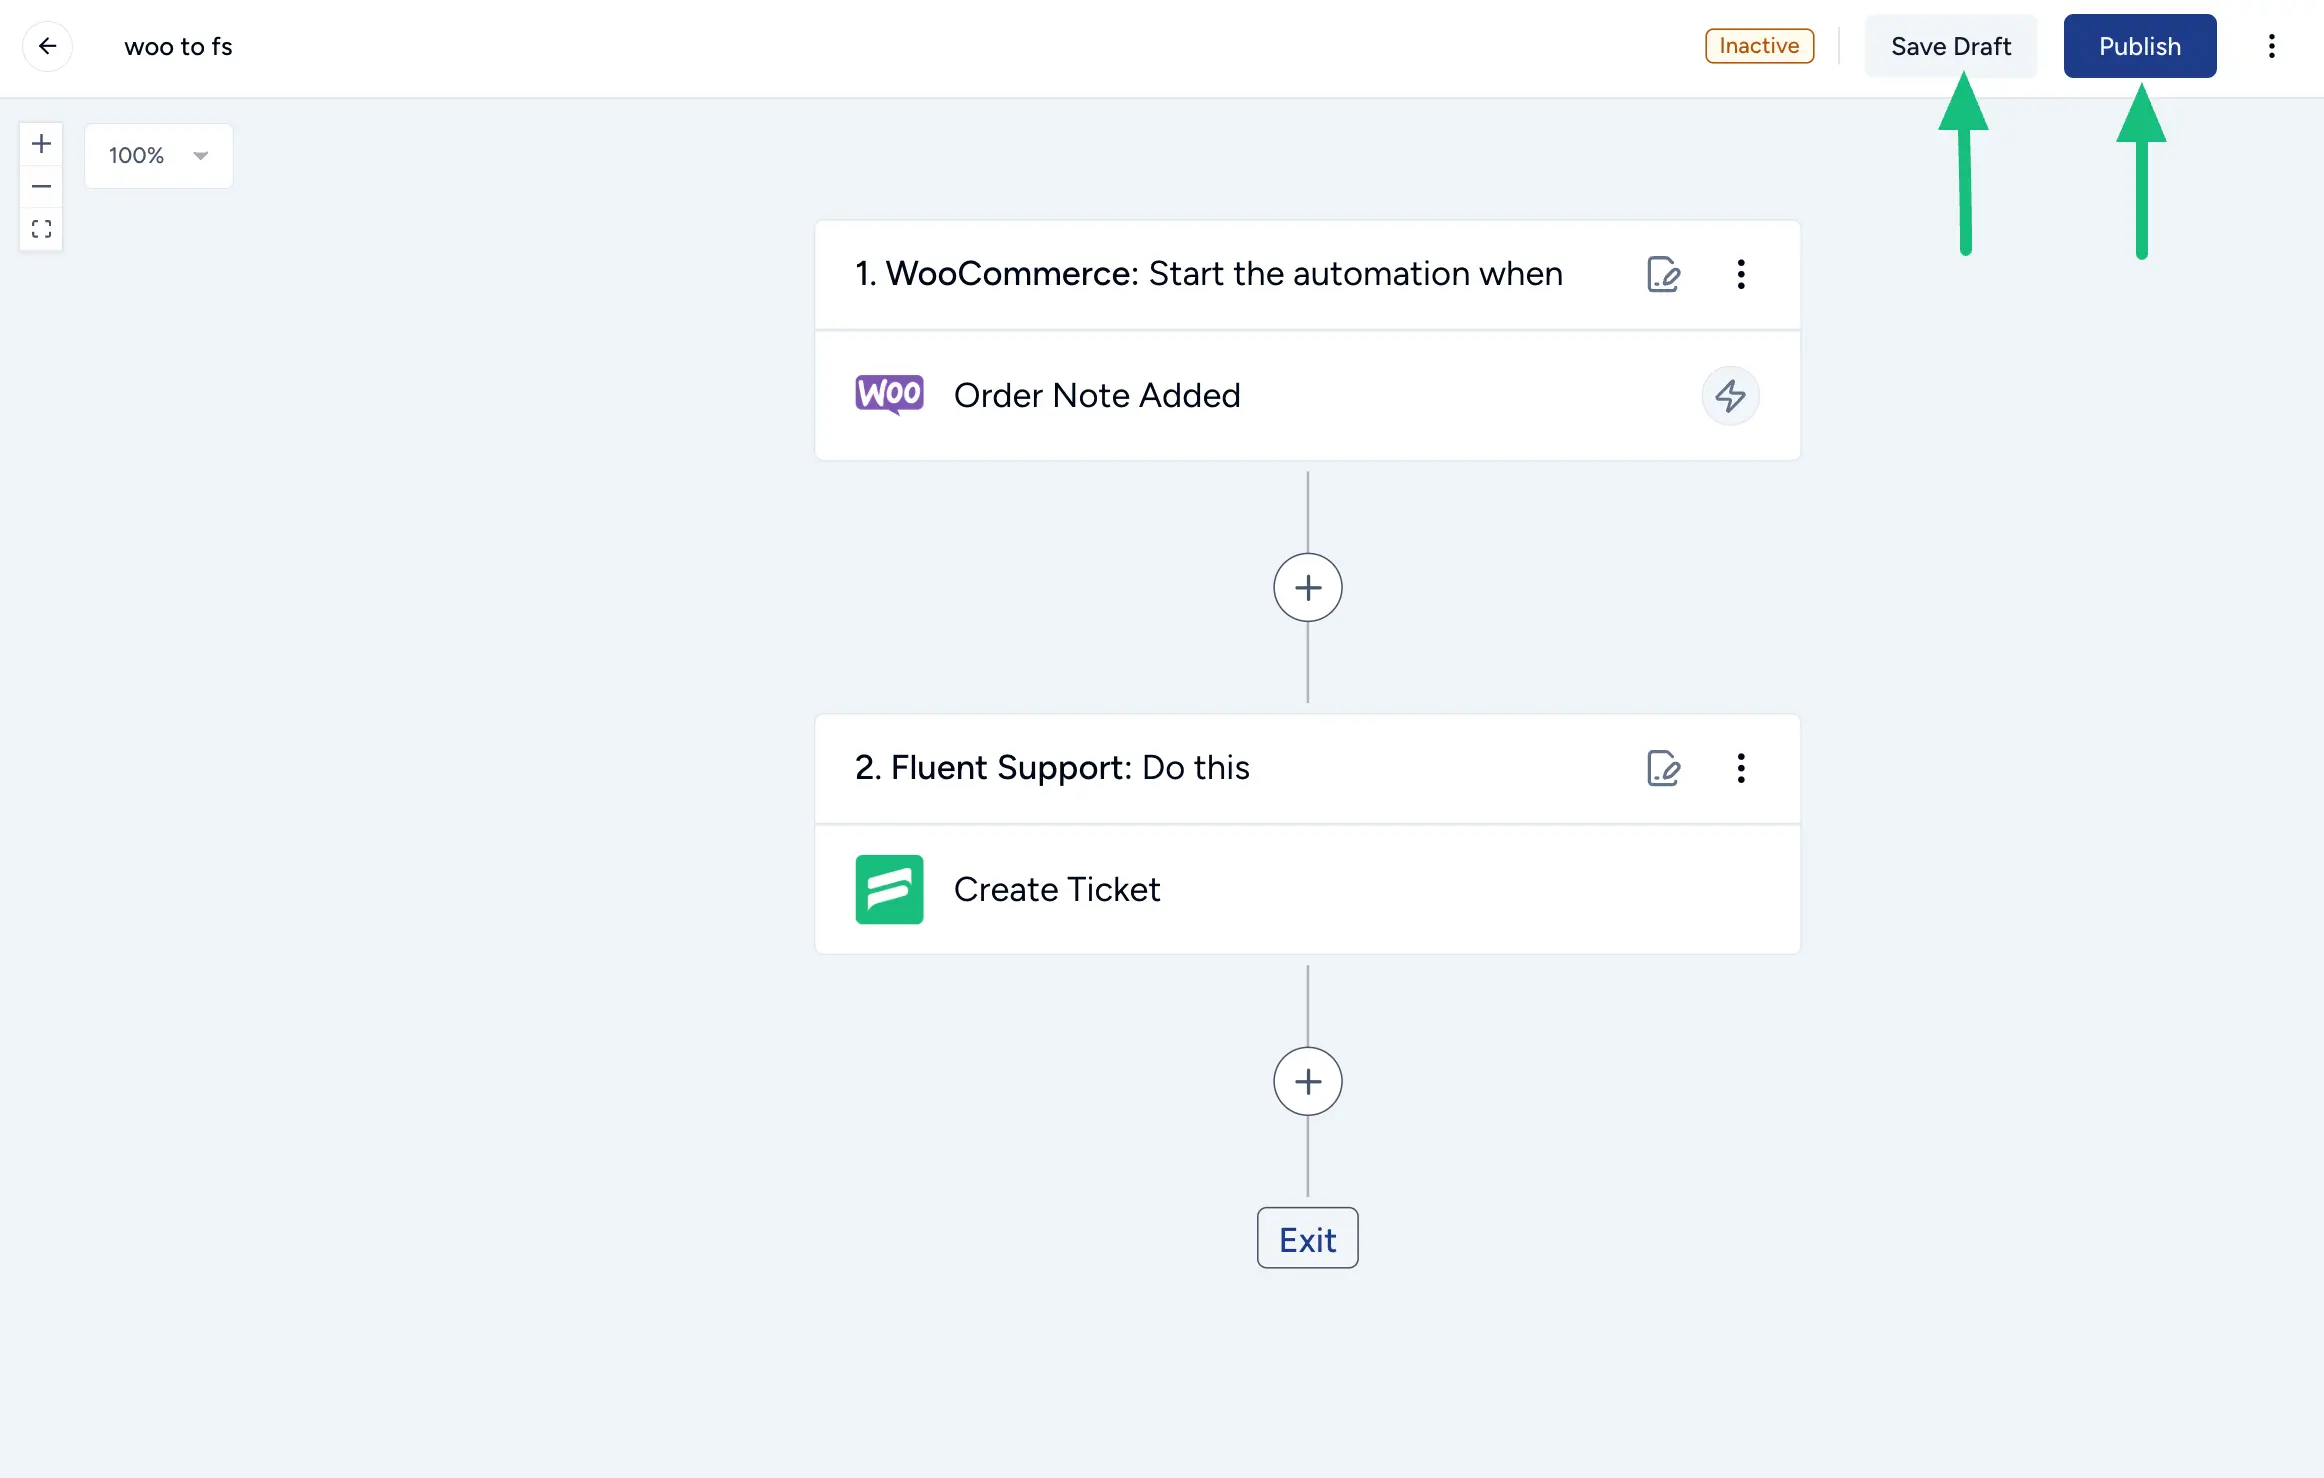
This way you can connect Fluent Support with other plugins through the Workflows of SureTriggers.
If you have any further questions, concerns, or suggestions, please do not hesitate to contact our @support team. Thank you.


